As winter approaches, many gardeners face the dilemma of how to protect their tender plants in containers from harsh cold and frost. Without the right precautions, these beautiful plants can suffer severe damage or even die, leaving you with an empty patio come spring. Taking action now not only saves your plants but also preserves your investment and effort.
This guide will help you successfully overwinter your tender container plants, ensuring they thrive when warmer weather returns. You’ll learn practical steps to prepare your plants, choose the right wintering location, and provide ongoing care throughout the cold months.
In this article, you will discover essential techniques tailored for beginner gardeners, taking approximately 3-4 hours to complete. By the end, you will be equipped with all the knowledge necessary to ensure your plants survive the winter.
TL;DR Summary
– Protect tender plants from cold damage by following these steps:
– Use proper containers and materials for insulation.
– Choose a suitable location for overwintering.
– Monitor moisture levels and care for plants throughout winter.
Prerequisites/Materials Needed
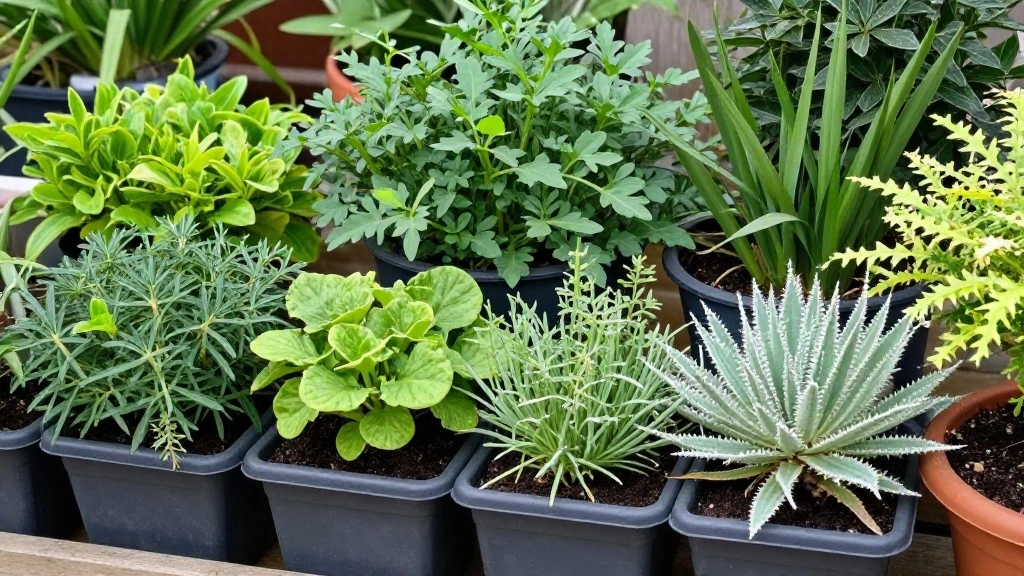
- Containers (if not already used) – Choose pots that are insulated and have good drainage.
- Frost cloth or burlap – For wrapping plants.
- Mulch (wood chips or straw) – To insulate soil and roots.
- Watering can or hose – To maintain moisture levels.
- Protective cover (like a greenhouse or shed) – To shield from harsh weather.
- Garden gloves – For handling plants safely.
- Shovel – For moving soil or mulch.
Skill Level & Time Estimate
Skill Level: beginner
Total time estimate: 3-4 hours
Breakdown of time by major steps: 1 hour for preparation, 1 hour for insulation, 1 hour for relocation, and 1 hour for ongoing care.
Step 1: Assess Your Plants

Begin by evaluating the health and condition of your tender plants to decide which need the most protection. Follow these steps:
- Check for any signs of disease or pests.
- Prune away dead or damaged leaves and stems.
- Ensure that the soil is moist (but not soggy) before winter.
Pro Tip: Healthy plants are more likely to survive winter conditions. Make sure to remove any dead plant material to reduce the risk of pests.
This step matters because it helps you identify which plants are most vulnerable and allows for targeted care. Time estimate: 30 minutes.
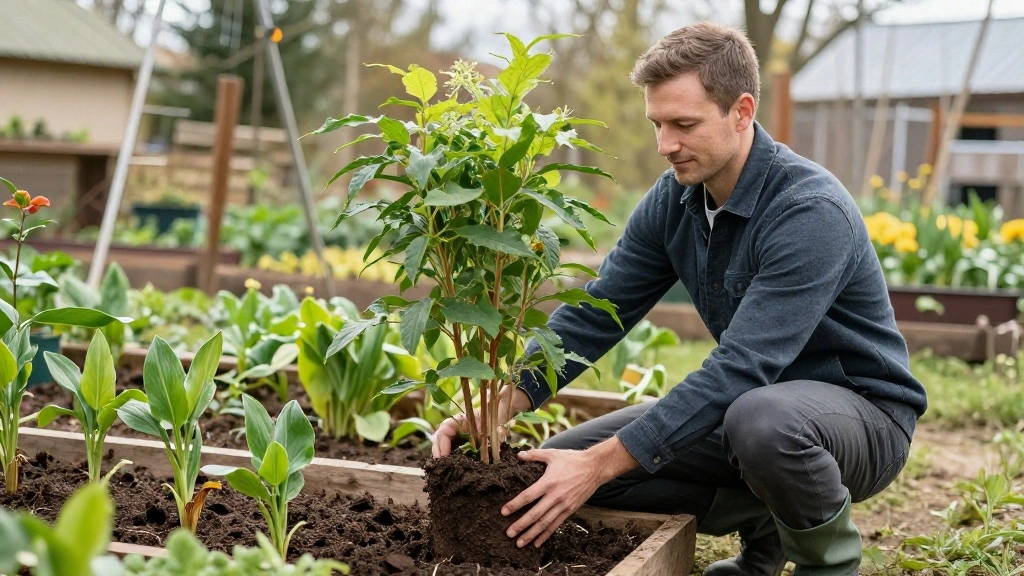
Step 2: Prepare Containers

Next, ensure that your containers are ready for winter. Follow these steps:
- Check for drainage holes; ensure they are clear.
- Consider wrapping containers in bubble wrap or burlap for insulation.
- Choose pots made of materials that withstand freezing temperatures.
Warning: Avoid using non-breathable materials, as this can lead to root rot. Why this matters: Properly prepared containers will keep the roots insulated and healthy.
Time estimate: 30 minutes.
Step 3: Mulch Your Plants
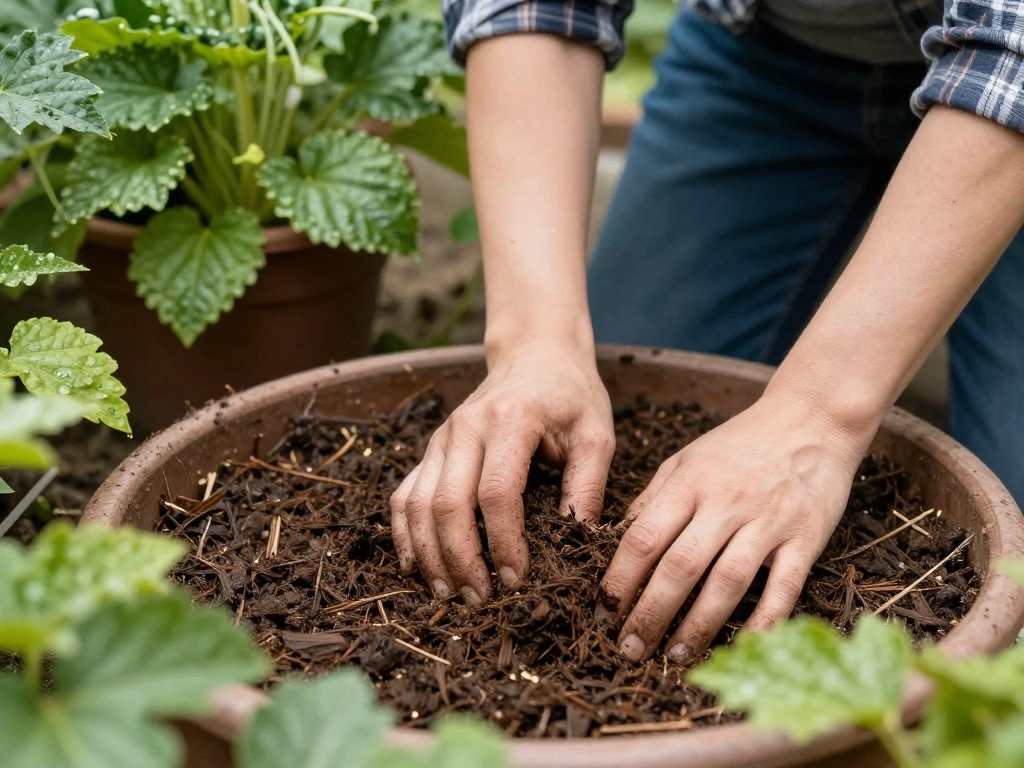
Mulching is vital for protecting your plants from extreme cold. Here’s how to do it effectively:
- Gather your chosen mulch material—wood chips or straw work well.
- Apply a 2-4 inch layer around the base of each plant.
- Ensure mulch covers the soil but does not touch the stems directly.
Pro Tip: Mulching retains soil moisture and prevents temperature fluctuations. Why this matters: It protects roots from freezing temperatures.
Time estimate: 30 minutes.
Step 4: Choose a Wintering Location
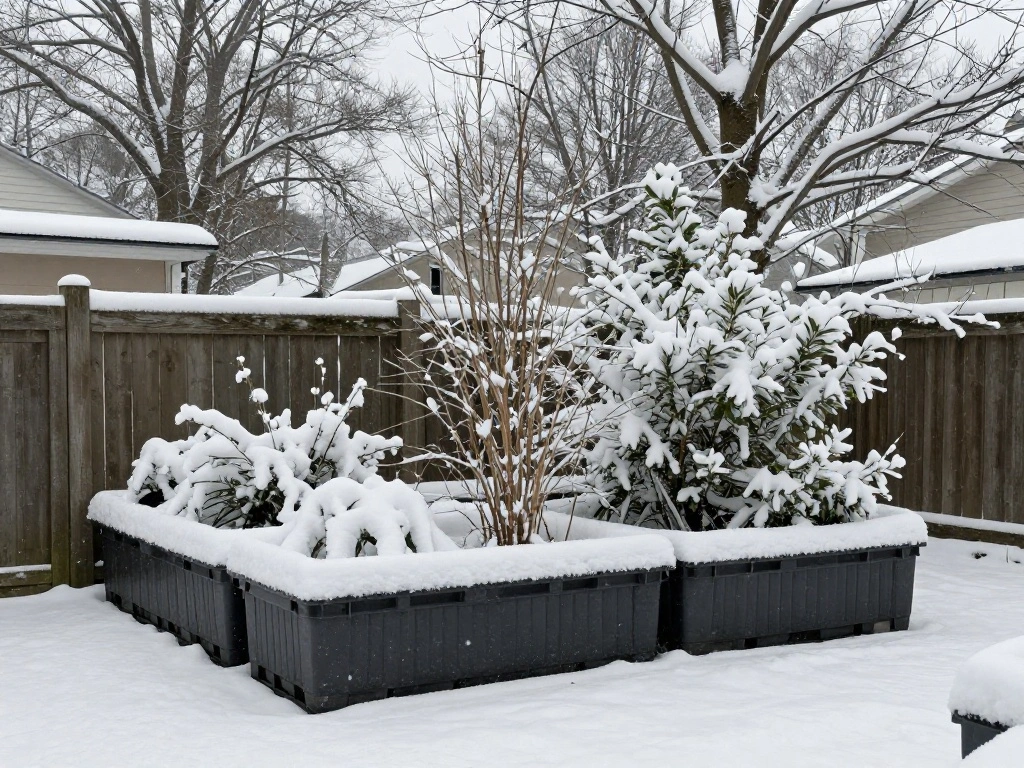
Finding the right spot for your plants during winter is crucial. Follow these steps:
- Select a location that is sheltered from harsh winds and direct cold.
- Avoid placing containers directly on cold surfaces like concrete.
- If possible, move plants to a greenhouse, shed, or garage.
Warning: Avoid areas that can become too heated, as this can confuse plants and trigger premature growth. Why this matters: A stable environment helps plants adapt to winter conditions.
Time estimate: 30 minutes.
Step 5: Wrap Plants for Protection
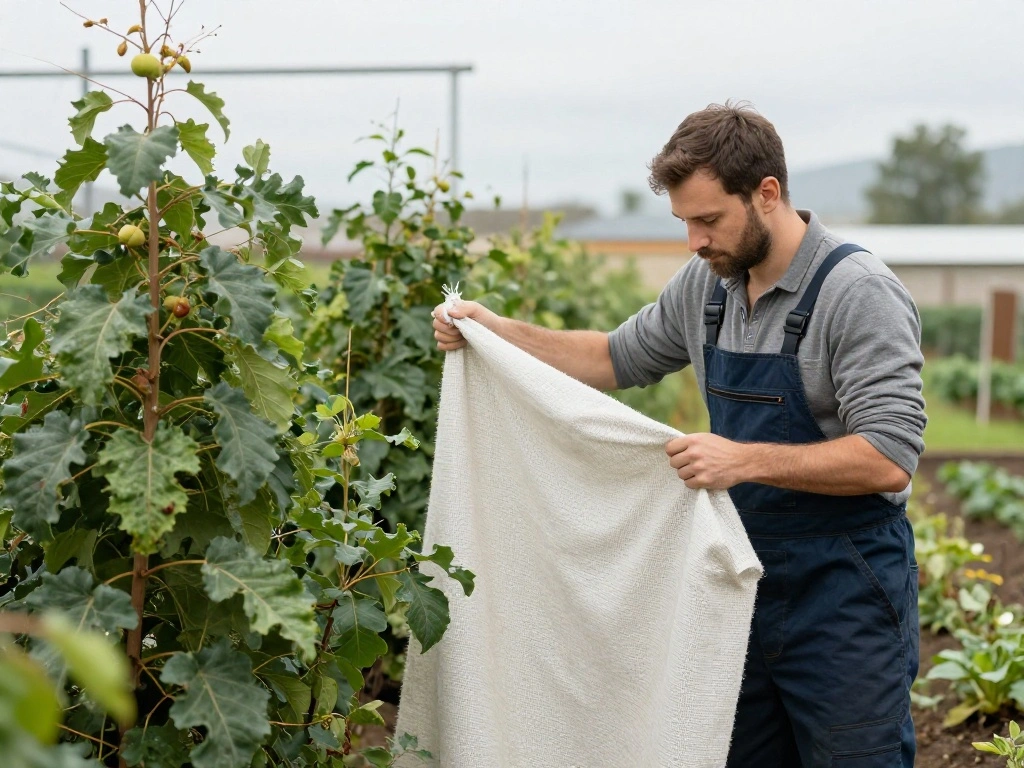
Wrapping your plants provides an extra layer of protection from freezing temperatures. Here’s how to do it:
- Use frost cloth or burlap to wrap delicate plants.
- Secure the wrapping with twine or garden clips.
- Ensure that the wrapping allows some air circulation.
Pro Tip: Wrapping can also help reduce moisture loss. Why this matters: It protects plants from frost damage.
Time estimate: 30 minutes.
Step 6: Monitor Moisture Levels
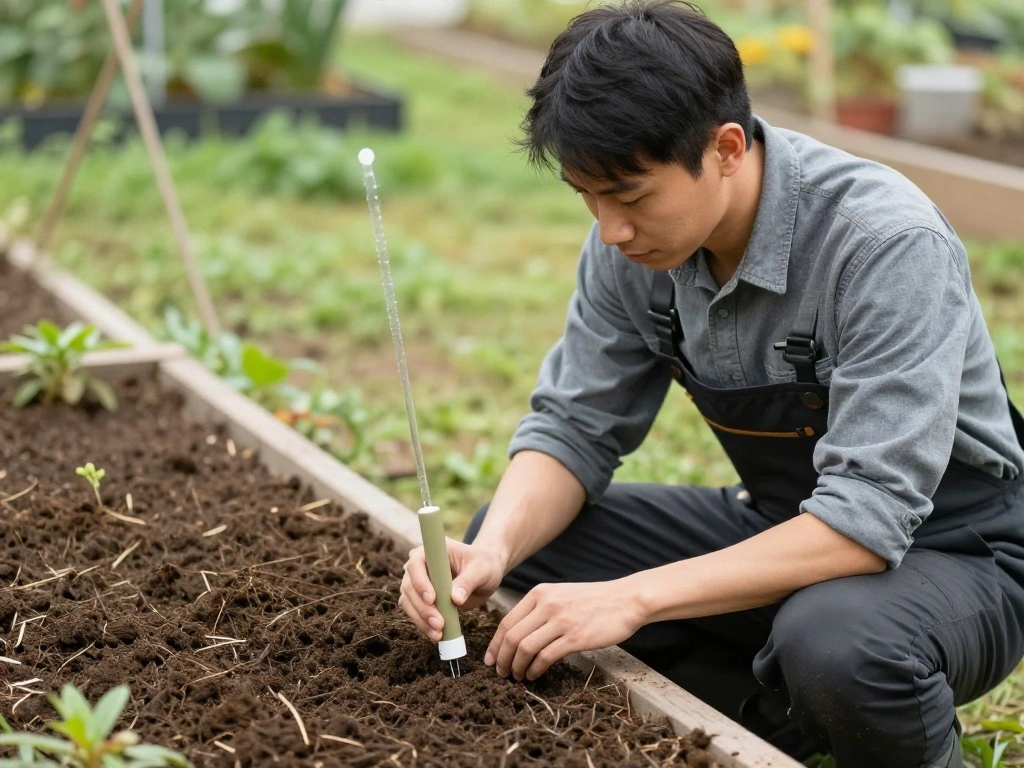
During winter, plants still need care. Here’s how to monitor and maintain moisture:
- Check the soil moisture level at least once a month.
- Water only when the soil feels dry, keeping it slightly moist.
- Use a moisture meter for accurate readings, if available.
Warning: Overwatering can lead to root rot, so be cautious. Why this matters: Proper moisture levels are crucial for plant survival.
Time estimate: 15 minutes per month.
Step 7: Prepare for Spring Awakening
As winter ends, it’s time to prepare your plants for spring growth:
- Unwrap plants when temperatures consistently rise above freezing.
- Gradually reintroduce them to sunlight to avoid shock.
- Check for any signs of pests or disease as they wake up.
Pro Tip: Transitioning plants slowly helps them acclimate to the changing environment. Why this matters: Proper care ensures a healthy start to the growing season.
Time estimate: 1 hour.
Pro Tips
- Choose Hardy Varieties: Select plants known for better cold tolerance.
- Use Self-Watering Containers: These maintain moisture levels more effectively.
- Group Containers: Placing pots close together can help create a microclimate.
- Consider Indoor Storage: If possible, bring containers indoors during the coldest months.
- Research Specific Needs: Different plants have unique requirements, so tailor your care accordingly.
Common Mistakes to Avoid
Warning: Not checking drainage can lead to root rot. Always ensure that your containers have adequate drainage holes before winter.Warning: Wrapping plants too tightly can suffocate them. Ensure that there’s enough airflow around the plant.Warning: Overwatering during winter can be fatal. Always check soil moisture before watering.Warning: Forgetting to monitor temperatures can lead to unexpected damage. Keep an eye on weather changes.Warning: Ignoring pest control can lead to infestations. Check plants regularly.
Troubleshooting Section
Problem: Plants look wilted after winter.Solution: Check for overwatering or under-watering. Adjust your watering schedule accordingly.Problem: Leaves are turning yellow.Solution: This may indicate poor drainage or root rot. Remove plants from containers and check roots.Problem: Plants have frost damage.Solution: Trim away damaged parts and provide extra care as they recover.Problem: Soil is too compacted.Solution: Gently aerate soil and add fresh potting mix if needed.Problem: Pests have invaded.Solution: Treat with insecticidal soap or neem oil and monitor regularly.
Variations/Alternative Methods
Consider these alternative methods for overwintering:
- Indoor Storage: If you have space, bring potted plants indoors to protect them from the cold.
- Cold Frames: Use cold frames to provide a controlled environment for your plants.
- Heated Greenhouses: Invest in a heated greenhouse for more delicate species.
Each method has its pros and cons, so choose based on your available resources and the specific needs of your plants.
FAQs
What if I don’t have frost cloth? Use burlap or old blankets as a substitute for wrapping plants.
How long should I keep my plants wrapped? Keep them wrapped until temperatures consistently remain above freezing.
Is it safe to move my plants indoors? Yes, as long as you gradually acclimate them to indoor conditions.
What should I do if my plants start to bleed sap? This can be a sign of stress; reduce watering and check for pests.
Will all tender plants survive winter? Not all; some may need special care or indoor storage to survive.
Conclusion

Congratulations! You’ve successfully learned how to overwinter your tender plants in containers. By following these steps, you are ensuring a vibrant garden comes springtime.
As winter progresses, continue to monitor your plants and make adjustments as necessary. Remember, gardening is a journey, and each season brings new lessons and opportunities to grow.
Now that you know how to protect your plants, consider expanding your gardening knowledge with more resources on seasonal care and plant selection. Happy gardening!