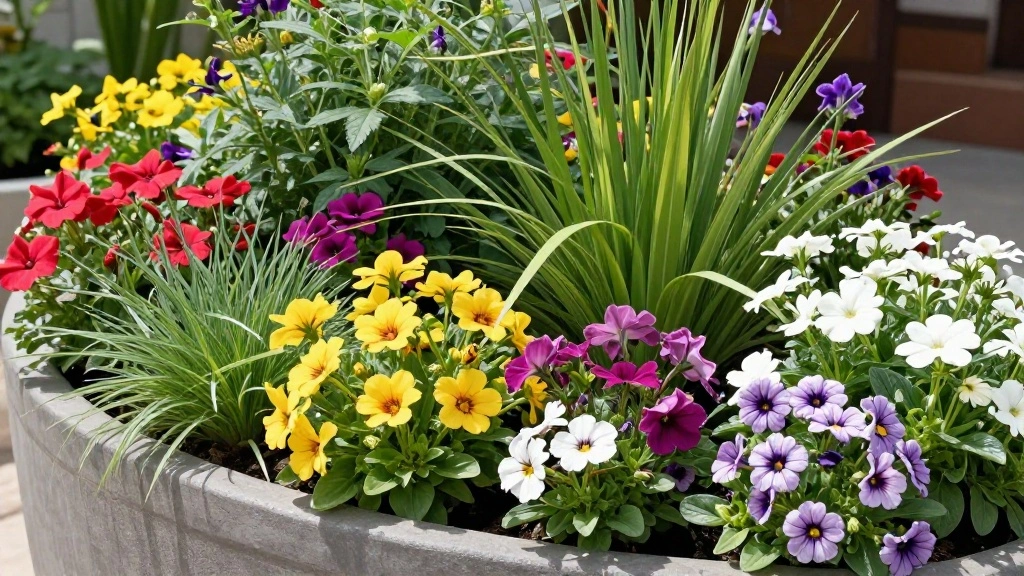
Container gardens can be a beautiful addition to any home, but without proper fertilization, your plants may struggle to thrive. Many gardeners face the issue of lackluster blooms and wilted leaves, leaving them frustrated and disappointed. The good news is that you can easily enhance the health and vibrancy of your container plants by learning the right fertilization techniques.
In this guide, you will discover how to choose the right fertilizer, when to apply it, and the best methods for maximizing blooms in your container gardens. Whether you’re growing flowers, vegetables, or herbs, the right fertilization strategy can lead to lush, colorful displays and abundant harvests.
You will learn about the types of fertilizers available, how to read fertilizer labels, and the specific needs of various plants. This guide is designed for beginners and will take you approximately 1-2 hours to complete, depending on the size of your garden.
If you want to transform your container garden into a vibrant oasis, read on!
TL;DR Summary
- Choose the right fertilizer based on plant needs.
- Apply fertilizer during the growing season for maximum blooms.
- Follow application instructions carefully.
- Monitor your plants for signs of nutrient deficiency.
Prerequisites/Materials Needed
- Fertilizer suitable for container plants (e.g., liquid or granular).
- Watering can or hose for application.
- Measuring cup or scale for accurate dosing.
- Garden gloves to protect your hands.
- Notebook to track your fertilization schedule.
Skill Level & Time Estimate
Skill Level: beginner
Total time estimate: 1-2 hours
Step 1: Choose the Right Fertilizer
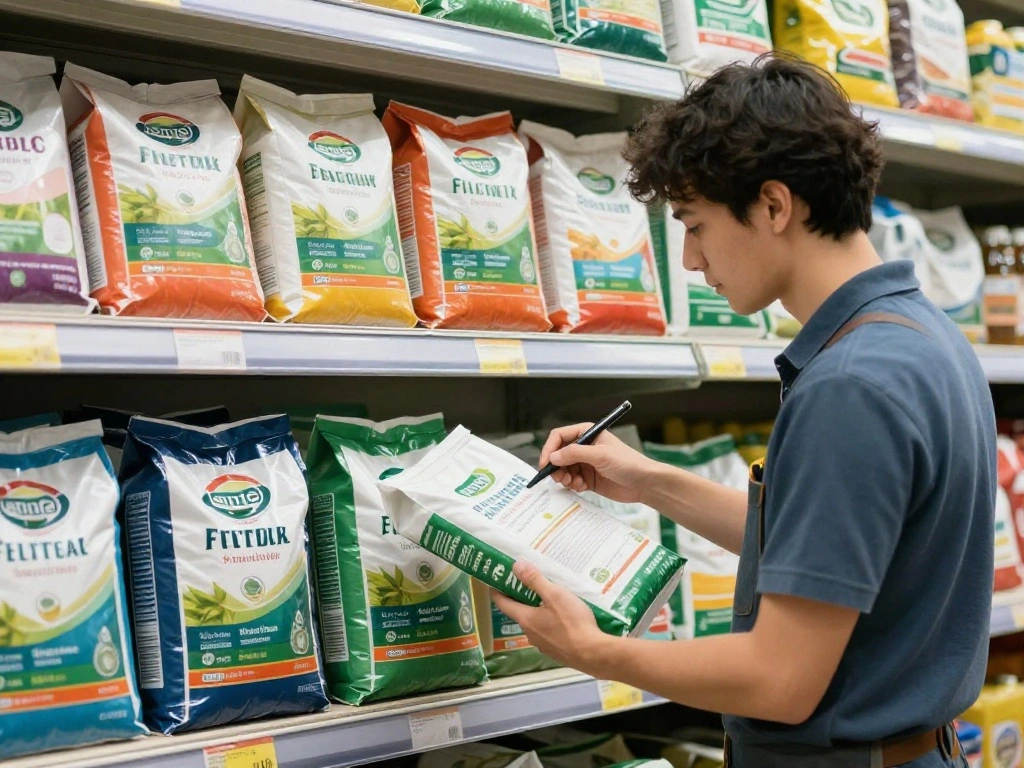
Before you begin fertilizing, it’s essential to select the right type of fertilizer for your container garden. Here’s how to do it:
- Identify your plants: Research the specific nutrient needs of your plants (e.g., flowering plants may need different nutrients than vegetables).
- Read the fertilizer label: Look for the N-P-K ratio (Nitrogen-Phosphorus-Potassium) to ensure it matches your plants’ needs.
- Choose between organic and synthetic: Organic fertilizers are slower-releasing and better for long-term soil health, while synthetic options provide quick nutrients.
Pro Tip: Always select a fertilizer that is specifically formulated for container plants.
Why this matters: The right fertilizer will provide essential nutrients that promote healthy growth and vibrant blooms. Taking the time to choose wisely will pay off in the long run.
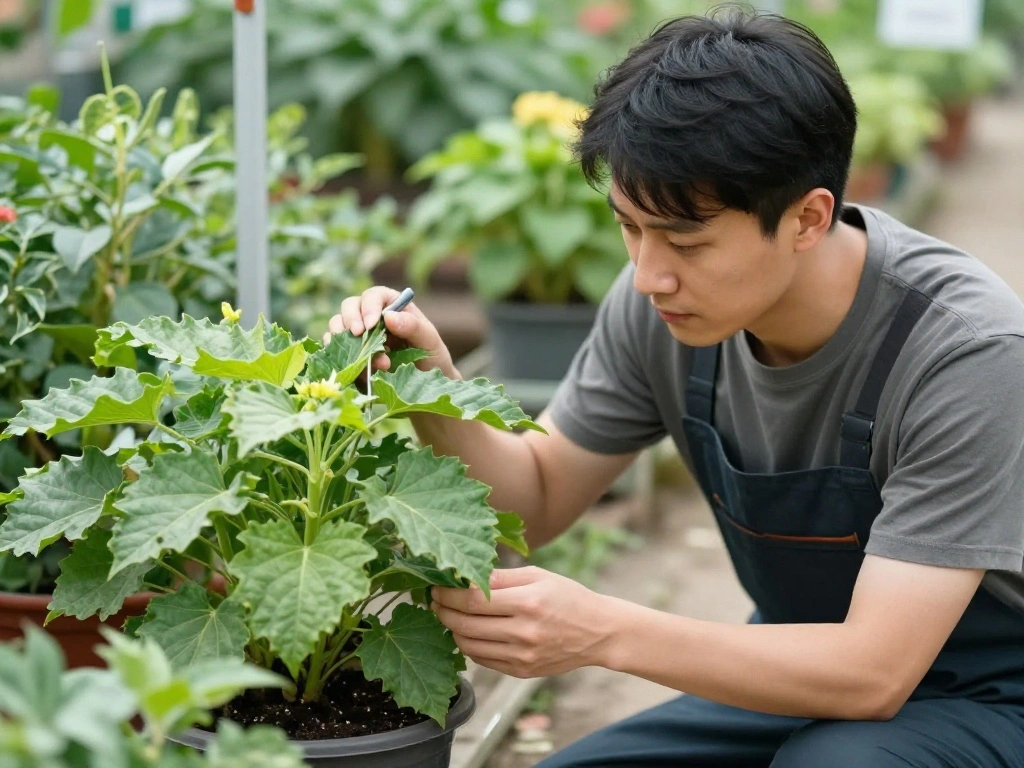
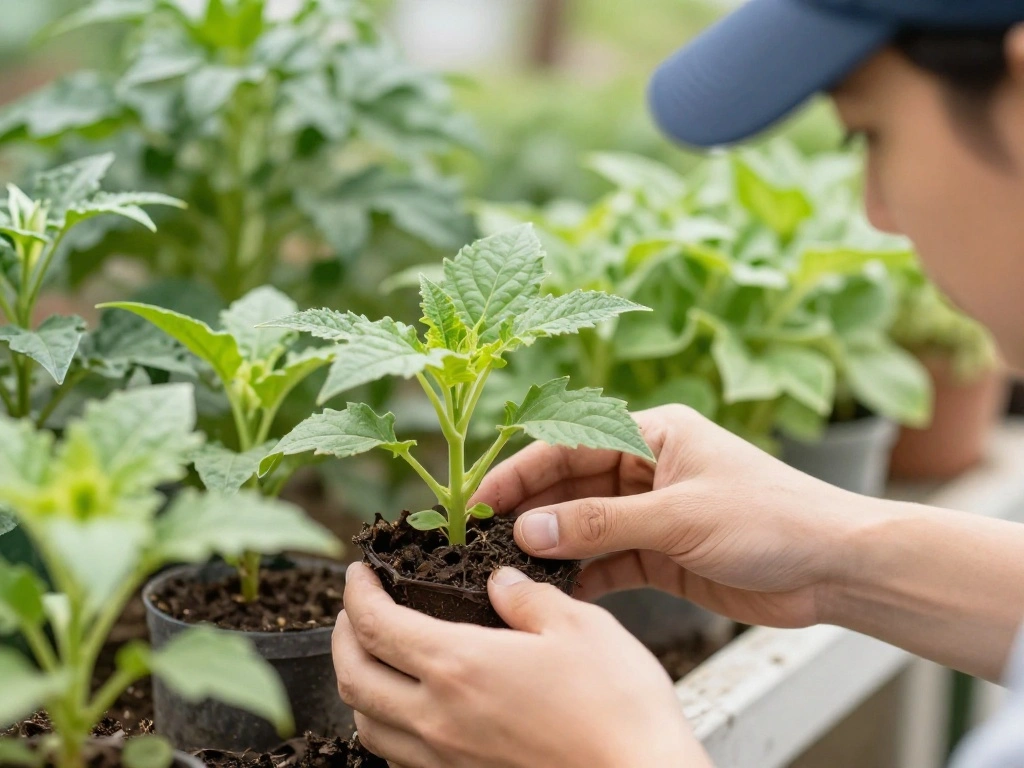
Step 2: Prepare Your Container Plants
Before applying fertilizer, ensure that your container plants are healthy and ready to receive nutrients. Follow these steps:
- Check for wilting or yellowing leaves: These can be signs of nutrient deficiency.
- Water your plants: Moisten the soil a day before fertilizing to help nutrients absorb better.
- Remove any dead or dying leaves: This helps your plants focus their energy on new growth.
Warning: Do not fertilize if the plants are dry; they need moisture to absorb nutrients effectively.
Why this matters: Healthy plants will benefit the most from fertilization, ensuring that they can effectively utilize the nutrients provided.
Step 3: Measure the Right Amount of Fertilizer
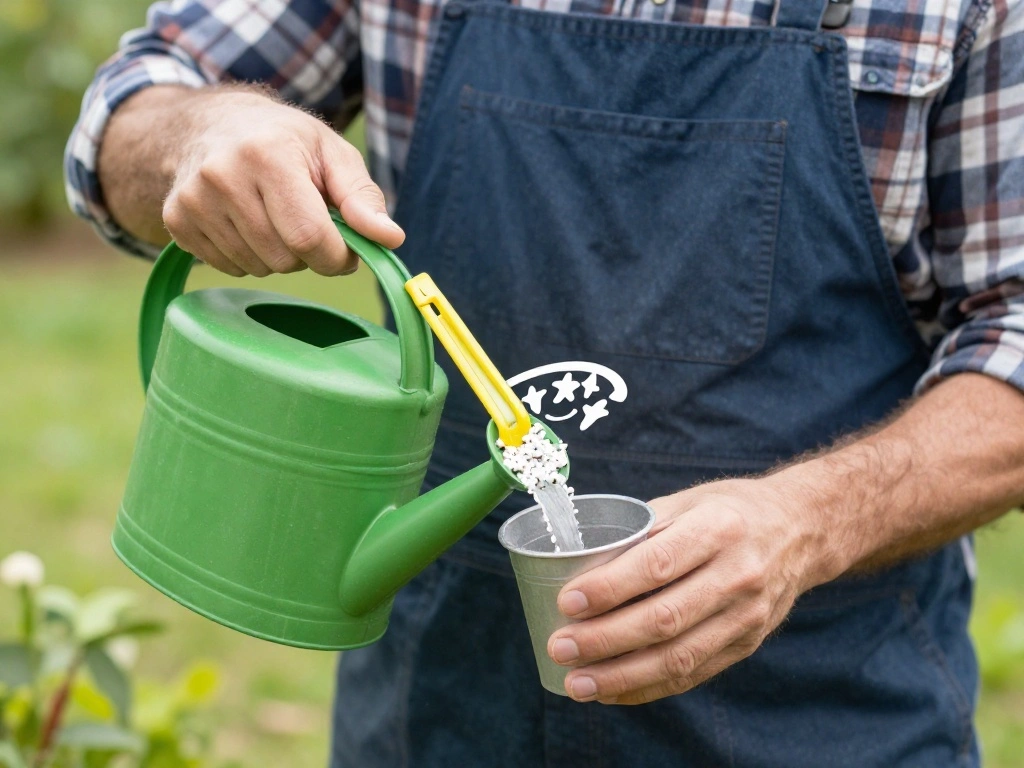
Accurate measurement of fertilizer is crucial for avoiding nutrient burn. Here’s how to measure:
- Refer to the fertilizer label for recommended dosage per gallon of water.
- Use a measuring cup or scale to ensure you get the correct amount.
- Mix the fertilizer with water in a watering can, following the label instructions.
Pro Tip: If using granular fertilizer, consider using a scoop for easier measurement.
Why this matters: Over-fertilizing can harm your plants, causing leaf burn or even death. Proper measurement ensures a safe and effective application.
Step 4: Apply the Fertilizer
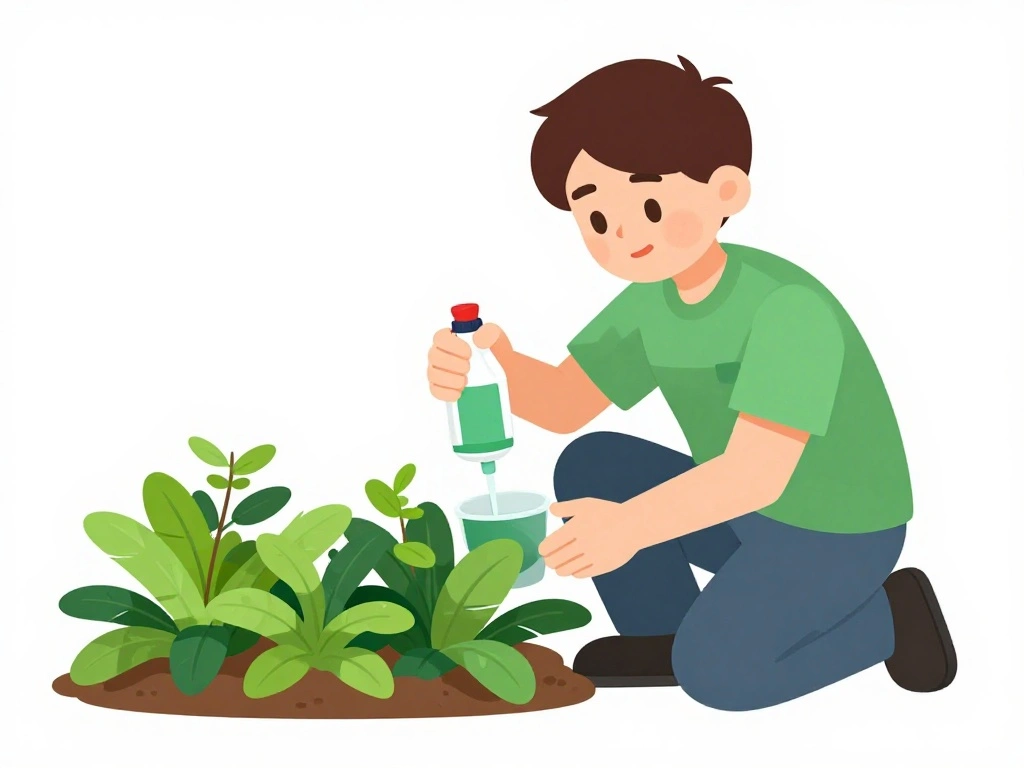
Now that you have prepared everything, it’s time to apply the fertilizer. Follow these steps:
- Evenly distribute the fertilizer solution around the base of each plant, avoiding direct contact with the leaves.
- Water the plants lightly after applying to help the nutrients soak into the soil.
- Repeat the application every 4-6 weeks during the growing season.
Warning: Do not apply fertilizer during extreme heat or drought; plants may be unable to absorb nutrients properly.
Why this matters: Proper application ensures that each plant receives the nutrients it needs without causing harm. Regular feeding during the growing season leads to plentiful blooms.
Step 5: Monitor Plant Health
After fertilization, it’s important to keep an eye on your plants. Here’s how to monitor their health:
- Check for signs of nutrient deficiency, like yellowing leaves or stunted growth.
- Observe bloom production: More blooms indicate successful fertilization.
- Adjust fertilization schedule if necessary, based on plant performance.
Pro Tip: Keep a garden journal to track changes and improvements in your plants.
Why this matters: Monitoring helps you understand how well your fertilization strategy is working and allows you to make necessary adjustments.
Step 6: Adjust Fertilization Based on Plant Needs
As your plants grow, their nutritional needs may change. Here’s how to adjust your fertilization:
- Review plant growth stages: Young plants may need less fertilizer, while mature plants may require more.
- Switch to a different type of fertilizer if needed (e.g., from balanced to bloom-boosting formulas).
- Consider seasonal changes: Reduce fertilization frequency in the fall and winter months.
Warning: Avoid over-fertilizing as it can lead to poor plant health.
Why this matters: Adapting your approach ensures that your plants receive the right nutrients at the right time, promoting optimal growth.
Step 7: Clean Up After Fertilization

Cleaning up after fertilization is important for maintaining a healthy garden environment. Follow these steps:
- Rinse any tools used during the process to prevent fertilizer residue buildup.
- Dispose of any unused fertilizer properly, following local guidelines.
- Check for any spilled fertilizer around containers and clean it up.
Pro Tip: Store leftover fertilizer in a cool, dry place to extend its shelf life.
Why this matters: Keeping your gardening area clean helps prevent pests and diseases, ensuring a thriving garden.
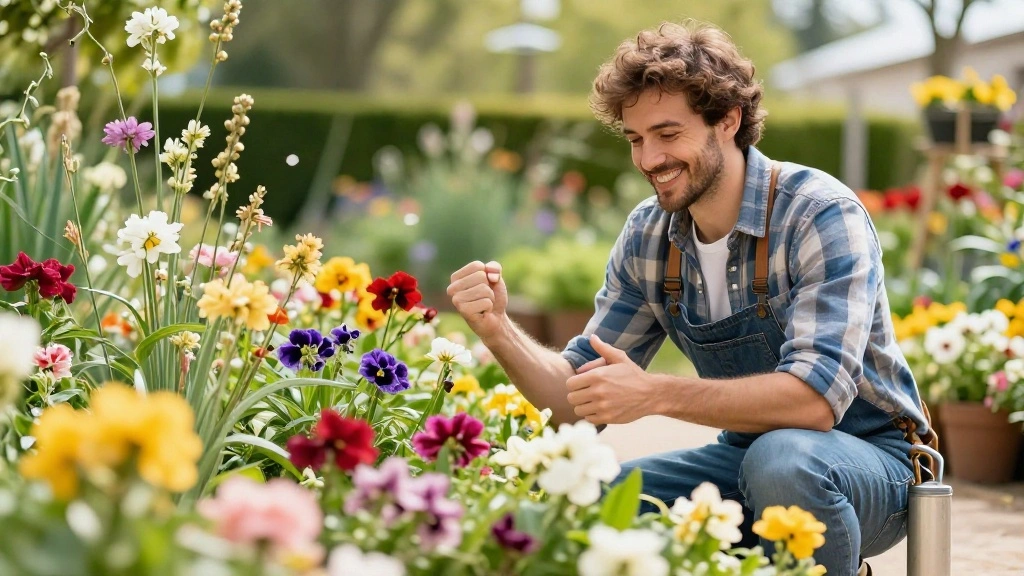
Step 8: Enjoy the Blooms!
After following these steps, it’s time to sit back and enjoy your blooming container garden. Here’s how to make the most of it:
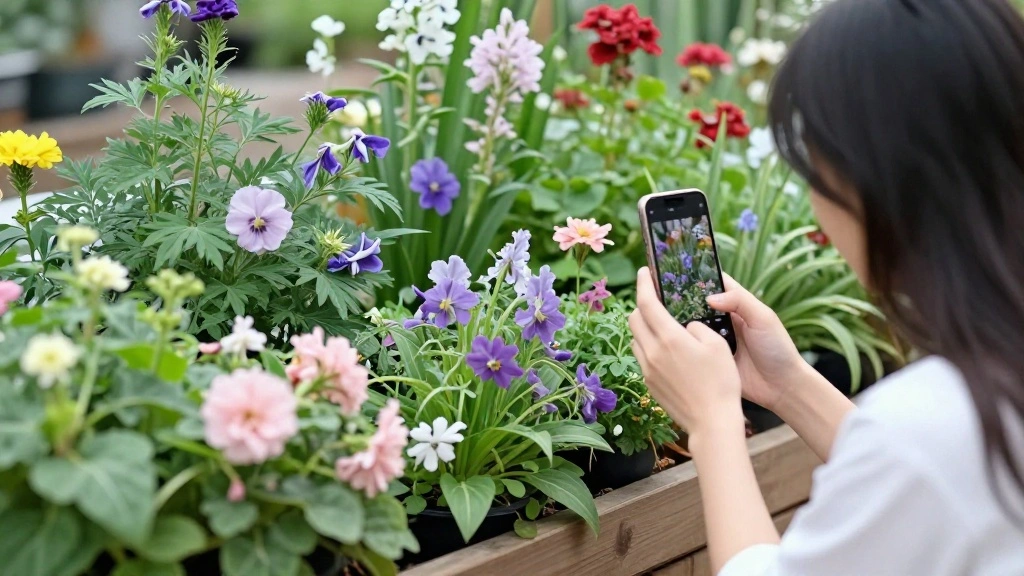
- Take regular photos to document your garden’s progress and beauty.
- Invite friends and family to enjoy your garden with you.
- Share your successes on social media or gardening forums to inspire others.
Pro Tip: Consider creating a seasonal garden plan to keep your blooms fresh and vibrant year-round.
Why this matters: Celebrating your hard work and sharing your garden’s beauty can be incredibly rewarding, motivating you to continue caring for your plants.
Pro Tips
- Timing is Key: Fertilize early in the morning or late in the evening to avoid leaf burn.
- Use Slow-Release Fertilizers: These provide nutrients over time, reducing frequent applications.
- Rotate Fertilizers: Mix up types and brands to provide different nutrient profiles.
- Test Soil pH: Some plants prefer acidic or alkaline soils, and adjusting pH can enhance nutrient uptake.
- Use Compost: Incorporate compost into your soil for added nutrients and improved soil structure.
Common Mistakes to Avoid
Warning: Over-fertilizing can lead to nutrient burn, causing damage to your plants. Always measure carefully and follow label instructions.
Warning: Fertilizing during extreme heat can stress plants. Wait for cooler temperatures.
Warning: Neglecting to water before fertilization can hinder nutrient absorption. Always moisten soil first.
Troubleshooting Section
Problem: Leaves are yellowing.
Solution: Check for nutrient deficiencies or overwatering. Adjust fertilization and watering schedule as needed.
Problem: No blooms despite fertilization.
Solution: Ensure the fertilizer is suitable for blooming plants and adjust application frequency.
Problem: Plants are wilting.
Solution: Check soil moisture and ensure proper watering; consider fertilizer burn as a potential issue.
Variations/Alternative Methods
- Foliar Feeding: Spray a diluted fertilizer solution directly on leaves for quick nutrient uptake.
- Organic Options: Use compost tea or fish emulsion as natural fertilizers.
- Hydroponics: If growing in water, use liquid fertilizers designed for hydroponic systems.
FAQs
What if I don’t have specific fertilizer for container plants? You can use general-purpose fertilizers, but ensure they are suitable for your specific plants.
How long should I wait between fertilizing? Typically, every 4-6 weeks during the growing season is ideal.
Is it safe to fertilize young plants? Yes, but start with half-strength solutions to avoid burning their roots.
Conclusion
Congratulations! You’ve learned how to fertilize your container gardens for maximum blooms. With the right techniques and a bit of care, your plants will be thriving in no time. Remember to adjust your approach based on your plants’ needs and monitor their growth to ensure they remain healthy.
Now that you have mastered fertilization, consider exploring other gardening tips and tricks to enhance your gardening experience. Happy gardening!