Are your container plants looking cramped and unhealthy? It’s time to repot! Plants can outgrow their pots, leading to root binding, poor drainage, and stunted growth. If you notice roots growing out of the drainage holes or the leaves turning yellow, it’s a clear sign that your plants need a new home. Don’t wait! Repotting can revive your plants, giving them a chance to thrive and flourish.
In this guide, you’ll learn how to successfully repot your container plants step-by-step. By the end, you’ll not only have healthier plants but also the confidence to tackle repotting whenever needed. This guide is designed for beginners and should take around 30-60 minutes to complete, depending on the number of plants.
Are you ready to transform your container plants? Let’s dive into the process of repotting and give your plants the care they deserve!
TL;DR Summary
- Assess your plant’s need for repotting by checking root growth.
- Gather the necessary materials and tools before starting the process.
- Follow the step-by-step guide to safely remove, prepare, and replant.
- Care for your newly potted plant to help it adjust to its new environment.
Prerequisites/Materials Needed
- New pot (1-2 inches larger than current pot)
- Potting soil (appropriate for your plant type)
- Gardening gloves
- Watering can
- Small shovel or trowel
- Scissors or pruning shears
Skill Level & Time Estimate
Skill Level: beginner
Total time estimate: 30-60 minutes
Here’s a breakdown of the time:
- Gathering materials: 5-10 minutes
- Removing the plant: 10-15 minutes
- Preparing the new pot: 10 minutes
- Replanting: 10-15 minutes
- Watering and cleaning up: 5-10 minutes
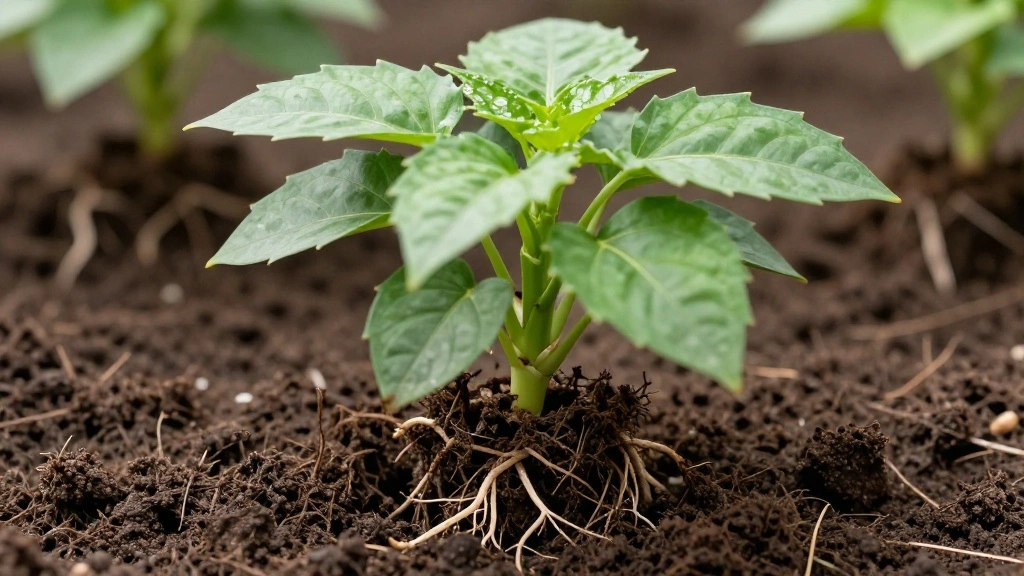
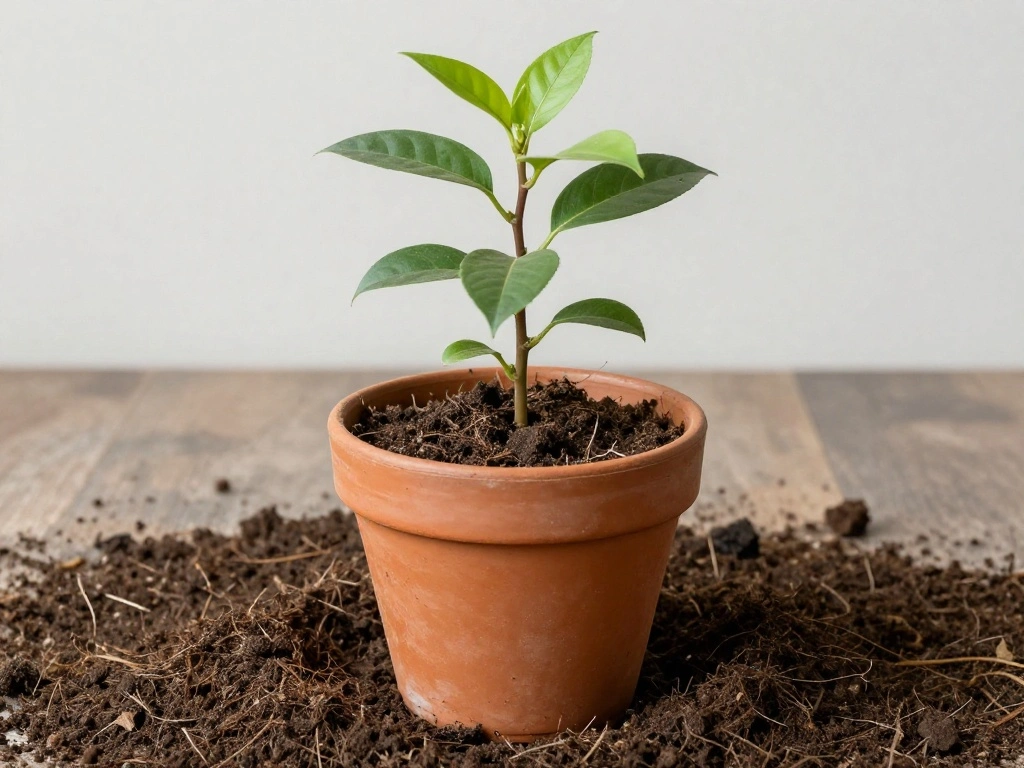
Step 1: Assess Your Plant’s Need for Repotting
Before you begin the repotting process, assess whether your plant truly needs it. Look for signs such as roots protruding from the drainage holes or the plant becoming top-heavy. Follow these steps:
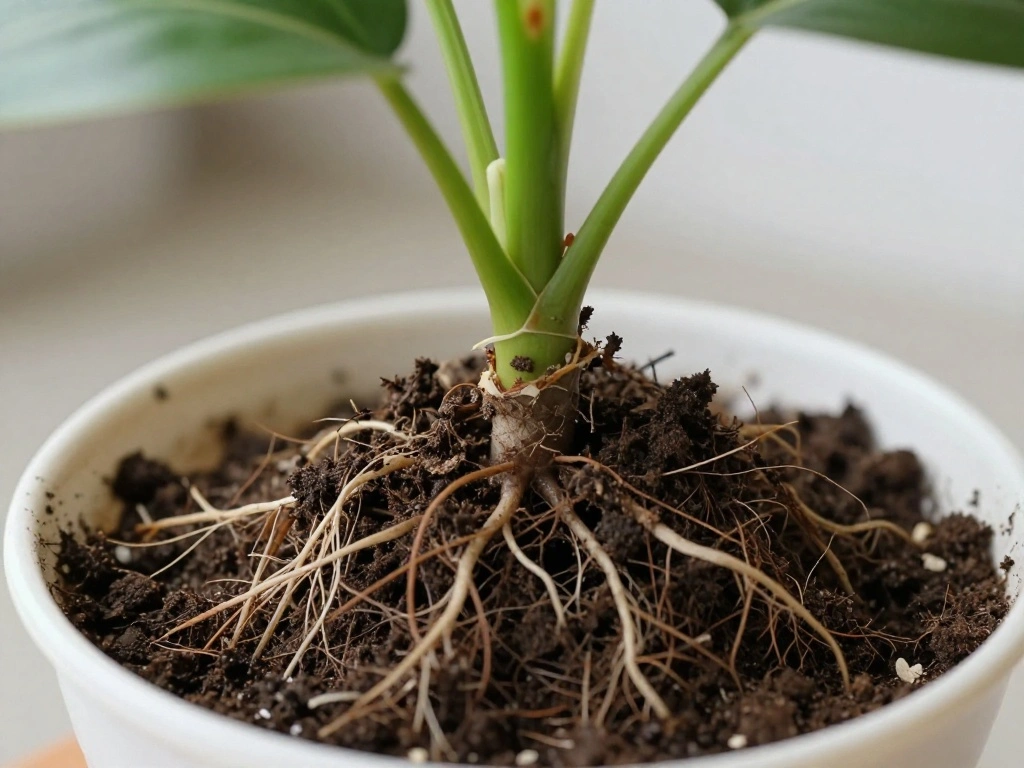
- Check for roots: Gently pull the plant from its pot to inspect the root system.
- Examine the soil: If the soil is dry and hard, it may be time for a new pot.
- Observe the leaves: Yellowing leaves often indicate stress from being root-bound.
Warning: Neglecting to assess your plant can lead to unnecessary stress during the repotting process. Pro Tip: Timing is crucial; repot during the growing season (spring or early summer) for the best results. This step should take about 10-15 minutes.
Step 2: Gather Your Materials
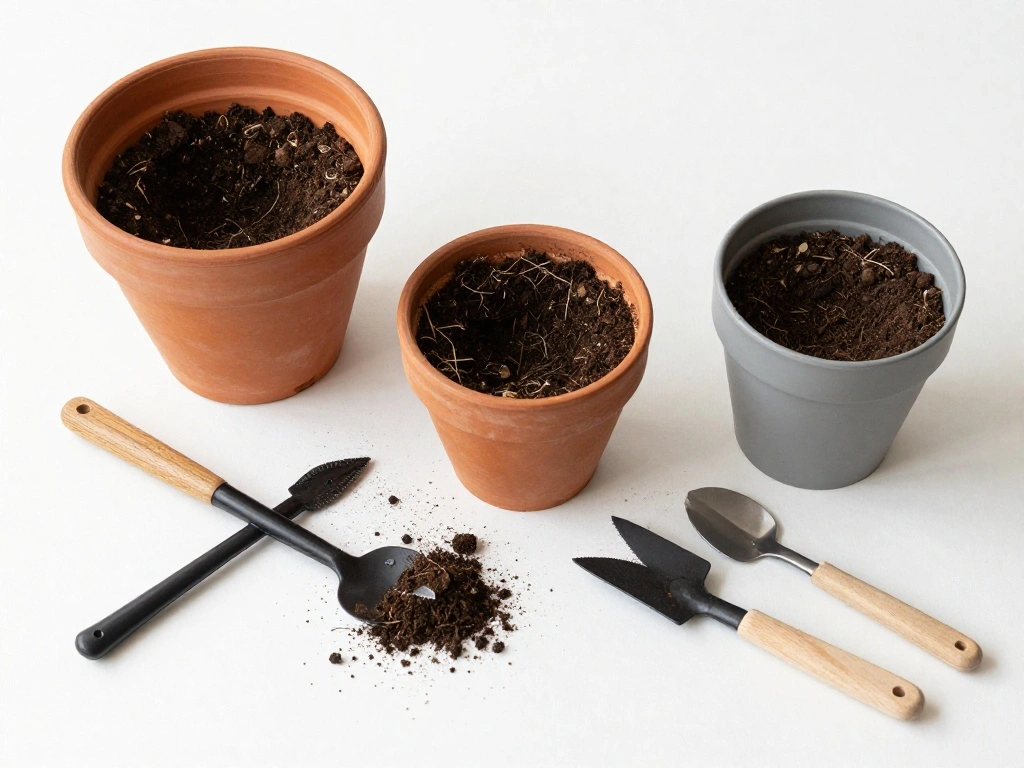
Once you’ve confirmed that your plant needs repotting, gather all the necessary materials. This ensures a smooth process without interruptions. Follow these steps:
- Choose a new pot: Ensure it’s 1-2 inches larger in diameter than the current pot.
- Select the right potting soil: Use a mix suitable for your plant type.
- Get your tools ready: Gather gloves, a small shovel or trowel, and scissors.
Warning: Using the wrong soil can harm your plant. Research the specific needs of your plant type. This step should take about 5-10 minutes.
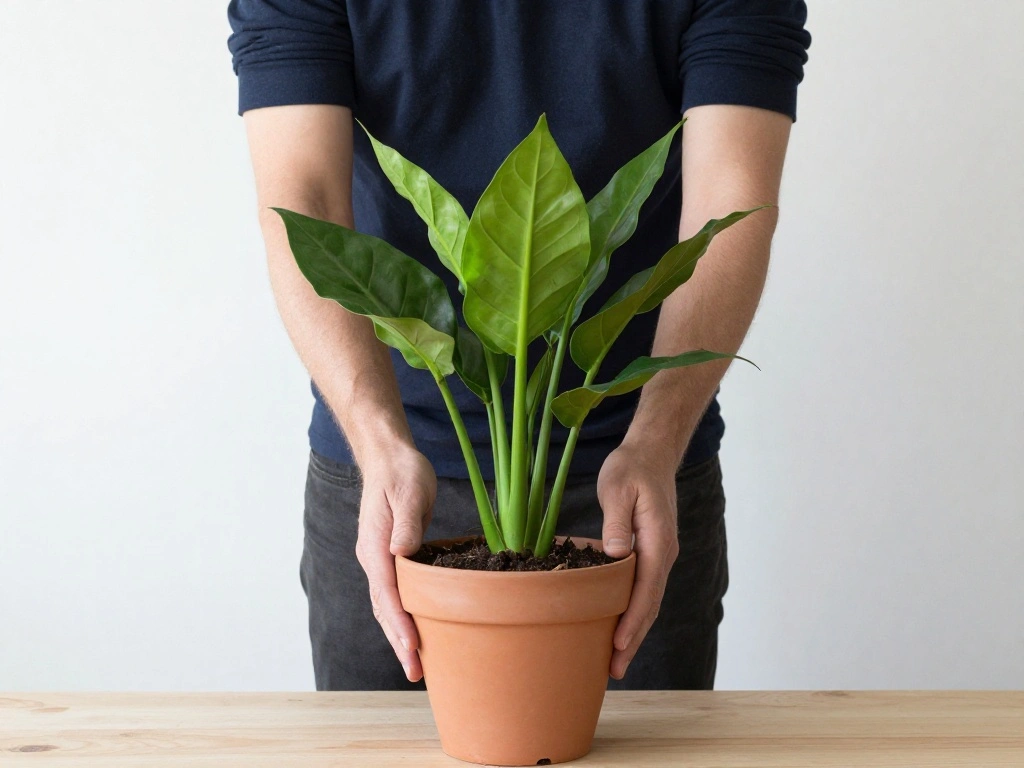
Step 3: Remove the Plant from Its Current Pot
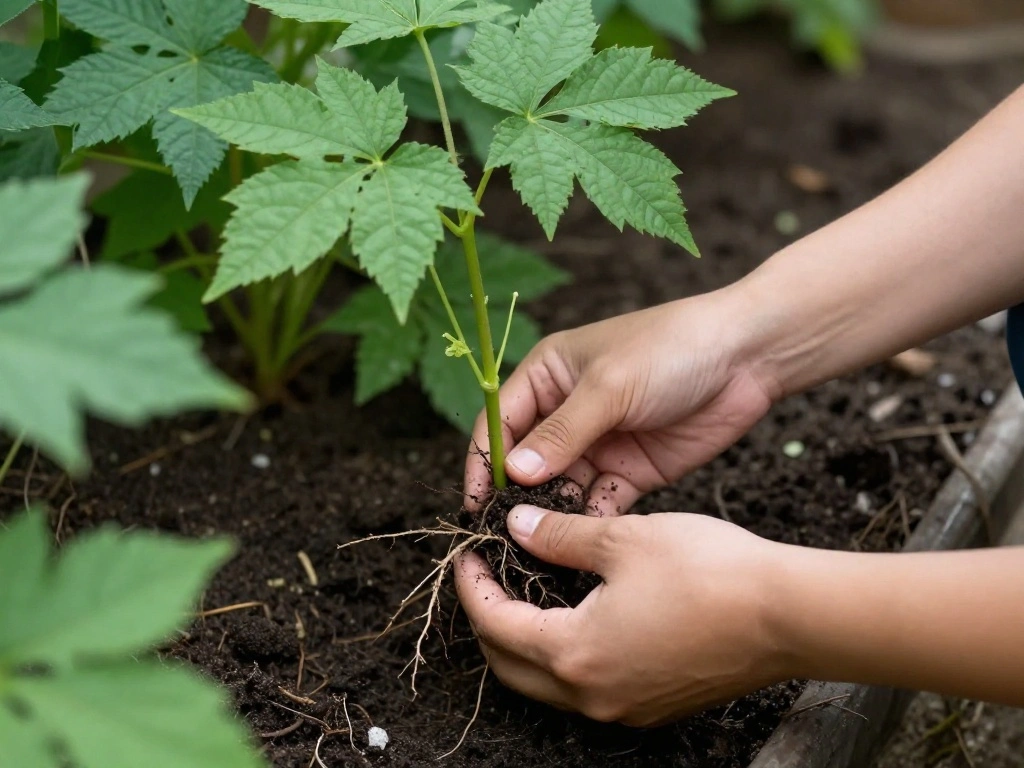
Now it’s time to carefully remove your plant from its current container. This step requires delicacy to avoid damaging the roots. Follow these steps:
- Hold the base of the plant and gently tilt the pot to one side.
- Tap the sides of the pot to loosen the soil.
- Gently pull the plant out, supporting the root ball with your other hand.
Warning: Pulling too hard can damage roots, leading to stress or plant death. Pro Tip: If the plant is stuck, run a knife around the edge of the pot to loosen it. This step should take about 10-15 minutes.
Step 4: Prepare the New Pot
With the plant removed, it’s time to prepare the new pot. This ensures proper drainage and a good environment for root growth. Follow these steps:
- Add a layer of potting soil to the bottom of the new pot, about 1-2 inches deep.
- Ensure the drainage holes are clear and unobstructed.
- Mix in slow-release fertilizer if desired, following package instructions.
Warning: Over-filling the pot can lead to waterlogging. Pro Tip: Use a ceramic pot to help regulate temperature and moisture. This step should take about 10 minutes.
Step 5: Replant the Plant
Now that the new pot is prepared, it’s time to replant your plant. This is the moment you have been working towards! Follow these steps:
- Place the plant in the center of the new pot.
- Fill around the root ball with potting soil, firming it gently.
- Ensure the top of the root ball is level with the rim of the pot.
Warning: Planting too deep can suffocate roots. Pro Tip: Leave a little space at the top for watering. This step should take about 10-15 minutes.
Step 6: Water and Care for the Newly Potted Plant
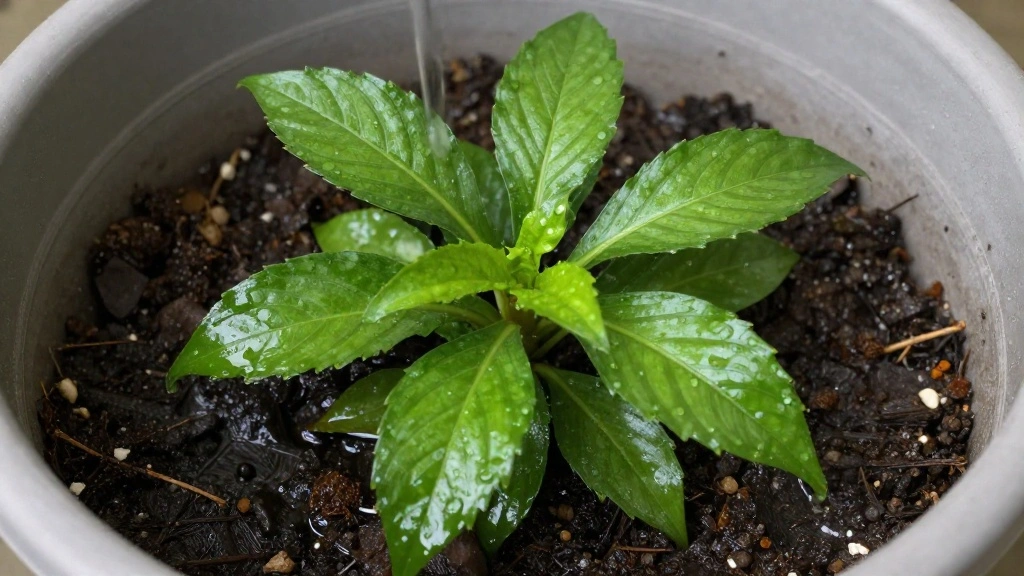
After replanting, it’s essential to water your plant properly and provide care to help it adjust. Follow these steps:
- Water the plant thoroughly until water drains from the bottom.
- Place the pot in a location with indirect sunlight for a few days.
- Monitor the soil moisture, watering again only when the top inch feels dry.
Warning: Overwatering can lead to root rot. Pro Tip: Consider adding a humidity tray to maintain moisture. This step should take about 5-10 minutes.
Pro Tips
- Timing is Key: Repot during the growing season for best results.
- Watch Your Watering: Newly repotted plants need less water initially as they adjust.
- Assess Light Conditions: Don’t move the plant to direct sunlight immediately after repotting.
- Use Quality Soil: Invest in good-quality potting mix for better drainage and nutrients.
- Be Gentle: Handle roots delicately to avoid shocking the plant.
Common Mistakes to Avoid
Warning: Rushing the process can lead to mistakes. Here are common pitfalls to avoid:
- Not checking for root issues: This can result in repotting a plant that doesn’t need it.
- Using a pot that’s too large: This can lead to overwatering issues.
- Ignoring soil quality: Poor soil can stunt growth.
Troubleshooting Section
Problem: Leaves are wilting after repotting.
Solution: Ensure you’re watering correctly; don’t overwater or underwater.
Problem: Plant is still top-heavy.
Solution: Consider adding more soil or a heavier pot.
Problem: Yellow leaves.
Solution: Check for root issues and adjust watering as needed.
Variations/Alternative Methods
There are different methods to repot your plants depending on their type. Here are a few:
- Layering Technique: For larger plants, add layers of soil in stages as you repot.
- Soil Amendment: Mix in organic compost for added nutrients if your plant thrives on it.
- Hydroponic Method: If you’re into hydroponics, consider using a hydroponic medium instead of soil.
FAQs
- What if I don’t have potting soil? You can use garden soil, but mixing it with peat moss will improve drainage.
- How long should I wait to water after repotting? Wait about a week to allow the roots to acclimate.
- Is it safe to repot during winter? It’s best to wait until spring, but if necessary, use caution.
Conclusion
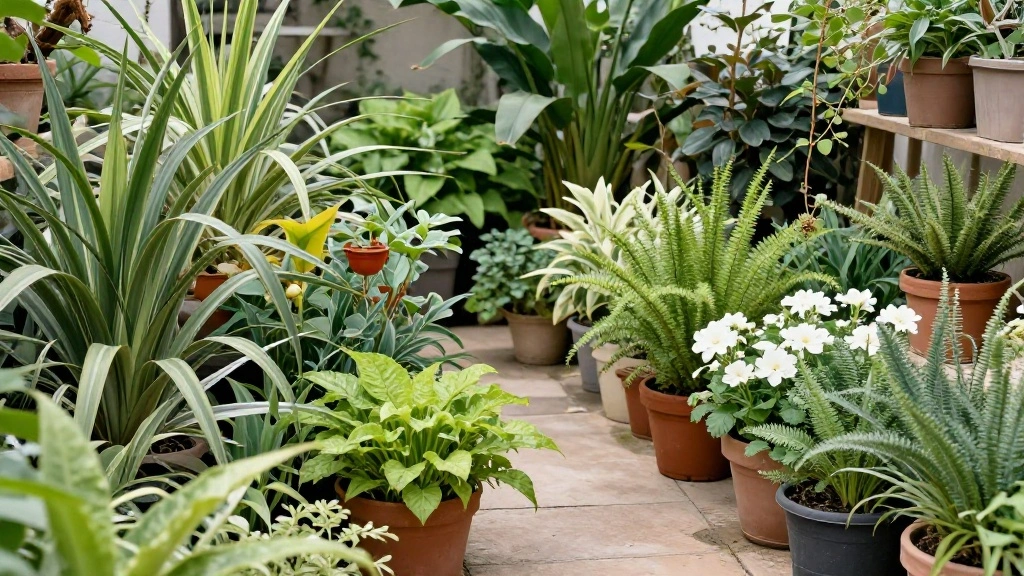
Congratulations on successfully repotting your container plants! You’ve taken an important step in ensuring their health and longevity. Remember, regular repotting is key to keeping your plants happy and thriving. Now that you’re equipped with the knowledge to repot, consider exploring other aspects of plant care to further enhance your green thumb.
For your next steps, check out resources on plant feeding or pest management to keep your plants in top shape. Enjoy your gardening journey!