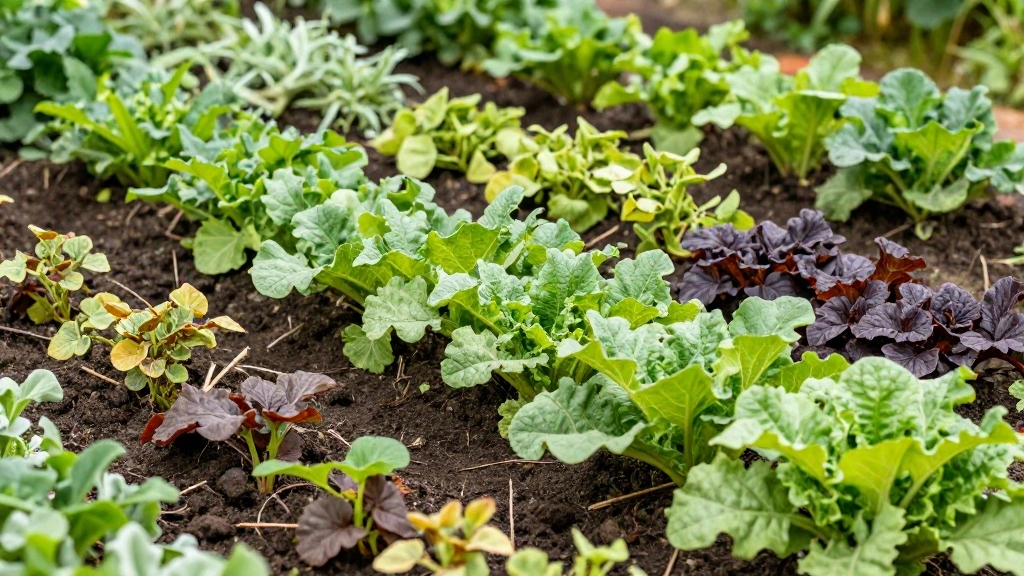
Are you struggling to maintain a healthy garden in your raised beds? Without proper lining, your plants may face challenges like soil erosion, weed invasion, and moisture loss. This guide tackles these urgent issues by teaching you how to effectively line your raised garden bed, ensuring your plants thrive.
By the end of this guide, you will have a well-lined raised garden bed that maximizes growth potential and minimizes problems. You’ll learn about the best materials to use, what to avoid, and step-by-step instructions to make the process easy and straightforward.
This is a beginner project that will take approximately 2-3 hours to complete. Whether you’re an aspiring gardener or looking to improve your existing setup, this guide is for you. Let’s get started!
TL;DR Summary
- Line your raised garden bed to prevent soil erosion and retain moisture.
- Choose materials like landscape fabric, cardboard, or wood to line your bed.
- Avoid using plastic or untreated wood that can leach chemicals.
- This beginner-friendly project takes about 2-3 hours to complete.
Prerequisites/Materials Needed
- Raised garden bed (size according to your space)
- Landscape fabric (enough to cover the bottom and sides)
- Cardboard (if using as an alternative lining)
- Wood (if you prefer wooden lining)
- Staples or garden staples for securing fabric
- Scissors or a utility knife
- Measuring tape
- Soil and compost for filling the bed
Skill Level & Time Estimate
Skill Level: beginner
Total time estimate: 2-3 hours
Breakdown of time:
- Gather materials: 30 minutes
- Prepare the bed: 30 minutes
- Line the bed: 1-1.5 hours
- Fill with soil: 30 minutes
Step 1: Gather Your Materials
Start by collecting all necessary materials listed in the Prerequisites section. This ensures you have everything at hand, avoiding interruptions during the lining process.
1. Purchase landscape fabric, cardboard, or wood based on your preference.
2. Make sure you have a staple gun or garden staples ready for securing your lining material.
3. Gather tools like scissors or a utility knife for cutting materials.
Pro Tip: Check local gardening stores for high-quality materials that fit your budget.
Time estimate: 30 minutes
Step 2: Prepare Your Raised Bed
Next, prepare your raised bed for lining. This step is crucial as it helps ensure that the lining material adheres properly and that your plants can thrive.
1. Clear out any existing soil or debris from inside the raised bed.
2. Check for any signs of pests or rot that need to be addressed before lining.
3. Level the bottom of the raised bed to create a stable foundation for your lining material.
Warning: Ensure there are no sharp objects or debris that could damage the lining material.
Time estimate: 30 minutes
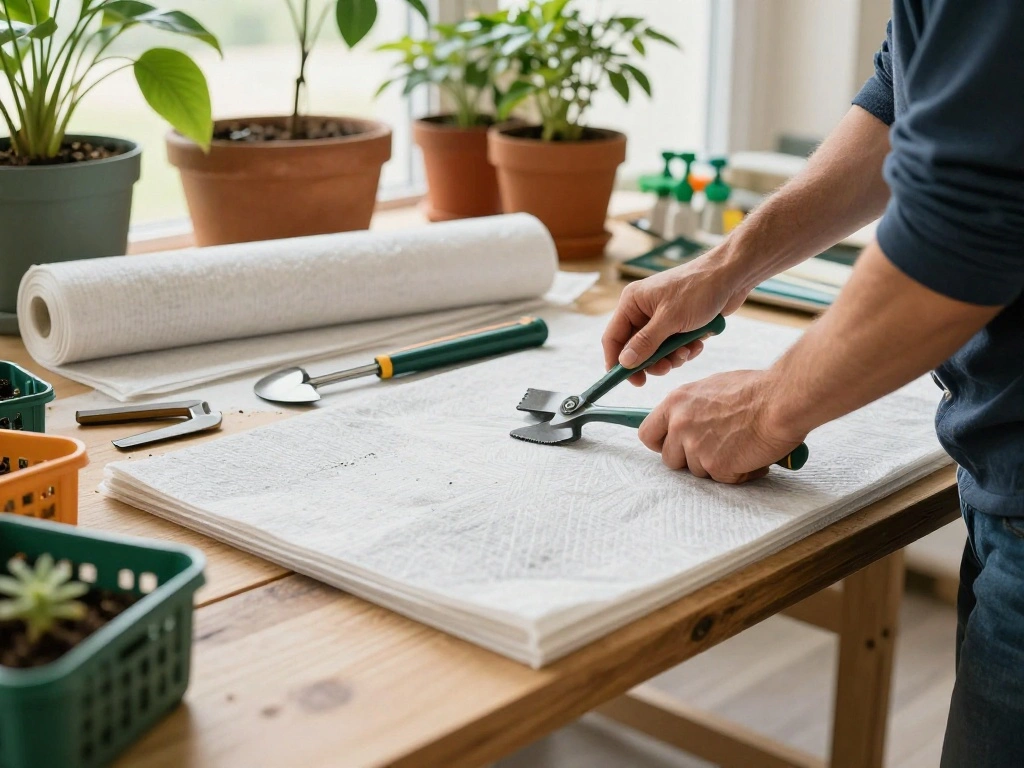
Step 3: Cut Your Lining Material
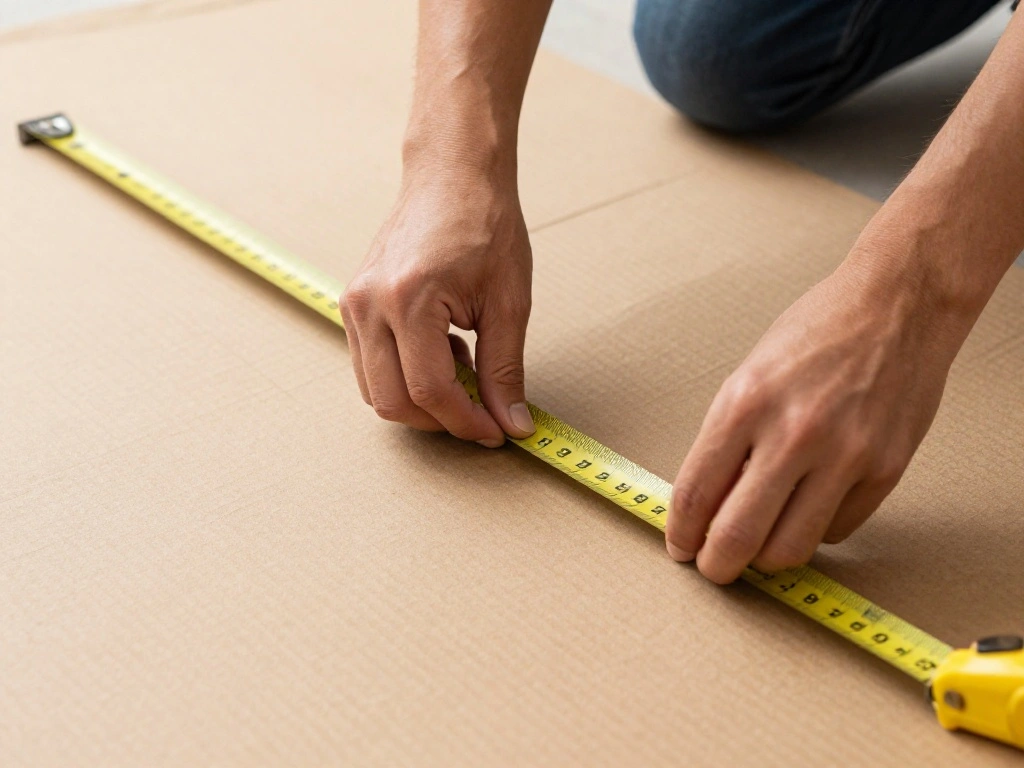
Prepare your lining material by cutting it to the appropriate size. This ensures proper coverage of the raised bed.
1. Measure the dimensions of your raised bed’s bottom and sides.
2. Cut the landscape fabric or cardboard to fit these measurements, allowing extra material to secure around the edges.
3. If using wood, cut pieces to create a sturdy frame.
Pro Tip: Use a utility knife for clean cuts, especially with cardboard or fabric.
Time estimate: 30 minutes
Step 4: Secure the Lining Material
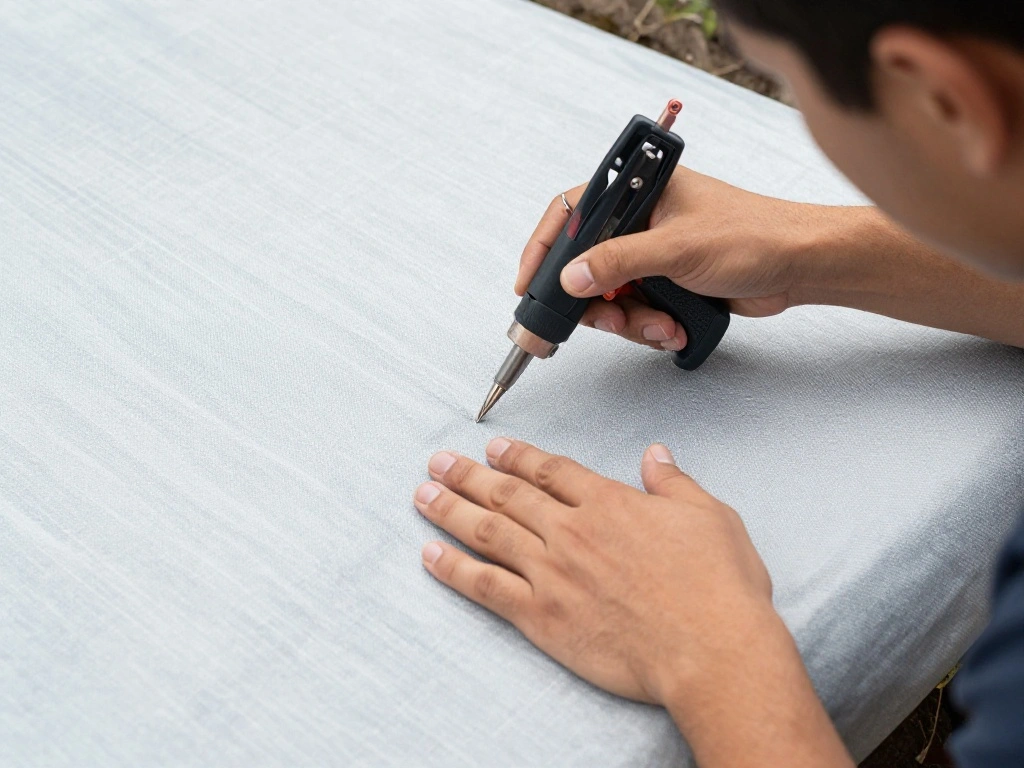
Now, it’s time to secure your lining material to the raised bed. Proper securing prevents movement and ensures effective protection for your plants.
1. Lay the cut lining material into the raised bed, ensuring it covers the bottom and sides.
2. Use a staple gun or garden staples to secure the fabric or cardboard to the sides of the bed, ensuring tightness.
3. If using wood, nail or screw the pieces into place, creating a solid frame.
Warning: Be careful while using tools; ensure you’re wearing gloves for protection.
Time estimate: 45 minutes
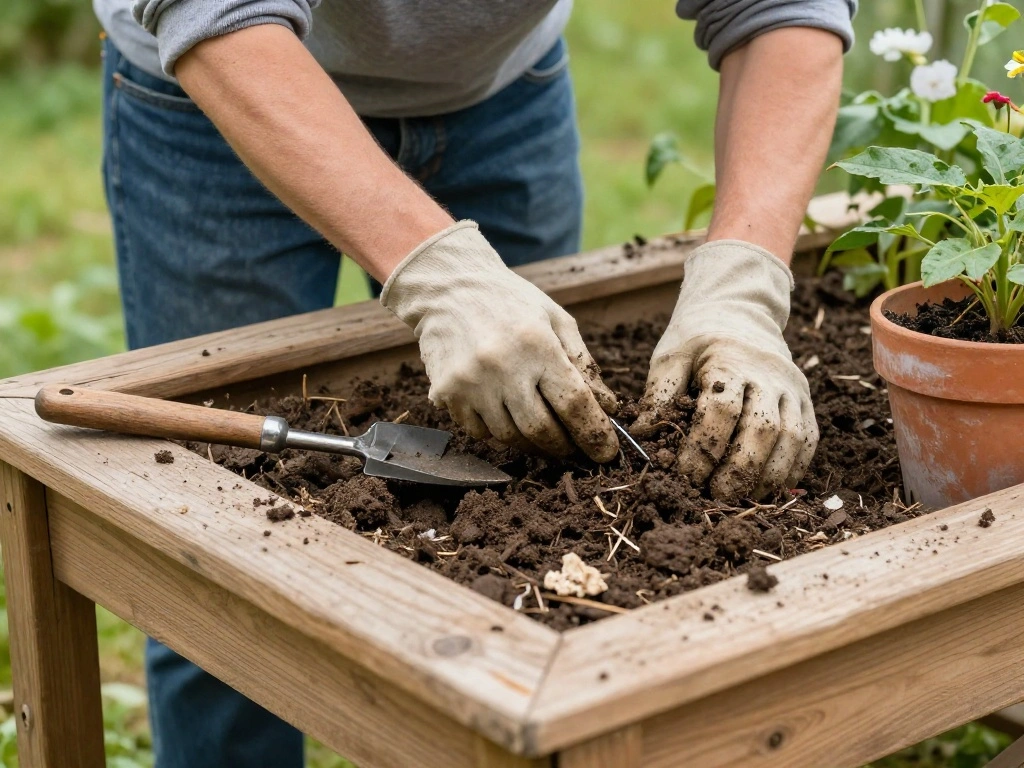
Step 5: Add Soil to the Bed
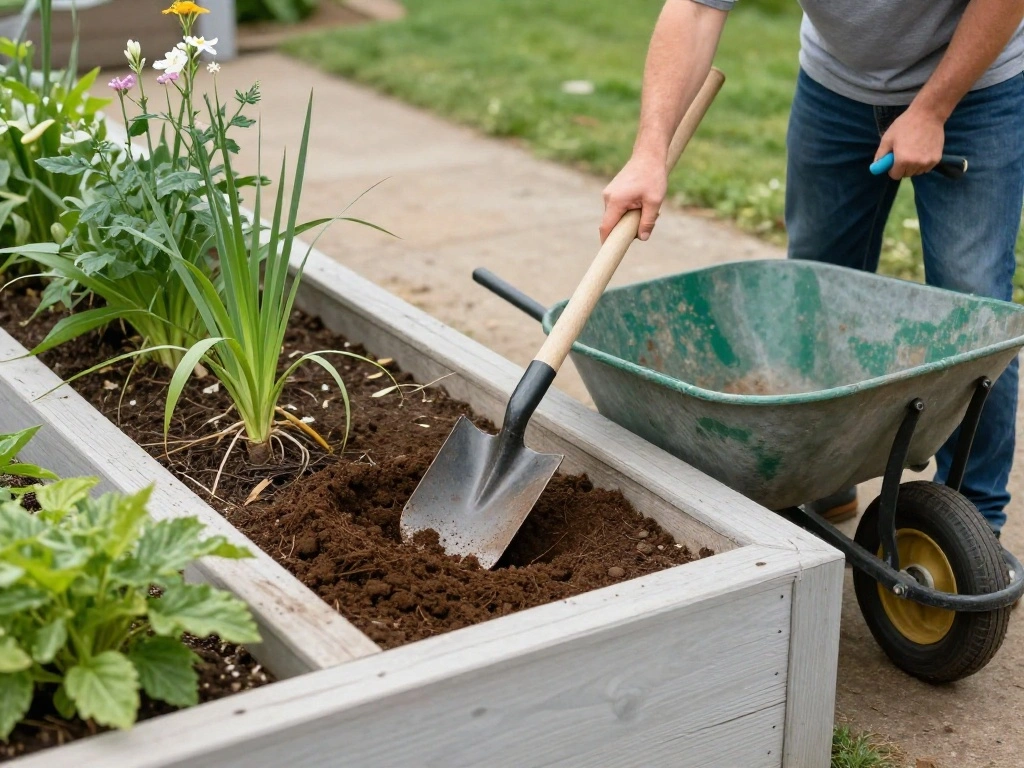
With your raised bed lined, it’s time to fill it with soil. This step is essential for creating a suitable environment for your plants.
1. Choose a quality soil mix, ideally a combination of topsoil, compost, and organic matter.
2. Carefully fill the lined raised bed with the soil mixture, ensuring even distribution.
3. Leave a few inches of space at the top of the bed for watering and planting.
Pro Tip: Use a soil moisture meter to check if the soil is suitable for your plants after filling.
Time estimate: 30 minutes
Step 6: Water Your Soil
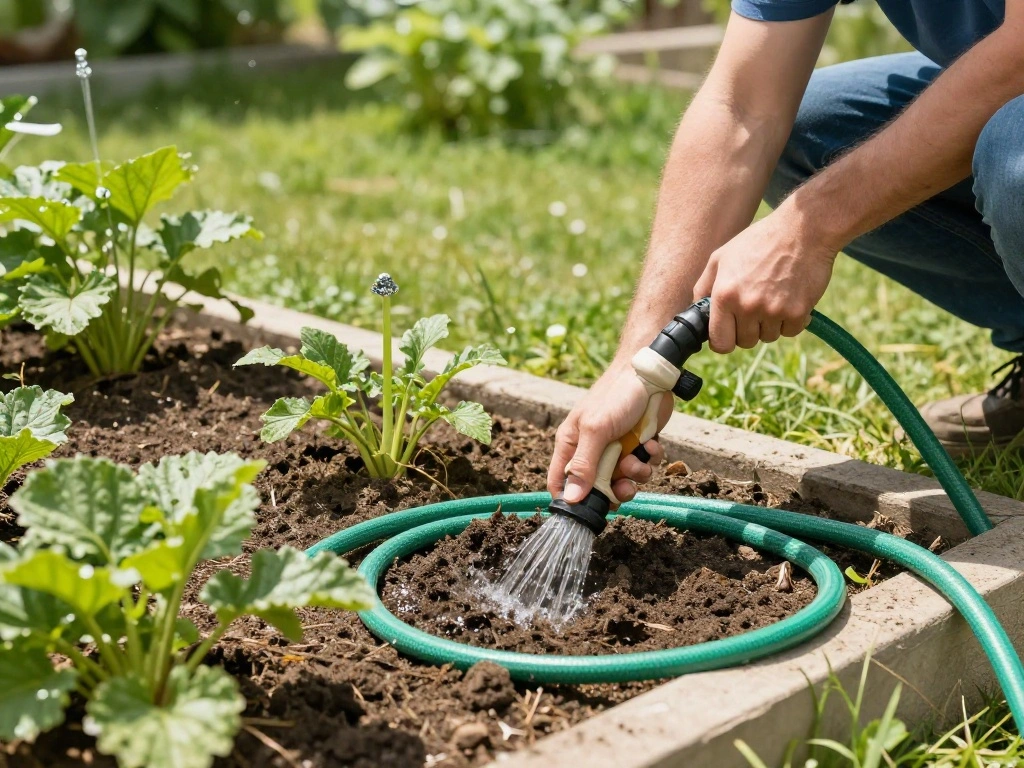
Watering your newly filled raised bed is crucial for settling the soil and preparing it for planting.
1. Use a garden hose or watering can to evenly moisten the soil.
2. Water until you see moisture coming through the drainage holes, if applicable.
3. Allow the soil to settle for a few hours before planting.
Warning: Avoid overwatering, as it can lead to soil compaction and poor drainage.
Time estimate: 20 minutes
Step 7: Plant Your Seeds or Seedlings

Finally, it’s time to plant your seeds or seedlings in the lined raised bed. This is where your hard work pays off!
1. Choose your desired seeds or seedlings based on your climate and preferences.
2. Follow the recommended planting depth and spacing instructions for your chosen plants.
3. Gently cover the seeds or seedlings with the appropriate amount of soil.
Pro Tip: Label your plants for easy identification as they grow.
Time estimate: 30 minutes
Pro Tips
- Soil Quality: Invest in quality soil to ensure healthy plant growth.
- Mulching: Add mulch on top of the soil after planting to retain moisture and suppress weeds.
- Regular Maintenance: Check your plants regularly for pests and diseases to address issues early.
- Seasonal Adjustments: Adjust your lining materials according to seasonal changes for optimal plant health.
- Companion Planting: Consider planting compatible plants together for better growth and pest control.
Common Mistakes to Avoid
Warning: Not lining correctly can lead to soil erosion. Always ensure your lining material fits snugly to prevent this.
Warning: Using untreated wood may leach harmful chemicals. Opt for treated wood or alternatives.
Warning: Overwatering can compact soil. Water adequately but not excessively.
Warning: Ignoring pest control can harm your plants. Regularly check your garden for pests.
Warning: Planting too close together can hinder growth. Follow spacing guidelines for each plant type.
Troubleshooting Section
Problem: Soil is washing away.
Solution: Ensure proper lining; consider adding a barrier like rocks or gravel at the bottom before lining.
Problem: Plants are wilting.
Solution: Check for proper watering; adjust your watering schedule as needed.
Problem: Weeds are growing in the bed.
Solution: Regularly check and remove weeds; consider adding mulch to suppress growth.
Problem: Soil is too compacted.
Solution: Gently loosen soil and aerate with a garden fork to improve drainage.
Problem: Pests are damaging plants.
Solution: Use organic pest control methods or introduce beneficial insects to your garden.
Variations/Alternative Methods
1. Cardboard Lining: Use cardboard as a biodegradable option. It breaks down over time but helps suppress weeds initially.
2. Plastic Lining: While not recommended due to chemical leaching, it can be used in non-edible gardens for temporary solutions.
3. Wooden Frames: Instead of lining, build a wooden frame to create a raised bed that naturally contains soil.
FAQs
What if I don’t have landscape fabric?
You can use cardboard or newspaper as an alternative for lining your raised bed.
How long should I wait to plant after lining?
After lining and filling with soil, wait at least a few hours to allow the soil to settle before planting.
Is it safe to use treated wood?
Yes, treated wood is generally safe for garden beds, but ensure it’s appropriate for growing edible plants.
What if my plants are not growing well?
Check soil quality, watering practices, and sunlight exposure to ensure optimal growth conditions.
Can I reuse lining materials?
Yes, but inspect them for damage or degradation before reusing.
Conclusion
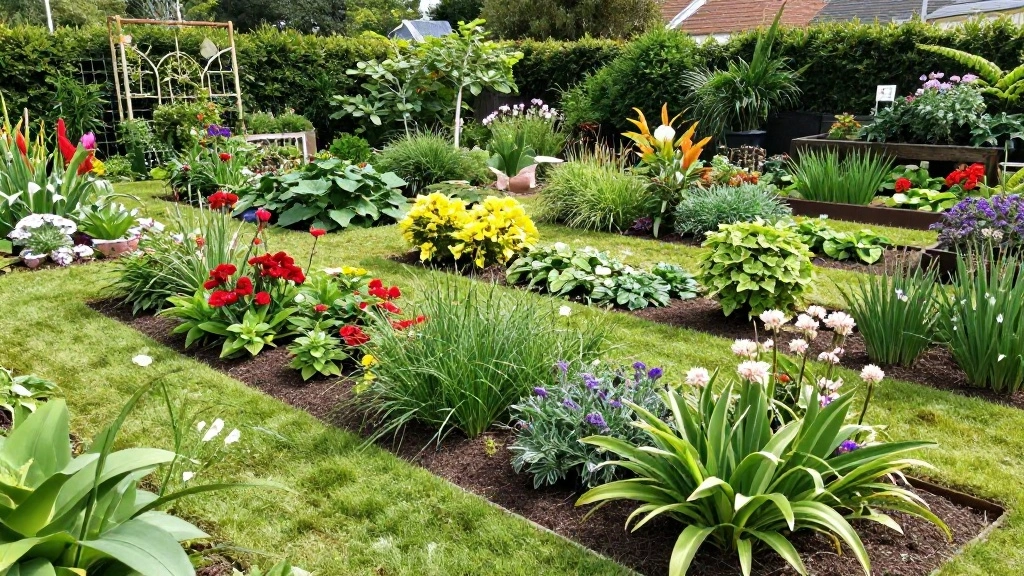
Congratulations! You’ve successfully lined your raised garden bed, creating a better environment for your plants. With the right materials and care, your garden will flourish.
Now that you’ve completed this guide, consider expanding your garden with new plants or exploring advanced gardening techniques. Remember to keep learning and experimenting for the best results!