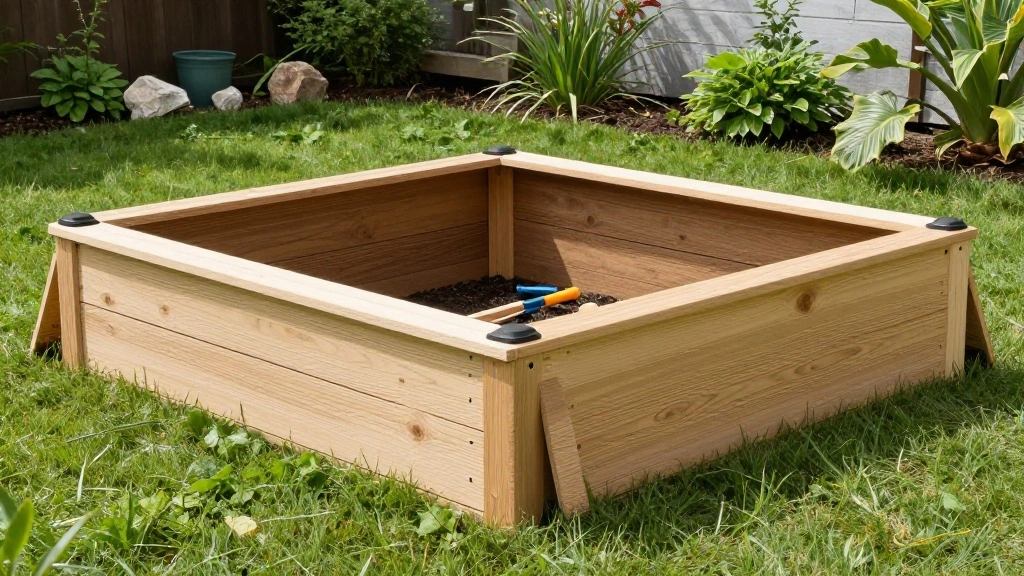
As the colder months approach, gardeners face the challenge of protecting their plants from frost damage. Frost can kill delicate seedlings and stifle the growth of more established plants, leading to disappointment and wasted effort. Fortunately, building a raised bed with a hinged cover offers an effective solution to this problem, allowing for easy access while providing essential protection against frost.
In this guide, you will learn how to construct a raised bed that not only elevates your plants for better drainage but also features a hinged cover to shield them from cold temperatures. By the end of this project, you will have a functional and aesthetically pleasing raised bed that can help extend your growing season.
This DIY project is classified as intermediate in skill level and is estimated to take about 3-4 hours to complete. You will specifically learn how to select materials, construct the bed frame, attach the hinged cover, and ensure it operates smoothly. Let’s get started!
TL;DR Summary
- Learn to build a raised bed with a hinged cover for frost protection.
- Project is of intermediate skill level and takes about 3-4 hours.
- Materials include wood, hinges, and protective covering.
- Follow seven clear steps to complete the project efficiently.
Prerequisites/Materials Needed
- Wood: 2×4 lumber (6 pieces, 8 feet long for frame)
- Wood: 1×6 lumber (4 pieces, 6 feet long for sides)
- Hinges: 2 heavy-duty hinges (for cover attachment)
- Screws: 2-inch wood screws (1 box)
- Wood Finish: Non-toxic sealant or paint (1 can)
- Tools: Drill, saw, measuring tape, level, and sander
Skill Level & Time Estimate
Skill Level: intermediate
Total time estimate: 3-4 hours
Breakdown of time:
- Material preparation: 1 hour
- Constructing the frame: 1-1.5 hours
- Attaching the cover: 1 hour
- Finishing touches: 30 minutes
Step 1: Measure and Cut the Wood
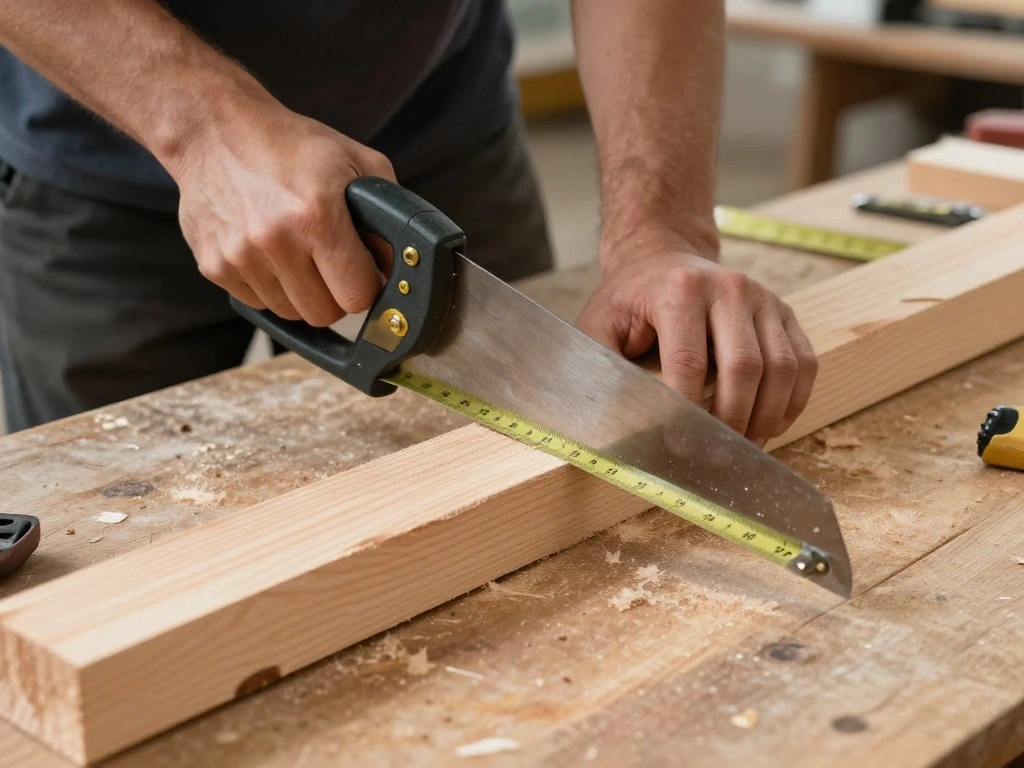
Start by measuring and cutting your wood to the appropriate lengths. This step is crucial for ensuring that your raised bed fits well in your chosen space and is structurally sound.
- Use a measuring tape to mark 4 feet for the width and 6 feet for the length on the 2×4 lumber.
- Cut the 2×4 lumber into two 4-foot pieces and two 6-foot pieces.
- For the sides, measure and cut the 1×6 lumber into four 6-foot pieces.
Warning: Double-check measurements before cutting to avoid waste. Pro Tip: Use a miter saw for clean cuts that fit together snugly.
Why this matters: Accurate cuts ensure your raised bed is stable and visually appealing. Time estimate: 30-45 minutes.
Step 2: Assemble the Frame
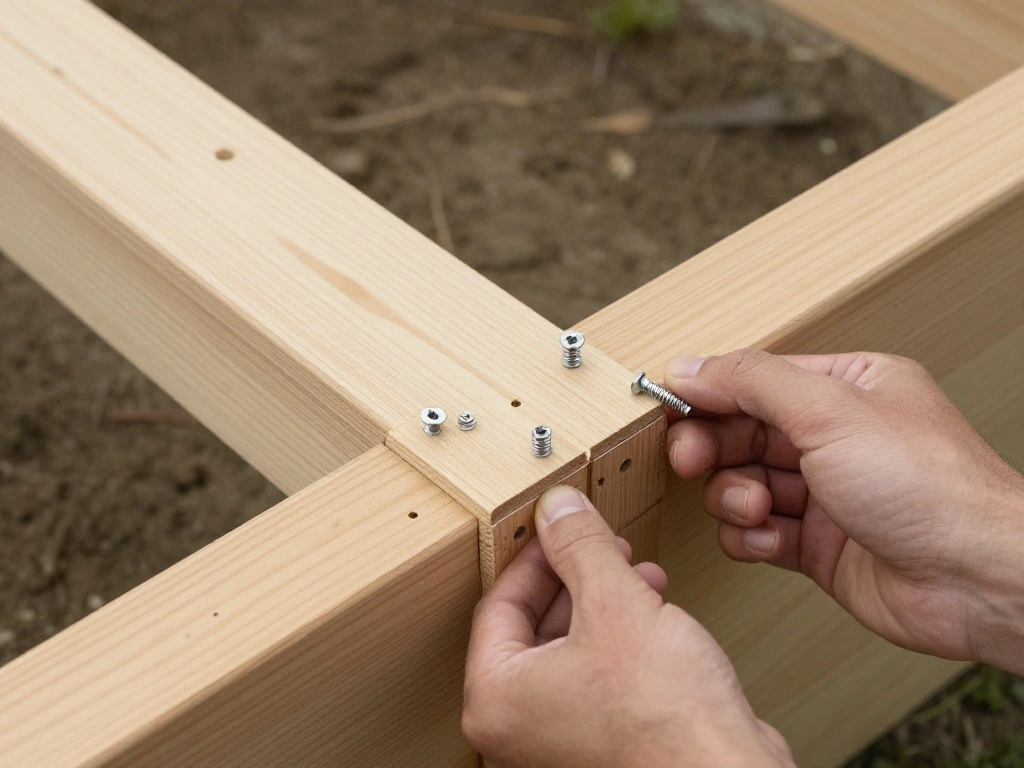
With your wood cut to size, it’s time to assemble the frame of the raised bed. This step is essential for creating the structure that will support your plants.
- Lay the 4-foot pieces horizontally and attach the 6-foot pieces vertically using wood screws at each corner.
- Ensure that the corners are square by using a level.
- Secure the frame with extra screws for additional strength.
Warning: Ensure all screws are tight to prevent the structure from wobbling. Pro Tip: Pre-drill holes to prevent the wood from splitting.
Why this matters: A solid frame supports the weight of soil and plants, preventing collapse. Time estimate: 30-45 minutes.
Step 3: Attach the Sides
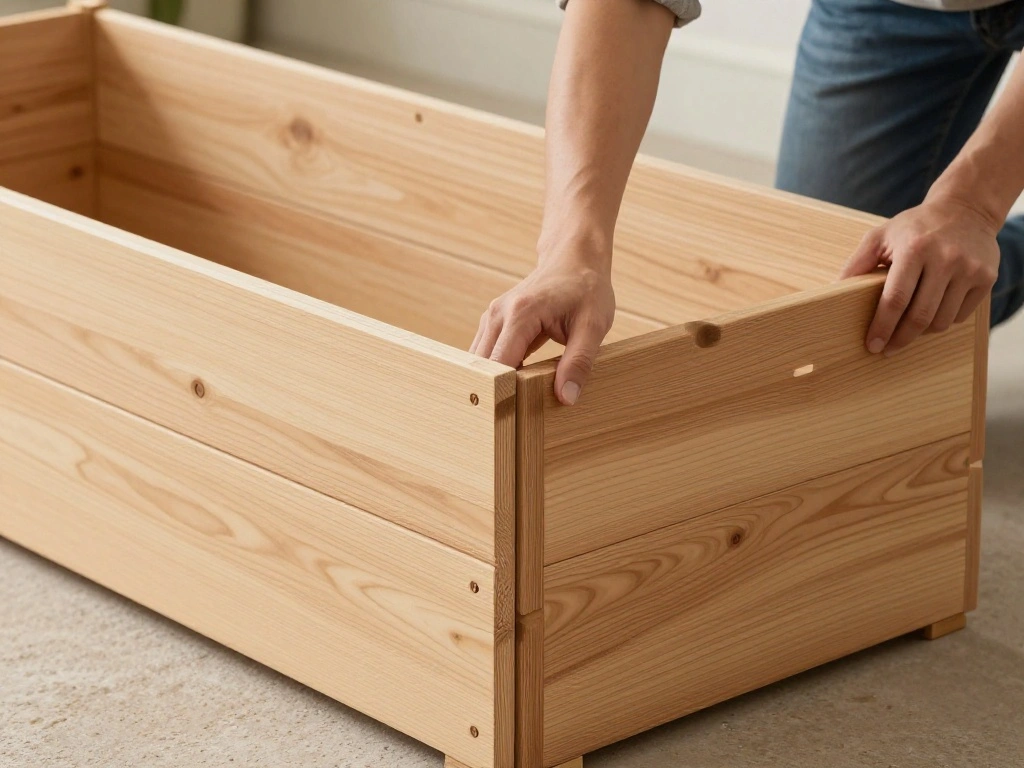
Now that the frame is ready, you need to attach the sides to create the walls of the raised bed. This adds depth and structure.
- Attach the 1×6 pieces vertically along the sides of the frame using screws.
- Space them evenly to allow for drainage.
- Check that the sides are flush with the top of the frame.
Warning: Misalignment can lead to an unstable structure. Pro Tip: Use clamps to hold the sides in place while securing with screws.
Why this matters: Properly attached sides prevent soil from spilling out and provide support for the plants. Time estimate: 30-45 minutes.
Step 4: Create the Hinged Cover

Next, you will create the hinged cover that protects your plants from frost while allowing for easy access. This is a key feature of your raised bed.
- Cut a piece of wood for the cover, ensuring it overlaps the frame by at least 2 inches on all sides.
- Attach the heavy-duty hinges to one side of the cover and the corresponding side of the raised bed frame.
- Check that the cover swings open easily without obstruction.
Warning: Ensure hinges are securely attached to prevent the cover from falling. Pro Tip: Use a level to ensure the cover sits evenly when closed.
Why this matters: A functional cover allows you to protect plants easily while ensuring optimal sunlight exposure. Time estimate: 45 minutes.
Step 5: Seal and Finish the Wood
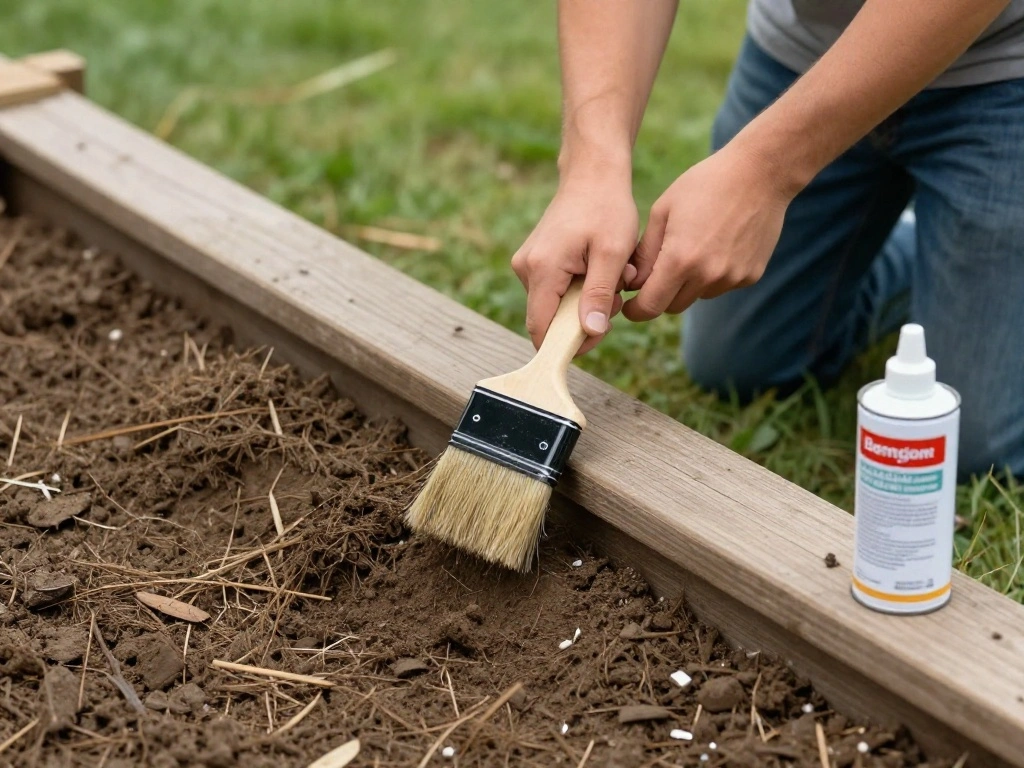
To prolong the life of your raised bed, sealing the wood is essential. This prevents rot and damage from moisture.
- Sand the entire structure to smooth any rough edges.
- Apply a non-toxic sealant or paint to all exposed wood surfaces.
- Allow the sealant to dry completely before filling the bed with soil.
Warning: Avoid using toxic chemicals that can harm plants. Pro Tip: Choose a sealant that is safe for edible plants if you plan to grow vegetables.
Why this matters: Protecting the wood extends the life of your raised bed, ensuring a durable gardening solution. Time estimate: 30 minutes.
Step 6: Fill the Raised Bed with Soil
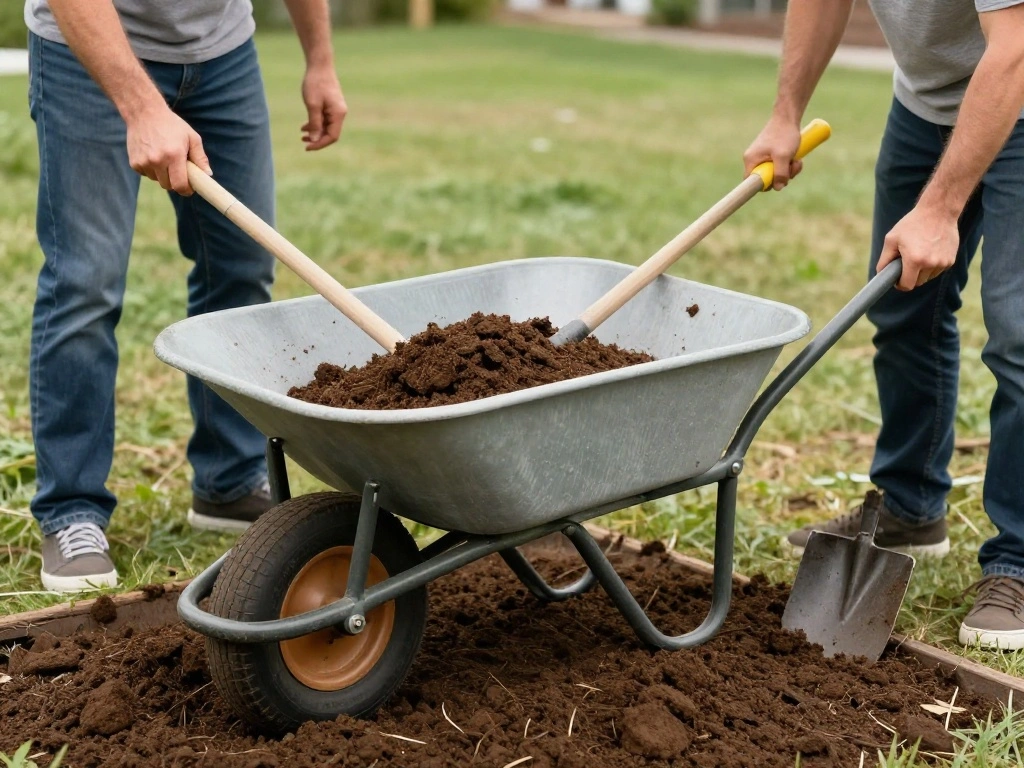
Once the sealant is dry, it’s time to fill your raised bed with soil. This step prepares the bed for planting.
- Use a mixture of topsoil, compost, and other organic materials for a nutrient-rich environment.
- Fill the bed to about 1 inch below the top edge to allow for watering.
- Level the soil with a rake to create an even surface.
Warning: Avoid compacting the soil too much, as this can hinder plant growth. Pro Tip: Let the soil settle for a day before planting to ensure even moisture distribution.
Why this matters: Proper soil composition is crucial for healthy plant growth. Time estimate: 30-45 minutes.
Step 7: Plant Your Seeds or Seedlings
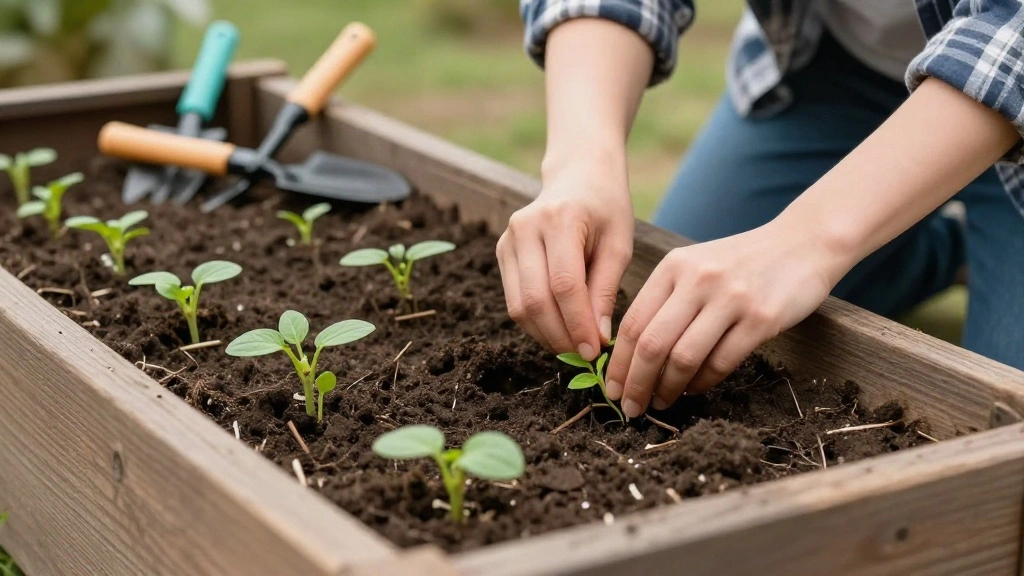
Your raised bed is now ready for planting! This is the final step where you can introduce your plants to their new home.
- Choose seeds or seedlings suited for your climate and growing season.
- Plant according to the recommended spacing for each type of plant.
- Water the plants lightly to settle the soil around them.
Warning: Avoid over-watering, which can lead to root rot. Pro Tip: Use a moisture meter to monitor soil moisture levels.
Why this matters: Proper planting ensures that your plants have the best chance of thriving in their new environment. Time estimate: 30-45 minutes.
Pro Tips
- Tip for Drainage: Incorporate small stones or gravel at the bottom of the bed to ensure drainage.
- Tip for Winter Use: Consider adding a layer of mulch on top of the soil in winter for added insulation.
- Tip for Accessibility: Ensure the raised bed is at a comfortable height for easy access, especially if you have mobility concerns.
- Tip for Pest Control: Use row covers on the hinges to further protect against pests while allowing sunlight in.
- Tip for Plant Selection: Choose cold-hardy varieties for early planting in spring.
Common Mistakes to Avoid
Warning: Failing to level the ground can lead to an unstable raised bed. To fix this, ensure the ground is level before starting.
Warning: Using treated wood can leach chemicals into the soil. Opt for untreated wood instead.
Warning: Neglecting to secure the hinges can cause the cover to detach. Always double-check hinge security.
Warning: Not allowing the sealant to dry can lead to peeling. Wait at least 24 hours before planting.
Warning: Overfilling the bed can cause soil to spill out. Leave at least an inch below the top edge for water retention.
Troubleshooting Section
Problem: The cover does not open easily.
Solution: Check the hinges for tightness and ensure there are no obstructions. Adjust as necessary.
Problem: The bed is wobbling or unstable.
Solution: Level the ground beneath the bed and reinforce corners with additional screws.
Problem: Water pools at the bottom of the bed.
Solution: Ensure proper drainage by adding gravel or holes at the bottom of the frame.
Problem: Soil is washing away during rain.
Solution: Add a border around the bed or use landscaping fabric to hold soil in place.
Problem: Plants are not thriving.
Solution: Check soil quality and ensure it has adequate nutrients; amend as needed.
Variations/Alternative Methods
1. Alternative Materials: Instead of wood, consider using composite materials for added durability and resistance to rot.
2. Different Cover Options: Use a removable cover instead of a hinged one for easier cleaning and access.
3. Height Variations: Build taller raised beds for deeper-rooted plants or lower beds for easier maintenance.
Each of these variations can be beneficial depending on your specific gardening needs.
FAQs
What if I don’t have access to treated wood? Untreated wood is safe and effective for building your raised bed.
How long should I wait after sealing before planting? Allow at least 24 hours for the sealant to dry completely.
Is it safe to grow vegetables in a raised bed made of untreated wood? Yes, untreated wood is ideal for growing vegetables as it doesn’t leach harmful chemicals.
What if my plants are too tall for the cover? You can remove the cover during warmer days or adjust the height of the cover.
How do I ensure my plants get enough sunlight? Position the raised bed in a sunny location, and consider adjusting the cover to allow light in when needed.
Conclusion
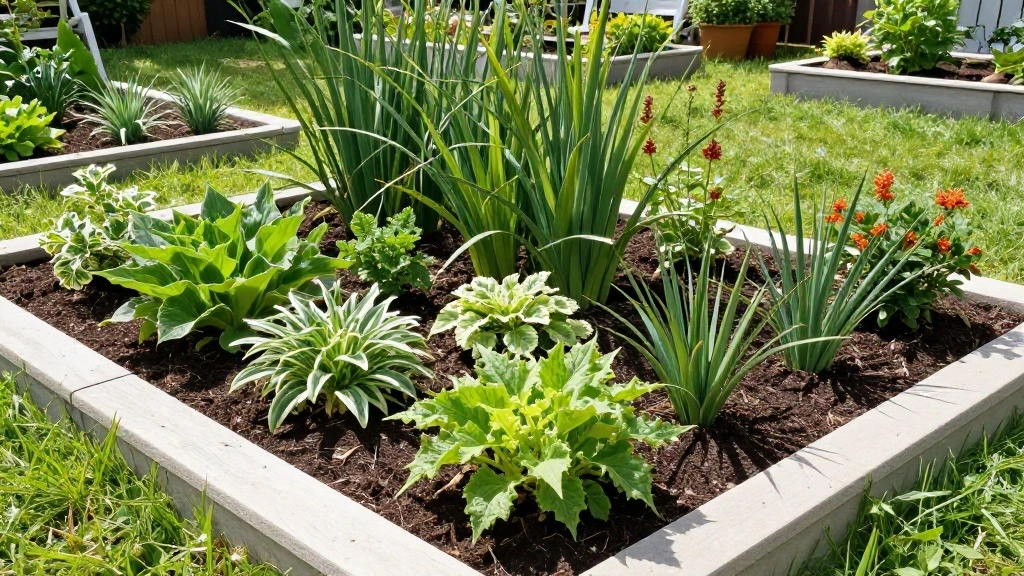
Congratulations on building your raised bed with a hinged cover for frost protection! You have created a versatile gardening solution that will keep your plants safe during the colder months. Now that your bed is ready, consider expanding your garden by trying different plant varieties or implementing companion planting techniques.
Feel free to explore additional resources on gardening and raised bed techniques to enhance your knowledge. Remember, every step you take brings you closer to your gardening goals. Happy gardening!