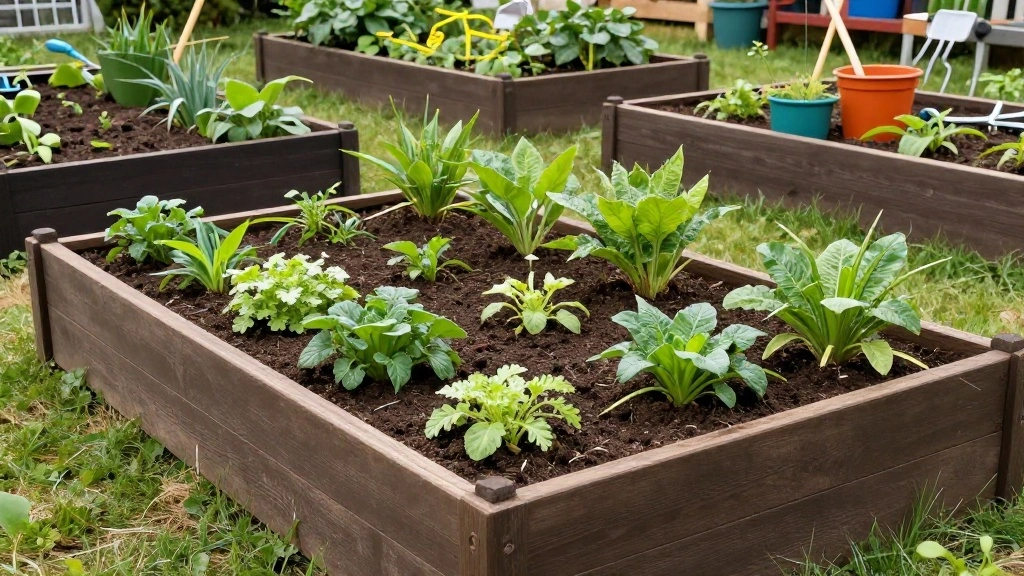
Are you tired of lackluster harvests and wondering why your plants don’t thrive as they should? Poor soil quality might be the culprit. Over time, raised bed soil can become depleted of essential nutrients, leading to weak plants and disappointing yields. It’s crucial to refresh and amend your soil to ensure your garden flourishes each season.
In this guide, you will learn how to effectively amend and refresh your raised bed soil, allowing your plants to absorb nutrients more efficiently. You’ll explore practical steps to enhance soil structure, improve drainage, and boost fertility, ensuring your garden is both productive and healthy.
This guide is designed for beginners and will take approximately 2-3 hours to complete. You’ll walk away with a deep understanding of soil health and practical skills to create a thriving garden. Let’s dig in!
TL;DR Summary
- Assess and remove old soil and debris from your raised bed.
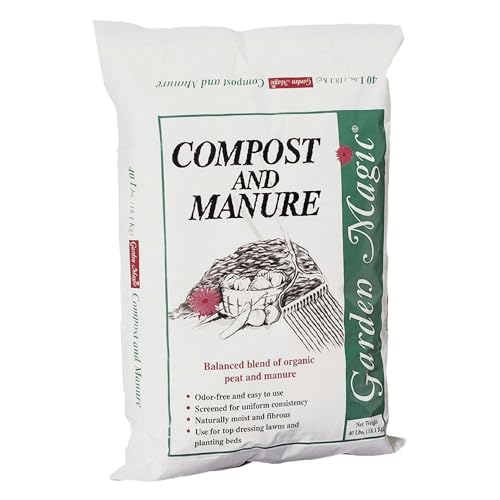
- Add organic matter such as compost and manure to enrich the soil.
- Test soil pH and nutrients, adjusting as necessary.
- Mix in amendments thoroughly for even distribution.
Prerequisites/Materials Needed
- Gardening gloves (1 pair)
- Shovel or spade (1)
- Compost (1-2 bags, 1 cubic foot each)
- Organic matter (1-2 bags of well-rotted manure or leaf mold)
- Soil test kit (1 kit)
- Garden rake (1)
- Watering can or hose (1)
Recommended Products
Organic Compost Blend: Enhance the nutrient content and soil quality of lawns and raised garden beds with this organic blend, promoting healthy plant growth and soil vitality

Ready to Use, Right from the Bag: No prep required—this raised bed garden soil is packed with organic nutrients and ready to use for quick and easy planting

Nutrient-Rich Organic Compost for Healthy Soil: Support stronger plant growth with this premium organic compost made from dairy cow manure. This all purpose soil amendment helps replenish essential nutrients often depleted after harvests, making it ideal for vegetable gardens, fruit trees, flowers, lawns and container plants.
Skill Level & Time Estimate
Skill Level: beginner
Total time estimate: 2-3 hours
Breakdown:
- Step 1: 30 minutes
- Step 2: 30 minutes
- Step 3: 30 minutes
- Step 4: 1 hour
- Step 5: 30 minutes
- Step 6: 30 minutes
Step 1: Clear Old Soil and Debris
Begin by clearing out the old soil and any debris from your raised bed. This is crucial for removing any plant residues that could harbor pests or diseases. Follow these steps:
- Put on your gardening gloves.
- Use the shovel or spade to remove the top layer of soil (about 2-4 inches).
- Check for any dead plants, weeds, or roots and remove them entirely.
Warning: Avoid leaving any diseased plant material in the soil, as this could affect new plants.
Why this matters: Clearing the bed prepares a clean slate for new soil amendments, helping to ensure a healthy environment for your plants.
Time estimate: 30 minutes.
Recommended Products

100% Organic & Peat-Free: Our compost mix is 100% organic & peat-free. Peat is one of Mother Nature’s most important stores of carbon. Instead of imported peat, the base of our soils is made from upcycled plant matter or wood fines from the United States!

Feed the soil not the plants - stimulate microbial activity in your soil and boost probability of success with all types of plants… like composting but faster

1. FULL-SIZE 10 LB COCO COIR POTTING SOIL BRICK Verdana Coco Coir Potting Soil is a full-size compressed coconut coir brick for gardeners who want a clean, natural growing medium for potting mixes, raised beds, seed starting, containers, and houseplants.
Step 2: Assess Soil Quality
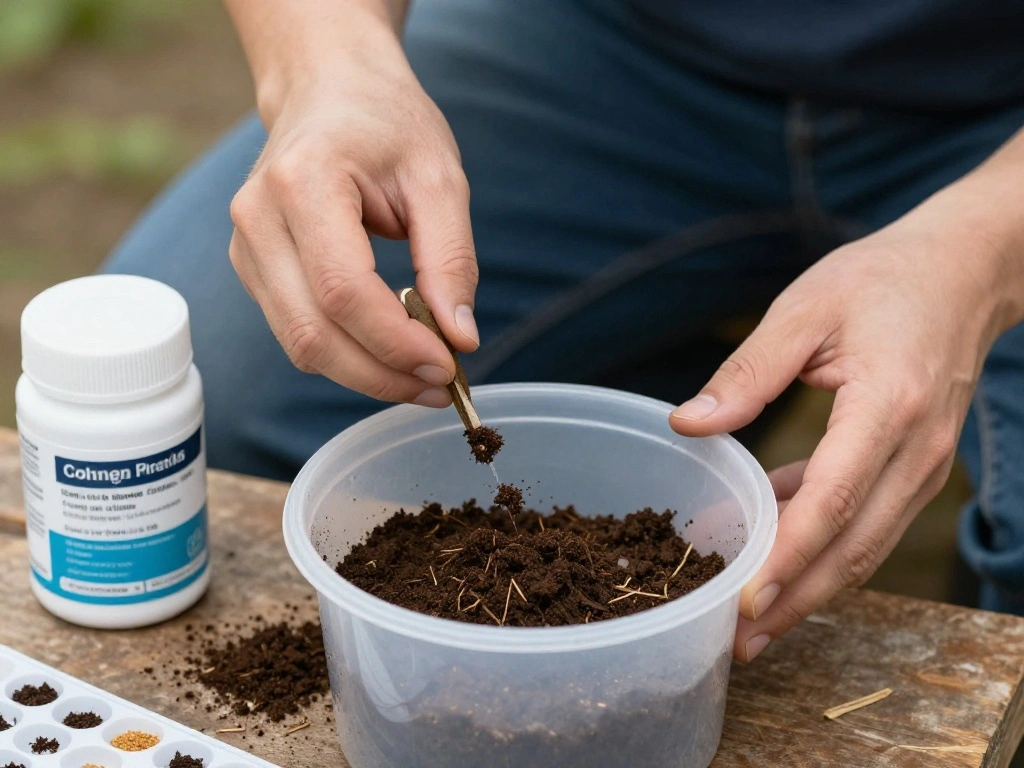
Next, assess the quality of your soil using a soil test kit. This step is vital to understand what nutrients your soil lacks. Here’s how to do it:
- Follow the instructions on the soil test kit.
- Collect samples from various spots in the raised bed.
- Mix the soil samples in a clean container and test for pH and nutrient levels.
Pro Tip: Take note of the results, as they will guide your amendments.
Why this matters: Knowing the nutrient composition allows you to make informed decisions about what amendments to add, ensuring your plants receive the right nutrients.
Time estimate: 30 minutes.
Step 3: Add Organic Matter
Now it’s time to enrich your soil with organic matter. Organic matter improves soil structure, drainage, and nutrient retention. Follow these steps:
- Spread a layer of compost (1-2 inches) evenly over the soil surface.
- Add well-rotted manure or leaf mold.
- Use a garden rake to mix these amendments into the top 6-12 inches of soil.
Pro Tip: Aim for a balanced mix to avoid over-fertilizing.
Why this matters: Organic matter is essential for creating a fertile environment that promotes healthy plant growth.
Time estimate: 30 minutes.
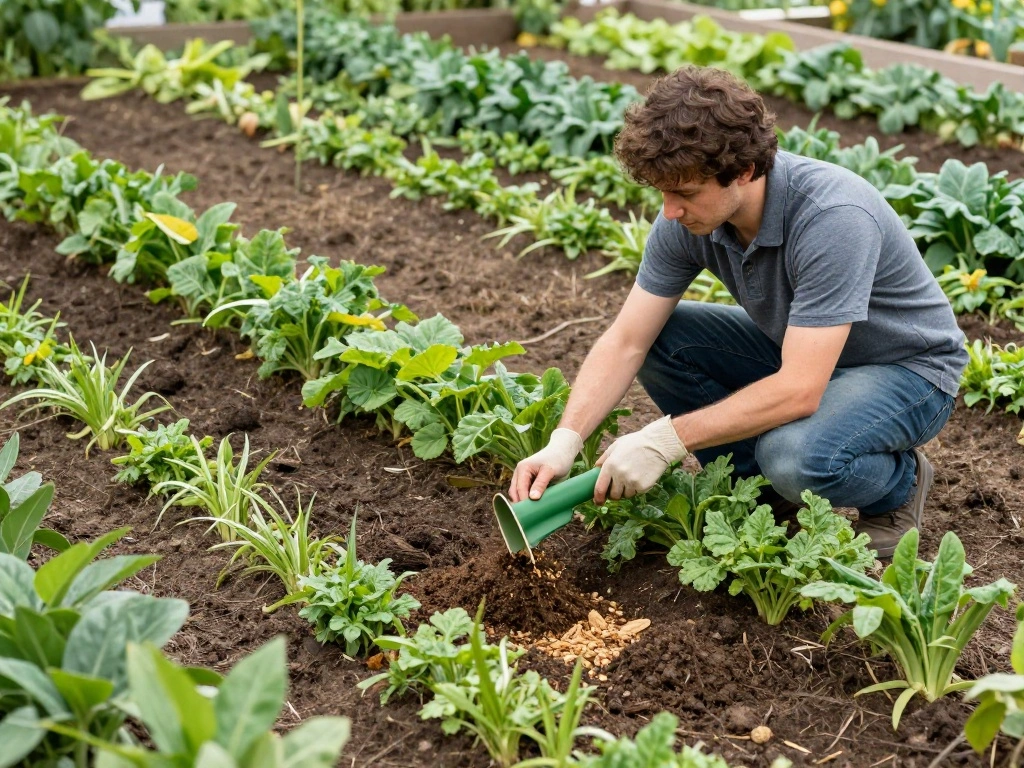
Step 4: Mix in Soil Amendments

With your organic matter added, it’s time to mix in any additional soil amendments based on your soil test results. Here’s how to do it:
- Identify the amendments needed (e.g., lime for pH balance, bone meal for phosphorus).
- Spread the amendments over the soil surface according to package instructions.
- Use a rake to blend the amendments thoroughly into the soil.
Warning: Always follow recommended application rates to prevent nutrient burn.
Why this matters: Properly mixed amendments ensure even distribution, improving overall soil health and plant growth.
Time estimate: 1 hour.
Recommended Products
Premium, Organic, Soil Amendment: Rich in fulvic & humic acids plust trace minerals help improve soil health. Simply shake into soil and water after application for flourishing lawns, vegetable gardens, trees, shrubs, and flowers

FOR TIRED, COMPACTED POTTING SOIL – If your plants aren’t thriving even though you’re watering and caring for them properly, your potting mix may be depleted. Lively reactivates tired soil by breaking down buildup and releasing trapped nutrients for healthier root zones and renewed growth.
Harvest Gold Organics Premium Soil Conditioner is safe for pets, non-toxic and kid friendly. Our all- natural micronutrient blend for Plants is certified organic. We believe that plant and garden care products should be good for plants, and safe for pets, people and the planet.
Step 5: Water the Soil
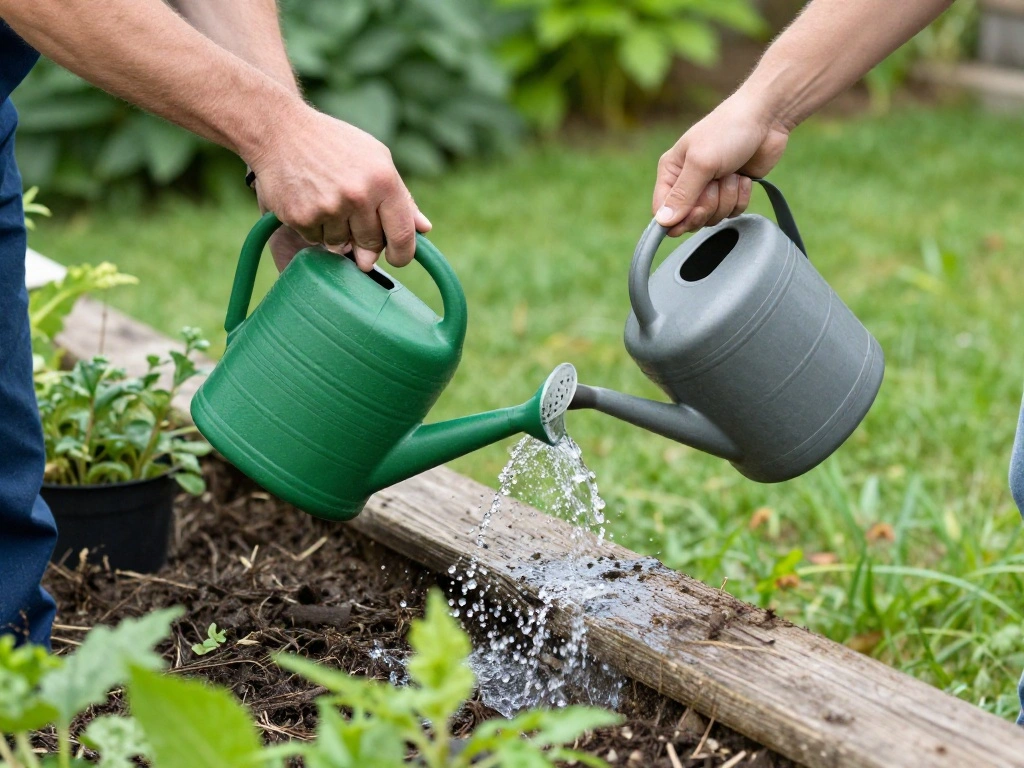
After mixing in your amendments, it’s crucial to water the soil to activate the nutrients and help them settle. Follow these steps:
- Use a watering can or hose to moisten the soil thoroughly.
- Ensure the water penetrates at least 6 inches deep.
- Check for any pooling and adjust your watering technique as necessary.
Pro Tip: Watering in the morning helps minimize evaporation.
Why this matters: Adequate moisture activates soil microbes and starts breaking down organic matter, enhancing nutrient availability for your plants.
Time estimate: 30 minutes.
Recommended Products

Natural and Effective: An all-natural, synthetic-free, sustainable fertilizer made from nutrient-rich organic waste.

PREMIUM QUALITY INGREDIENTS: Cz Garden Clay Pebbles are high fired and expanded to create a porous structure that absorbs moisture then releases back to plants when roots need it most.

Enriched with 4.5% North Atlantic Seaweed – Premium liquid kelp extract made from Ascophyllum nodosum, sustainably harvested in cold northern waters for maximum nutrient density.
Step 6: Prepare for Planting
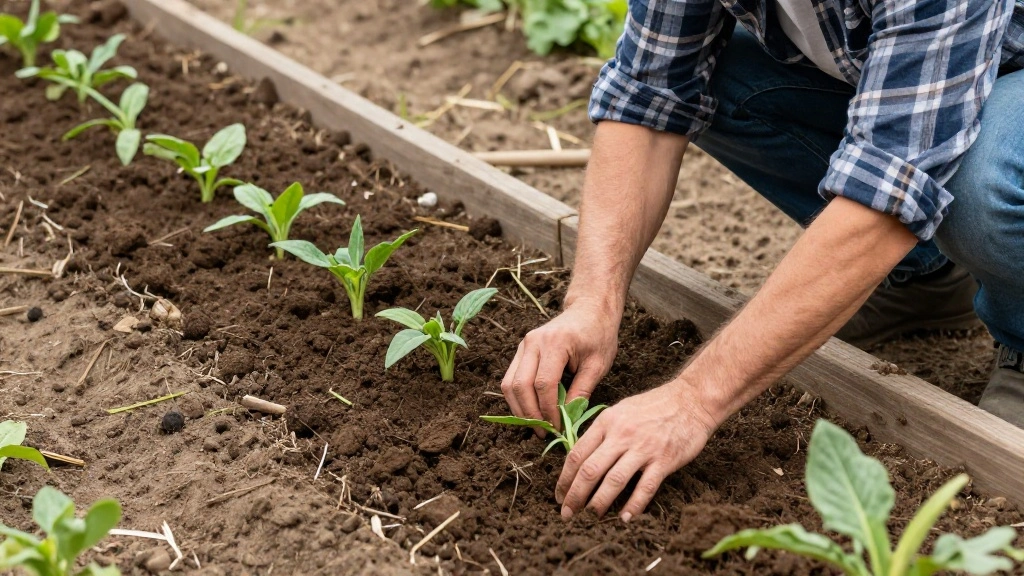
Finally, prepare your raised bed for planting. This step ensures your garden is ready for new crops. Do the following:
- Level the soil surface with a rake.
- Create planting rows or holes as needed based on your planting plan.
- Consider adding mulch to retain moisture and suppress weeds.
Pro Tip: Mulching helps maintain soil temperature and reduces watering needs.
Why this matters: Proper preparation sets the stage for successful planting, leading to healthy plants and bountiful harvests.
Time estimate: 30 minutes.
Pro Tips
- Test Soil Annually: Regular testing helps you keep track of nutrient levels and adjust amendments accordingly.
- Use Cover Crops: Plant cover crops in the off-season to improve soil fertility and structure.
- Rotate Crops: Change the location of plants each year to prevent nutrient depletion and pest buildup.
- Compost Regularly: Create a compost pile to recycle kitchen scraps and garden waste for continuous soil enrichment.
- Watch for Pests: Regularly inspect your raised bed for pests that may damage plants or soil health.
Common Mistakes to Avoid
Warning: Don’t skip soil testing. It can lead to improper amendments that may harm plants.
Warning: Avoid over-watering, as it can lead to poor drainage and root rot.
Warning: Don’t rush the mixing process. Inadequate mixing can lead to nutrient hotspots that can harm plants.
Warning: Avoid using fresh manure, which can burn plants and introduce pathogens.
Troubleshooting Section
Problem: Poor plant growth.
Solution: Check for nutrient deficiencies and amend accordingly.
Problem: Soil compaction.
Solution: Add organic matter to improve structure and aeration.
Problem: Excessive weeds.
Solution: Apply mulch to suppress weed growth.
Problem: Soil erosion.
Solution: Use raised edges and plant cover crops to hold soil in place.
Problem: Low moisture retention.
Solution: Add compost and mulch to improve water retention.
Variations/Alternative Methods
Option 1: No-Till Approach: Instead of turning over the soil, layer organic matter on top and let earthworms incorporate it naturally.
Option 2: Raised Bed Mix: Use a pre-mixed soil blend designed for raised beds, which can simplify the amending process.
Option 3: Container Gardening: If space is limited, consider container gardening as an alternative to raised beds, allowing for greater control over soil quality.
FAQs
What if I don’t have enough compost? You can purchase compost or make your own from kitchen scraps and yard waste.
How long should I wait to plant after amending? It’s best to wait a week or two to allow the amendments to settle and integrate into the soil.
Is it safe to use fresh manure? No, always use well-rotted manure to avoid burning plants.
Can I amend soil in winter? Yes, you can prepare your soil in winter, but be sure to cover it with a tarp to prevent erosion.
How often should I refresh my raised bed soil? Aim to refresh your soil annually, or every growing season, depending on plant growth.
Conclusion
Congratulations on refreshing your raised bed soil! You’ve taken an essential step toward creating a healthy and productive garden. With your newly amended soil, your plants will thrive, leading to bountiful harvests.
As you continue your gardening journey, consider implementing crop rotation and cover cropping for even greater soil health. Remember to monitor your soil and adjust your amendments as needed.
Keep growing, and enjoy the fruits of your labor!
Recommended Products

GARDENING ESSENTIAL: Ergonomic hand rake ideal for a variety of gardening tasks like precise raking in small planters, flowerbeds, hard-to-reach areas, and more to encourage overall plant health and appearance

A must have hand tool for every gardener. This hand rake is a great soil tiller and is perfect for cultivating, turning, and loosening soil in preparation for planting flowers and vegetables. Includes durable stainless steel prongs and ergonomic handle.

【Multi Function Rotary Tiller】: Handle adjustable stainless steel handle rotary cultivator with light weight strong aluminum tines and wheels, the garden tiller is easy aerating and cultivating your ground make soil mixing and reseeding the grass