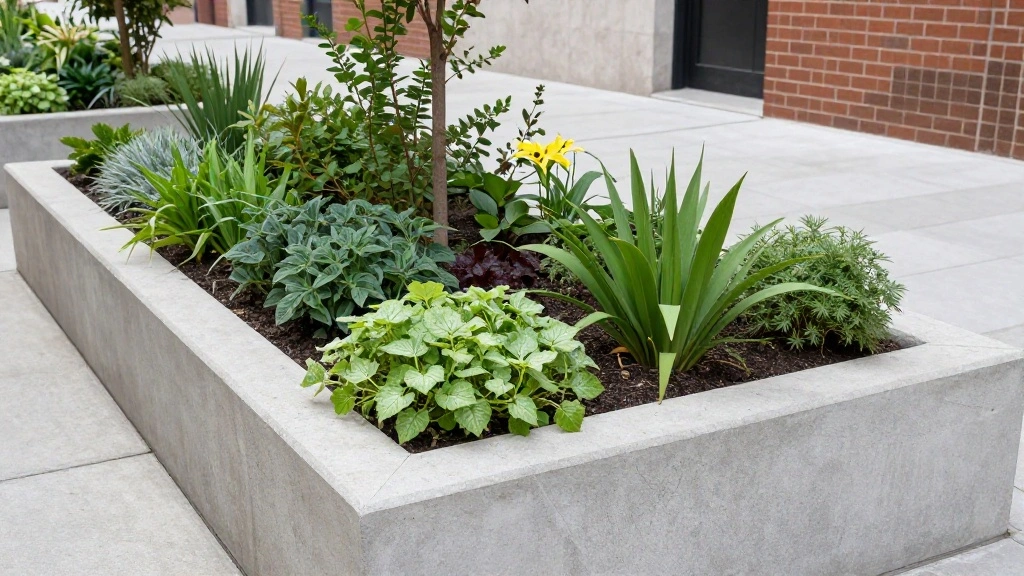
Are you dreaming of a beautiful garden but feel limited by your concrete backyard, paver patio, or deck? You’re not alone! Many gardening enthusiasts face the challenge of limited soil access and worry about how to grow plants in such conditions.
This guide offers a practical solution: building a raised bed that allows you to cultivate your favorite vegetables and flowers right on top of these surfaces. With a little creativity and effort, you will create a stunning and functional raised bed garden that enhances your space and provides fresh produce.
By following this guide, you will learn the essential steps to construct a raised garden bed on tough surfaces like concrete, pavers, or decks. You’ll discover the materials needed, the step-by-step process, and expert tips to ensure your garden thrives. This project requires an intermediate skill level and will take approximately 2-3 hours to complete.
TL;DR Summary
- Build a raised bed on concrete, pavers, or a deck to grow plants effectively.
- Gather the necessary materials and tools to ensure a smooth build process.
- Follow each step methodically to ensure a sturdy and functional raised bed.
- Utilize expert tips and avoid common mistakes for a successful gardening experience.
Recommended Products
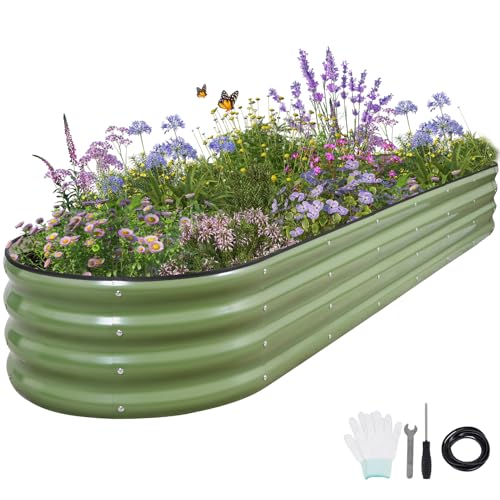
【Safe Edge】The garden box adopts a folding edge design for safe installation. The upgraded black strip shaped built-in iron clip will not fall off or deform under prolonged sunlight exposure. Used for reinforcement and injury prevention to further enhance protection. It is safer for children and pets

MOBILE GARDEN ON WHEELS — Two all-terrain wheels and an ergonomic handle let you roll a 200+ lb planted bed wherever sunlight goes. Move your garden across patio, balcony, or backyard in minutes.

Prerequisites/Materials Needed
- Materials:
- Wood planks (2×6 or 2×8, 8-12 feet long) – 4 pieces
- Wood screws (3-inch) – 1 box
- Landscape fabric – 1 roll
- Soil mix – sufficient for your bed size
- Mulch – optional, for moisture retention
- Tools:
- Drill
- Saw (hand saw or circular saw)
- Screwdriver
- Measuring tape
- Level
Recommended Products
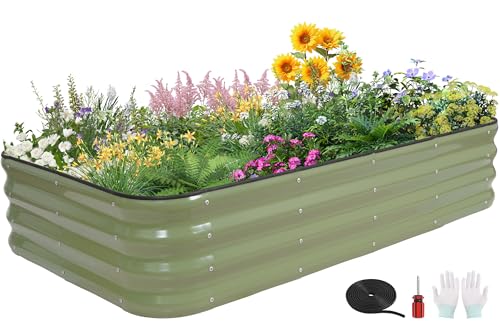
【 Rust-Resistant and Durable 】Planting bed is made from high-quality galvanized steel, effectively preventing rust and significantly extending its lifespan.Garden bed is treated on both sides with a non-toxic coating, ensuring safety and reliability. This construction not only enhances corrosion resistance but also provides excellent strength and stability, better resisting moisture and soil erosion. Additionally, it improves the aesthetic appeal of the product, meeting various gardening needs.
Each raised metal garden bed size: 4×2×1ft ,7.14Cu
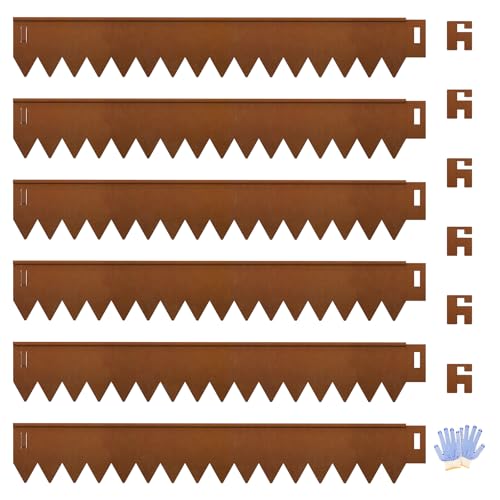
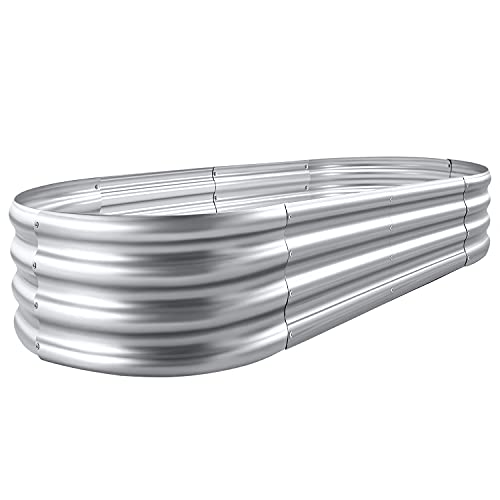
【Weathering Steel Garden Edging】Our Cor ten steel edging comes pre-rusted, so you get a beautiful, rustic patina right out of the box. This protective layer is not paint but a stable, self-sealing rust that deepens from warm terracotta to rich charcoal brown over time. As the earthy tone evolves, the sturdy garden border effectively blocks weeds and retains soil, while resisting weather and bending. It’s the perfect blend of instant natural beauty and lasting, low-maintenance strength.
Skill Level & Time Estimate
Skill Level: intermediate
Total Time Estimate: 2-3 hours
Step 1: Choose Your Location
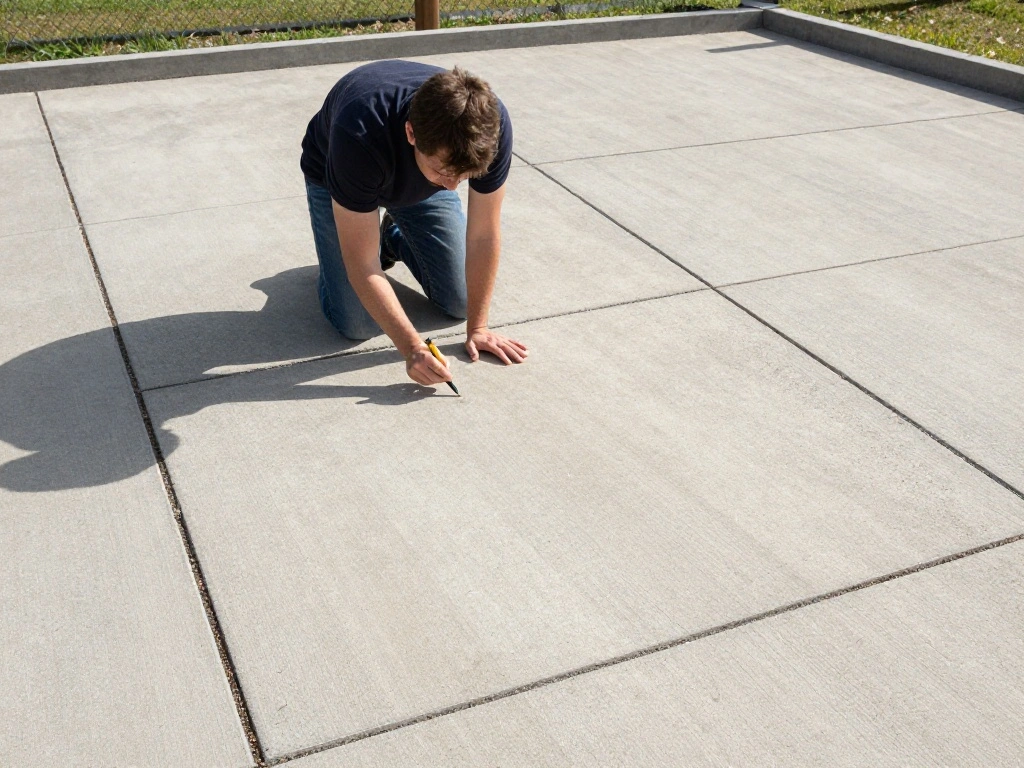
Select a suitable location for your raised bed that receives adequate sunlight and has access to water. Follow these steps:
1. Identify a spot on your concrete, pavers, or deck that gets at least 6-8 hours of sunlight daily.
2. Check for drainage; ensure the area does not collect standing water.
Warning: Avoid shaded areas or places near large trees that could compete for nutrients.
3. Mark the desired dimensions of your raised bed using chalk or string.
Why this matters: Proper placement is crucial for plant health and growth. Spend time finding the right spot before proceeding.
Time Estimate: 15-30 minutes
Step 2: Build the Frame
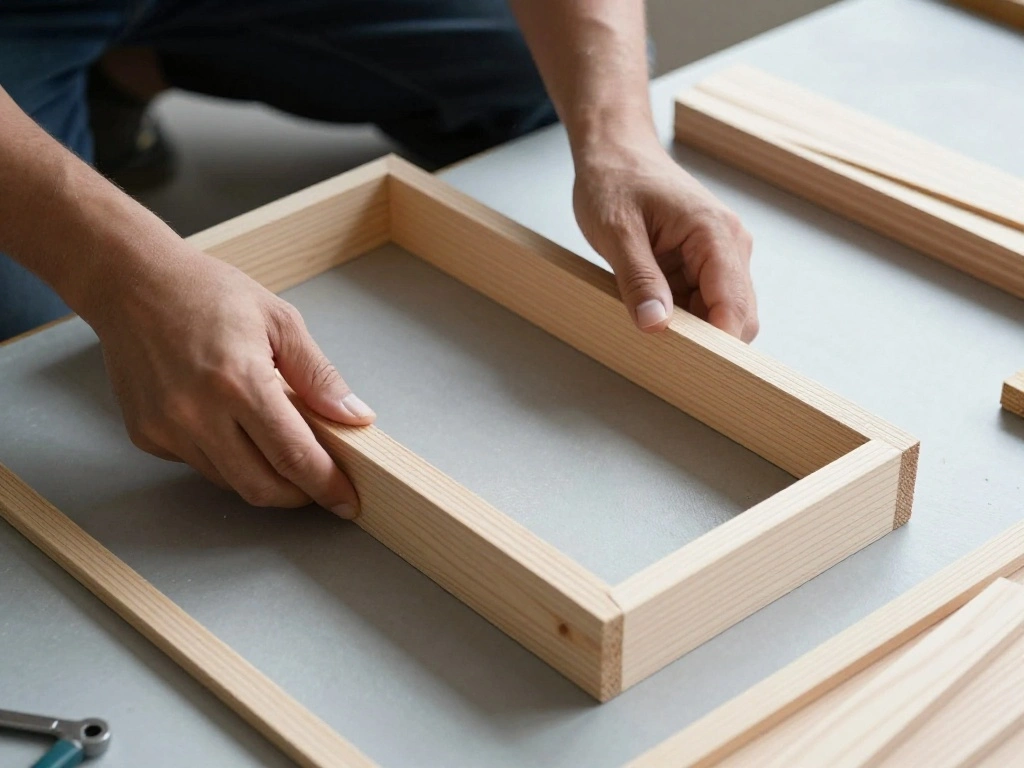
Construct the frame of your raised bed using the wood planks. Proceed with these steps:
1. Cut your wood planks to the desired size, typically 4×8 feet for a standard raised bed.
2. Assemble the frame by laying out the planks in a rectangular shape.
3. Secure the corners with screws, drilling two screws per joint for stability.
Pro Tip: Pre-drill holes to prevent the wood from splitting.
Why this matters: A sturdy frame is essential for holding the soil and plants, ensuring longevity.
Time Estimate: 30-45 minutes
Recommended Products

All-in-One Garden Bed System: Includes the raised garden bed, automatic irrigation system, and raised mesh cover. It allows you to start growing quickly on patios or backyards. No extra tools are required, and it is ready to use out of the box

Size: Accessories for 2 complete garden beds in one box!!! 72"(L) x 36"(W) x 12"(H), growing area of this garden bed perfect for an array of vegetables, herbs, and flowers in your yard

Large Planter Box: Provides more space to raise vegetables, herbs, flowers and plants.
Step 3: Level the Frame
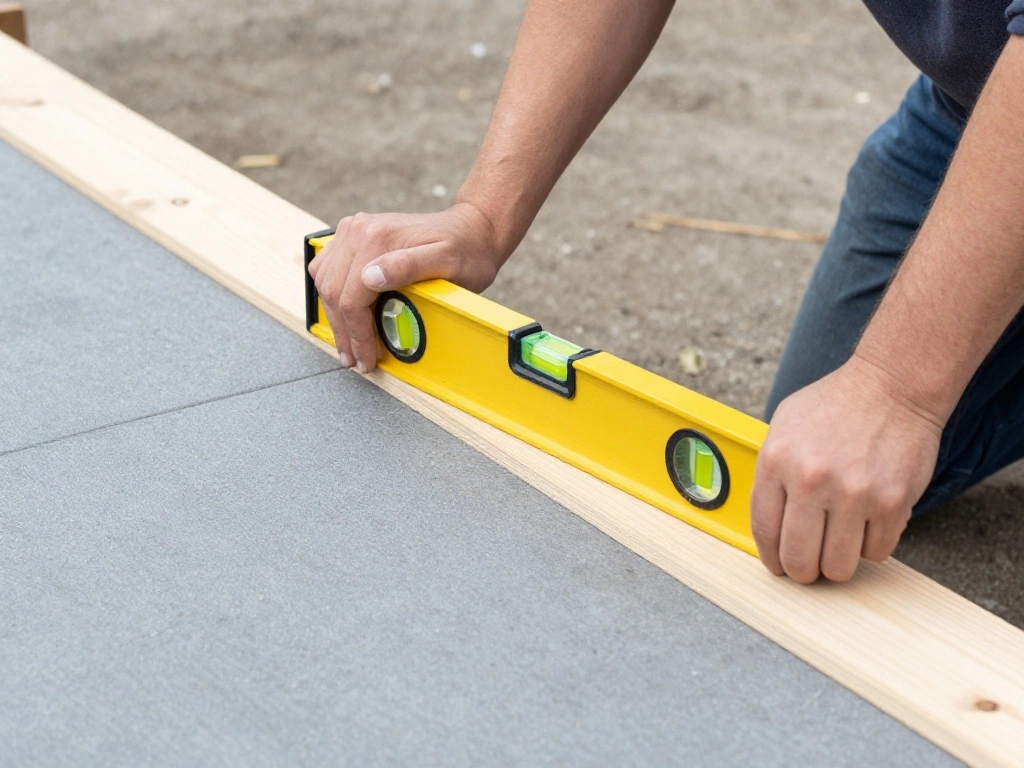
Ensure your raised bed frame is level for proper water drainage. Follow these steps:
1. Place the assembled frame in the chosen location.
2. Use a level to check each side; adjust the height as necessary by placing shims underneath.
3. Double-check the level after adjustments.
Pro Tip: Make sure the frame is slightly higher in the center to promote water runoff.
Why this matters: A level frame prevents water pooling, which can lead to root rot and plant disease.
Time Estimate: 20-30 minutes
Recommended Products

🌻 【Multi-functional Design】 Our elevated planters feature a modular design that allows for flexible assembly to meet a variety of planting needs, perfect for growing vegetables, mint, herbs, tomatoes, flowers, and a wide range of plants.
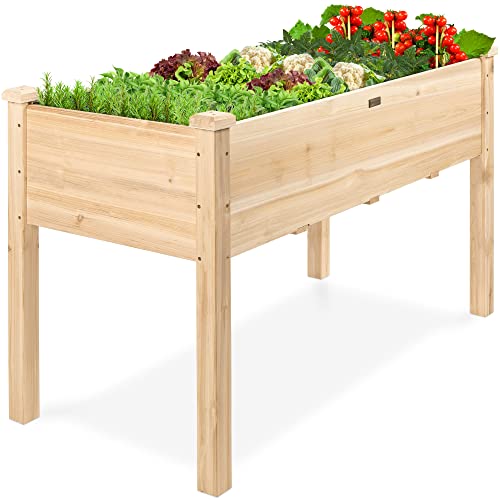
LARGE PLANTING SPACE: Designed with a long bed space (5CuFt) deep enough to provide your plants and vegetables with ample room to breathe and grow healthy

Step 4: Attach the Landscape Fabric
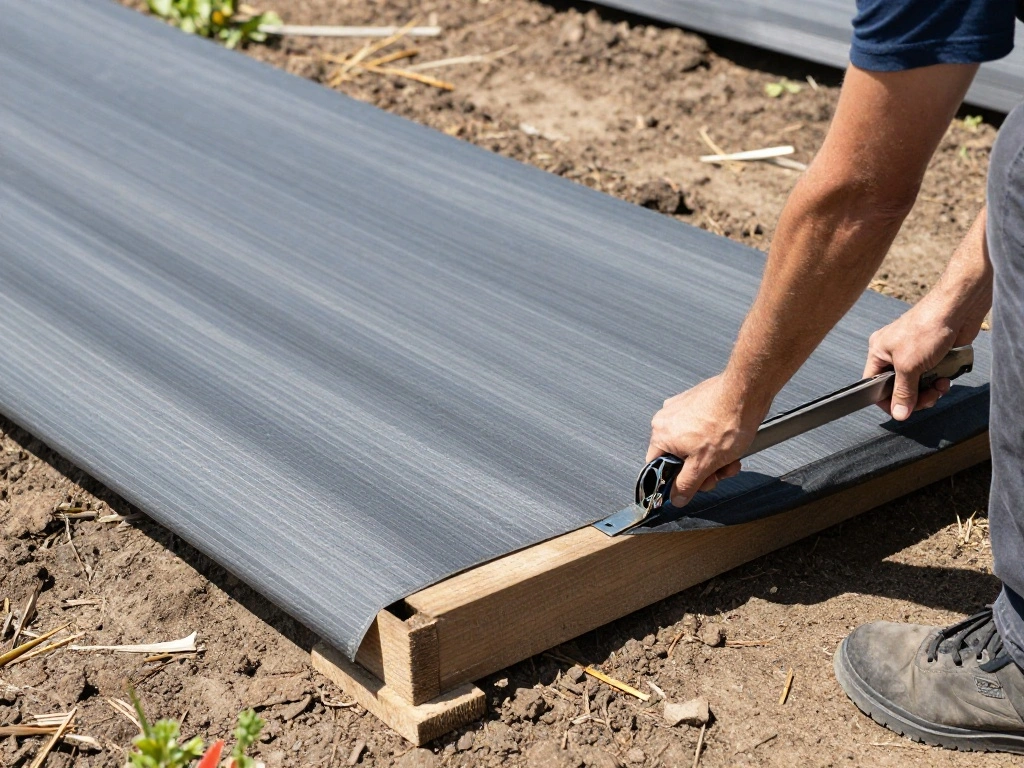
To prevent weeds and retain soil, attach landscape fabric to the bottom of your frame. Follow these steps:
1. Cut a piece of landscape fabric large enough to cover the bottom of the frame.
2. Lay the fabric inside the frame and staple it to the edges.
3. Ensure the fabric is taut and covers all gaps.
Warning: Avoid using plastic sheeting; it can block air and water.
Why this matters: Landscape fabric allows water to drain while blocking weed growth, promoting healthy soil.
Time Estimate: 15-25 minutes
Recommended Products
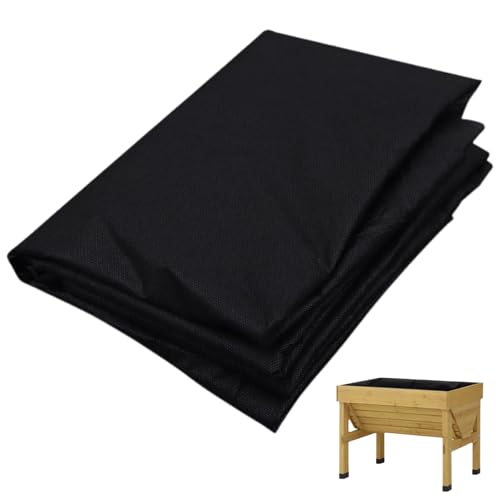
Breathable Non-Woven Fabric:Made with Non Woven Plant Liners, this Raised Garden Bed Liner offers a breathable solution for drainage and soil retention—ideal for use in Fabric Planter Liner for Outdoor Plants setups

Premium Durable & Functional Non-Woven Fabric: Crafted from heavy-duty, ultra-durable non-woven fabric, this landscape liner provides the perfect balance for your raised garden bed. It is porous enough to allow excess water to drain freely, preventing root rot, yet tough enough to effectively contain soil and prevent erosion. This breathable barrier also blocks weeds from growing up into your precious soil.
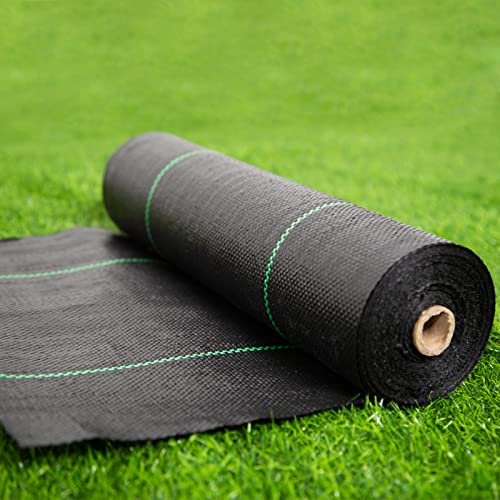
【Premium Weed Barrier Fabric】 Made of thick polypropylene woven fabric, this heavy duty weed barrier fabric is durable and helps keep your garden and flower beds free of weeds for long-term use.
Step 5: Fill the Bed with Soil
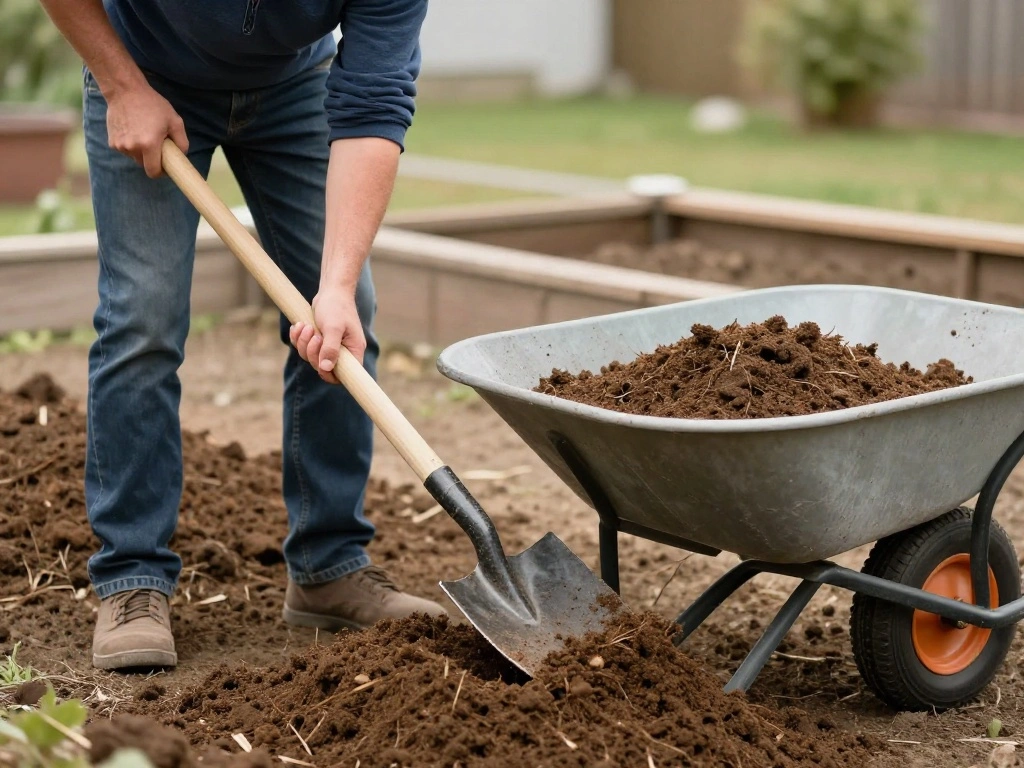
Now, it’s time to fill your raised bed with soil. Follow these steps:
1. Use a quality soil mix suitable for your plants. Consider a mix of topsoil, compost, and potting soil.
2. Pour the soil into the frame, filling it to about 1 inch below the top edge.
3. Level the soil with a rake or by hand.
Pro Tip: Add mulch on top to help retain moisture and suppress weeds.
Why this matters: Quality soil is vital for plant growth, ensuring they receive the nutrients they need.
Time Estimate: 30-45 minutes
Recommended Products
【Premium Weed Barrier Fabric】 Made of thick polypropylene woven fabric, this heavy duty weed barrier fabric is durable and helps keep your garden and flower beds free of weeds for long-term use.

Premium Durable & Functional Non-Woven Fabric: Crafted from heavy-duty, ultra-durable non-woven fabric, this landscape liner provides the perfect balance for your raised garden bed. It is porous enough to allow excess water to drain freely, preventing root rot, yet tough enough to effectively contain soil and prevent erosion. This breathable barrier also blocks weeds from growing up into your precious soil.

Step 6: Plant and Maintain Your Garden
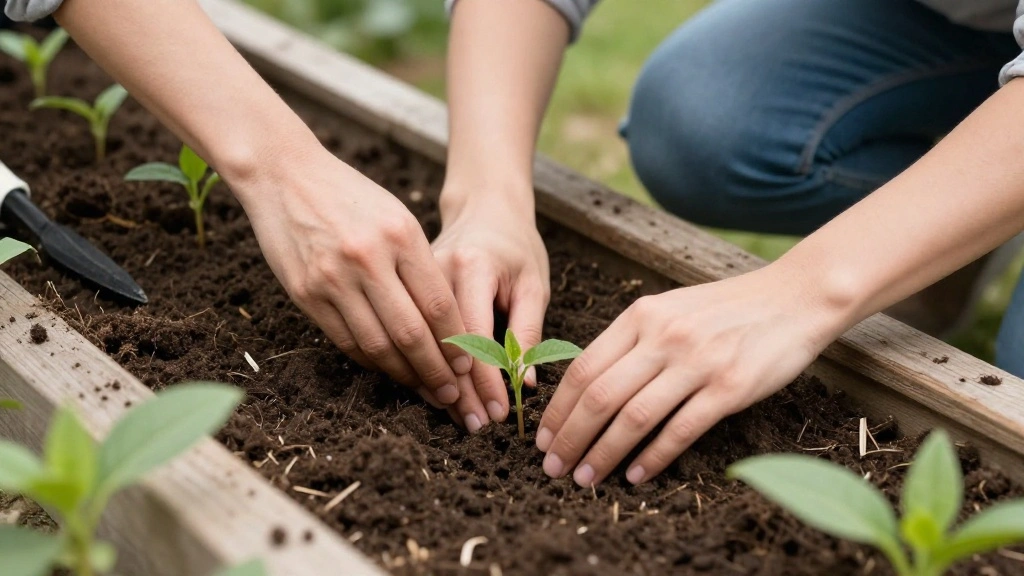
Finally, it’s time to plant your chosen seeds or seedlings. Follow these steps:
1. Plan your layout based on the types of plants you’re growing. Consider spacing requirements.
2. Dig holes for your plants, following the instructions for depth based on the species.
3. Water your plants thoroughly after planting and monitor moisture levels regularly.
Warning: Avoid overwatering; ensure the soil is moist but not soggy.
Why this matters: Proper planting and maintenance lead to a thriving garden, allowing you to enjoy the fruits of your labor.
Time Estimate: 30 minutes
Pro Tips
- Tip for Drainage: If using a deck, consider adding drainage holes at the bottom of the frame.
- Soil Health: Mix in organic matter like compost to enrich the soil.
- Seasonal Planning: Rotate crops each season to prevent soil depletion.
- Watering Schedule: Water in the early morning or late afternoon to minimize evaporation.
- Pest Management: Regularly check for pests and use natural repellents as needed.
Common Mistakes to Avoid
Warning: Not leveling the frame can lead to water pooling. Always ensure it’s even.
Warning: Using untreated wood can result in chemicals leaching into your soil. Opt for cedar or redwood instead.
Warning: Overpacking the soil can compact it, reducing aeration. Fill gently and leave some space at the top.
Troubleshooting Section
Problem: Water pooling in the raised bed.
Solution: Check the level of the frame and adjust as needed.
Problem: Plants not thriving.
Solution: Test soil quality and consider adding compost or nutrients.
Problem: Pests attacking plants.
Solution: Use organic pest control methods and regularly inspect for signs of damage.
Problem: Weeds growing through.
Solution: Ensure landscape fabric is properly installed and consider adding mulch.
Variations/Alternative Methods
- Container Gardening: Use pots or containers if space is limited; this allows flexibility and mobility.
- Vertical Gardening: Grow upwards using trellises or shelves if horizontal space is constrained.
- Modular Raised Beds: Create smaller, movable sections that can be rearranged as needed for crop rotation.
FAQs
- What if I don’t have enough sunlight for my plants?
Consider using shade-tolerant plants or moving the bed to a sunnier location. - How long should I wait to plant after filling the bed?
Allow a few days for the soil to settle before planting. - Is it safe to use treated wood for the raised bed?
Avoid using treated wood as it may leach chemicals; opt for untreated or naturally rot-resistant wood. - Can I grow vegetables on a deck?
Yes, just ensure the deck can support the weight and has adequate drainage. - What if my plants are not growing well?
Check for soil quality, watering habits, and sunlight exposure.
Conclusion
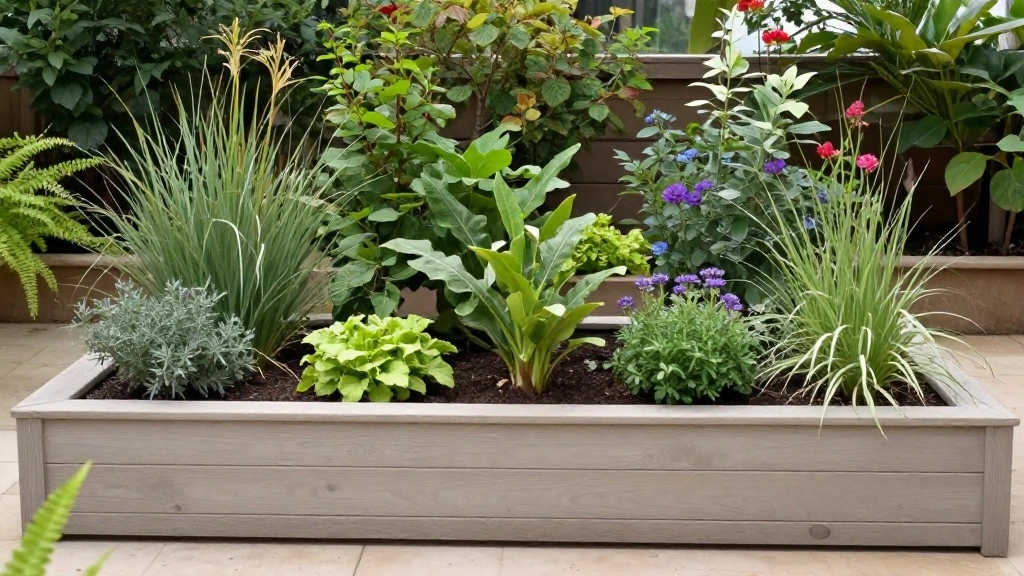
Congratulations! You have successfully built a raised bed on concrete, pavers, or a deck. Your new garden space is ready for planting, and you should feel accomplished in your DIY project.
Now that your raised bed is complete, consider additional enhancements like decorative borders, companion planting, or adding a drip irrigation system for ease of maintenance. Continue researching your plants’ needs to ensure a thriving garden.
Embrace your gardening journey, and enjoy the fruits of your labor as you watch your garden flourish!
Recommended Products

【Safe Edge】The garden box adopts a folding edge design for safe installation. The upgraded black strip shaped built-in iron clip will not fall off or deform under prolonged sunlight exposure. Used for reinforcement and injury prevention to further enhance protection. It is safer for children and pets

【Multifunctional】This garden planter is separated into two growing areas for different plants or planting methods. The baffle can be removed to form a bigger growing area. You can also buy several garden beds to design and build your own dream garden.

Durable & Long-Saving: UCandy Heavy-Duty Raised Garden Bed Corner Brackets Are Made Of Matte Black Powder Coated Steel, Rust Resistant And Wear Resistant, Suitable For Long-Term Outdoor Use.