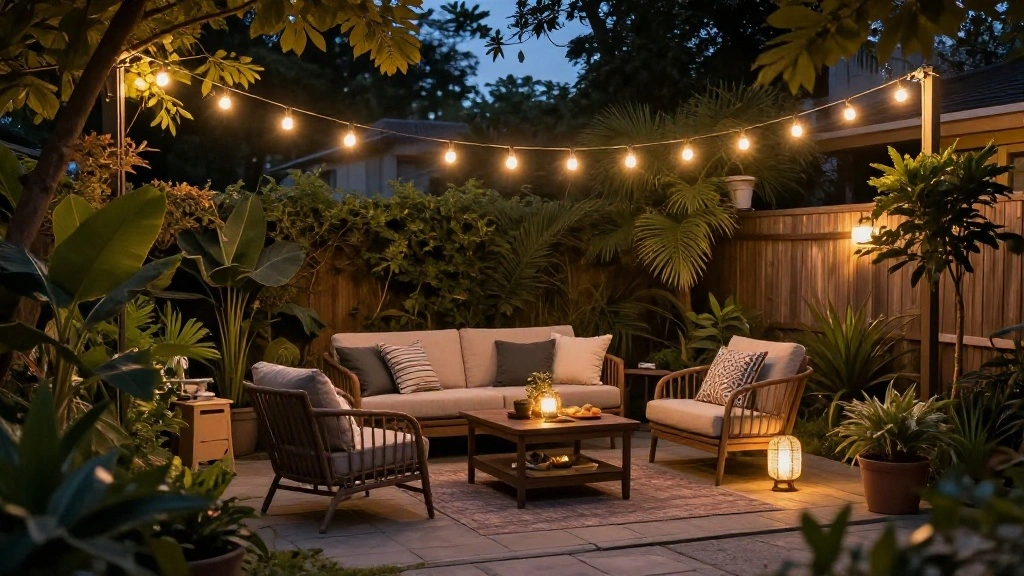
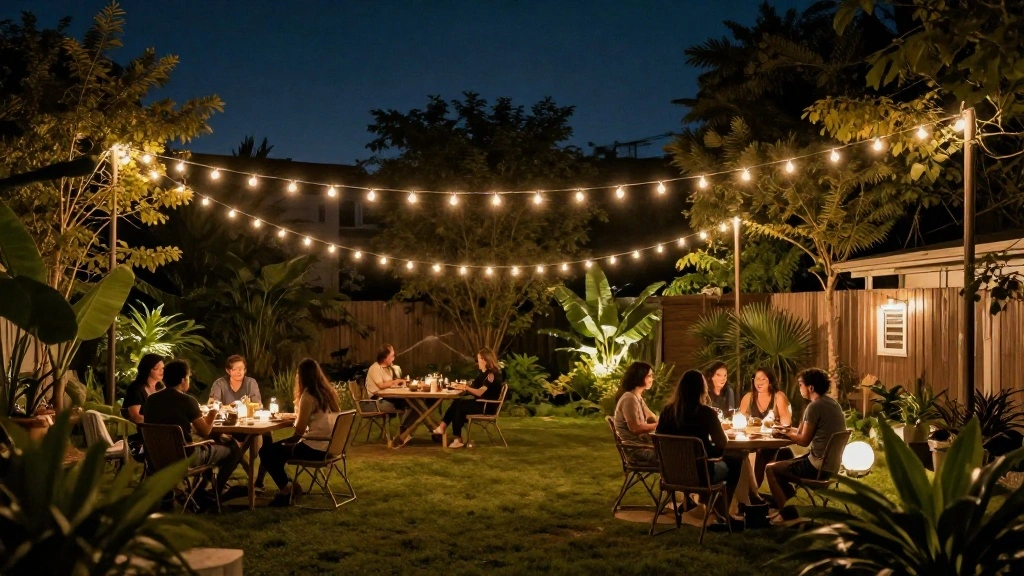
Transforming your backyard into a cozy and inviting space can seem like a daunting task, especially if you’re concerned about damaging your walls or ceilings with drilling. But fear not! You can create a magical atmosphere with string lights without ever picking up a drill. Imagine enjoying warm evenings with friends and family under a canopy of twinkling lights, elevating your outdoor gatherings to a whole new level.
In this guide, you’ll learn how to hang string lights effectively and safely, using simple methods that require no drilling. By the end, you’ll have a beautifully decorated backyard that enhances your outdoor experience.
This tutorial is designed for beginners and takes approximately 2-3 hours to complete. You’ll discover the materials needed, step-by-step instructions, and expert tips to ensure your lights are hung securely and stylishly.
Let’s get started on creating your dream backyard ambiance!
TL;DR Summary
- Gather materials like string lights, outdoor extension cord, and adhesive hooks.
- Plan your layout before hanging the lights.
- Install adhesive hooks securely to hold the lights in place.
- Test the lights before finalizing the arrangement.
Recommended Products

[ STRONG ADHESIVE ] Our newly upgraded adhesive features ultra-high adhesion waterproof adhesive strips, solving the problem of falling decorations. It is easy to remove without leaving unsightly marks on walls

【3X Stronger Adhesion – Won’t Fall Off in Rain】Upgraded with 3X stronger adhesive than standard double‑sided tape. These clear heavy duty clips stay locked on wood, metal, vinyl siding, glass, gutters, tile, painted drywall, and smooth plastic – even in rain, snow, or high heat. No more climbing a ladder to re‑stick fallen lights.
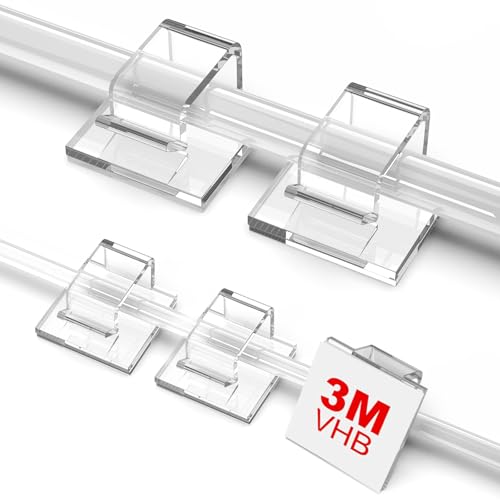
Assorted Sizes: Package include 55 pcs small adhesive cable clips and 50 pcs Large wire cord clips. Made of eco-friendly premium PA66 material, meet your needs for hanging outdoor string lights, perfect for christmas decorations, halloween decorations, holiday patio decor, porch decor and balcony decor.
Prerequisites/Materials Needed
- String lights: 1 set (choose a length that fits your space)
- Outdoor extension cord: 1 (ensure it’s rated for outdoor use)
- Adhesive hooks: 10-15 (depending on the distance between lights)
- Measuring tape: 1
- Scissors: 1 pair
- Step ladder: 1 (if needed for height)
Recommended Products

INCLUDES - 16 Clear Command Outdoor Light Clips and 20 Small Command Outdoor Strips

Non-Slip Double Hook Design – The unique double-hook structure provides a more secure hold than ordinary single hooks, firmly locking G40 or S14 string lights in place to prevent the light string from shaking or falling off in strong winds

11-INCH INSEAM: Features below-the-knee design, which provides sufficient coverage and a full range of motion without worrying about shorts shifting during intense training. Especially suitable for large men
Skill Level & Time Estimate
Skill Level: beginner
Total time estimate: 2-3 hours
Recommended Products
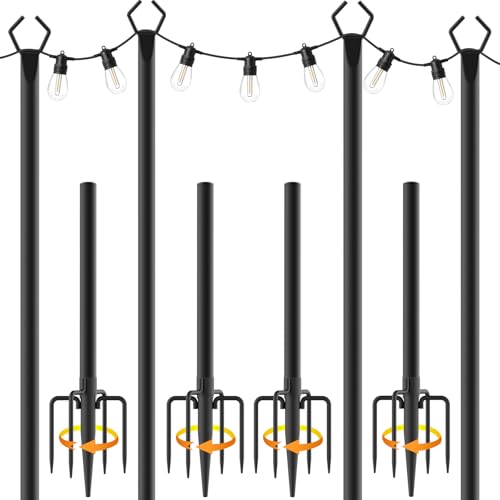
No height restrictions:Made of high quality metal, it will not bend or wobble. The poles for string lights is not limited by its own length, and the excellent load-bearing properties allow you to install it on high fences and walls. Get rid of the general height limitation. You can also hang more number of strings of lights. Also can be applied to banners, lanterns, wind chimes, all kinds of light decoration, etc.

Sturdy and Durable: Package include 30 pcs clear adhesive christmas light clips. Base 1.57”x 0.9”, Inner Height 0.2”. The double-hook design and the use of high-quality PA66 materials make our string light hooks sturdy and durable, no worry about light clips for outside string lights falling off.

【 55ft LED Connectable String Lights 】- This outdoor light comes with 25+2 G40 LED bulbs. Each bulb is 2 feet apart for a total length of 55 feet. It supports an end-to-end connection of up to 14 strings, allowing you to customize the length you need. These lightweight and convenient patio lights are easy to carry and store
Step 1: Plan Your Layout
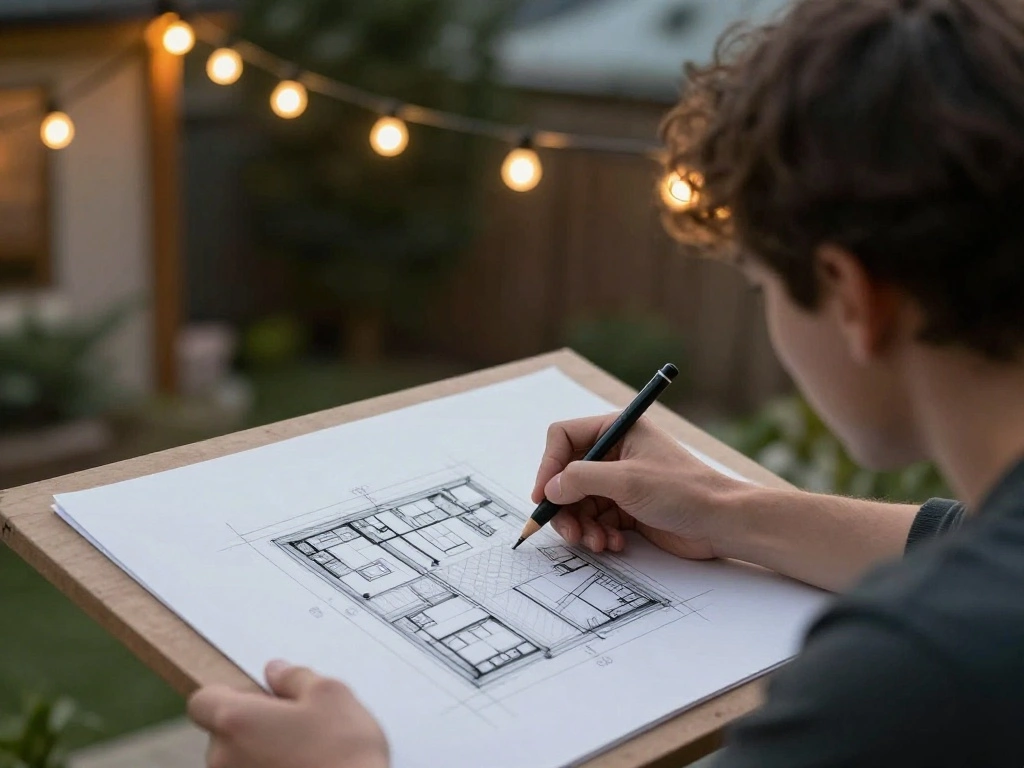
Before you start hanging your string lights, take a moment to plan your layout. This step is crucial for achieving the desired atmosphere in your backyard.
- Determine where you want to hang the lights. Common options include around a patio, along a fence, or across an open space.
- Measure the distance between the areas where you plan to hang the lights using a measuring tape.
- Decide on a pattern: straight lines, zig-zags, or draped styles can create different effects.
Pro Tip: Sketch your layout on paper to visualize the final look.
Why this matters: Planning helps you avoid running out of lights and ensures a cohesive design.
Estimated time: 15-30 minutes.
Recommended Products

upgraded outdoor lamp clip: Large square design, the newly upgraded adhesive has ultra-high adhesion waterproof adhesive strip. The hole of the clamp is suitable for various thickness and fine lines, and there is no need to worry that the lamp clip used for outdoor light strings will fall off, easy to remove, and will not leave ugly marks on the wall.

High quality material:XHF Adhesive Cable Clips are manufactured from Strong Adhesive and PA66 nylon

Surprisingly strong: Weather resistant, UV-Resistant, Waterproof.
Step 2: Gather Your Materials

With your layout planned, it’s time to gather all necessary materials. Having everything ready will streamline the process and avoid interruptions.
- Collect your string lights, ensuring they work properly by testing them on the ground.
- Grab your outdoor extension cord and measure it against your planned layout to ensure it will reach.
- Get your adhesive hooks and ensure you have enough for your design.
Pro Tip: Consider using decorative adhesive hooks that blend well with your outdoor decor.
Why this matters: Being organized saves time and prevents frustration during installation.
Estimated time: 15 minutes.
Step 3: Prepare the Area
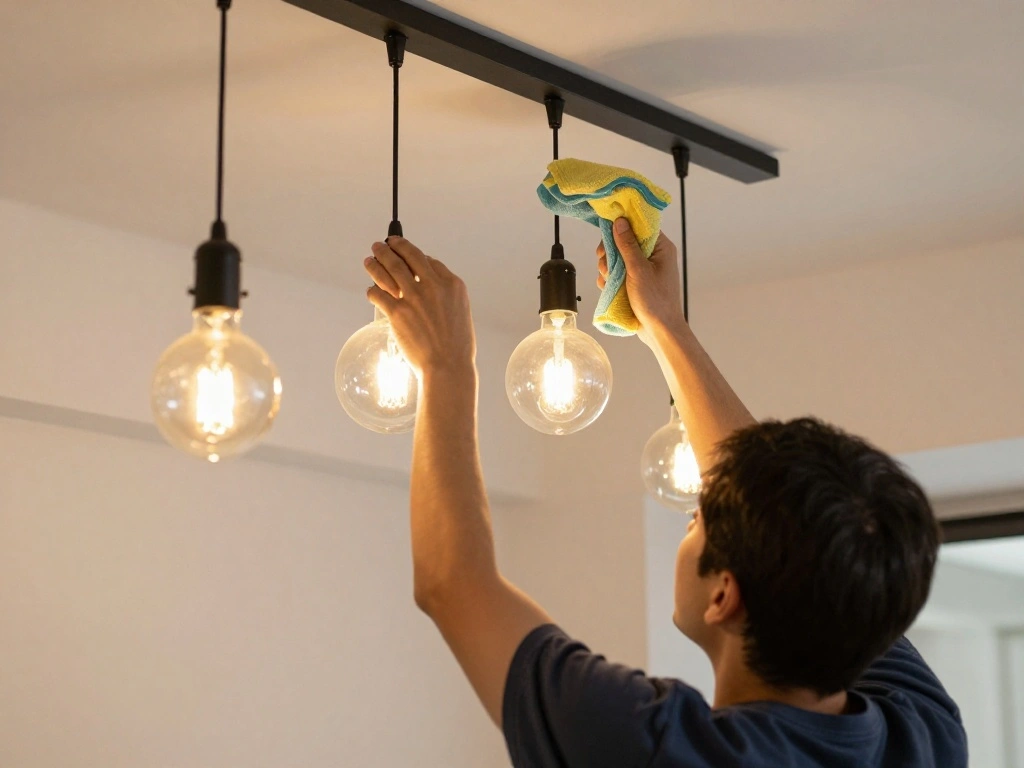
Before hanging the lights, ensure the areas where you will attach the hooks are clean and clear. This helps the adhesive stick better and ensures the lights hang straight.
- Clear away any debris, leaves, or cobwebs from where you plan to place the hooks.
- If necessary, wipe down surfaces with a damp cloth to remove dust.
- Allow any wet surfaces to dry completely before proceeding.
Pro Tip: If hanging on painted surfaces, lightly scuff the area with sandpaper for better adhesion.
Why this matters: A clean surface allows for stronger adhesion, reducing the risk of the lights falling.
Estimated time: 15 minutes.
Recommended Products

【UPGRADED! Remote Control】 Our advanced remote control marries ease with innovation for next-gen solar string lights:3 Brightness Mode: Soft/Bright/Super Bright, 3 Light Mode: Breathing/Flashing/Constant, 4 Timing Control: 2/4/6/8 Hrs.One remote, endless charm—no extra timers and dimmer required,Elevate your outdoor oasis effortlessly.

200FT Extra-Long size:Most string lights on the market are only 50-120ft size,For large yards,pool sides,or long fences often require multiple strings to be connected,resulting in tangled wires and potential poor contact.Our 200ft extra-long string light can wrap around an entire tree,cover an entire patio,or even illuminate a medium-sized garden with one string lights,no splicing needed,Installation is time-saving,making the decor looking seamless and attractive.
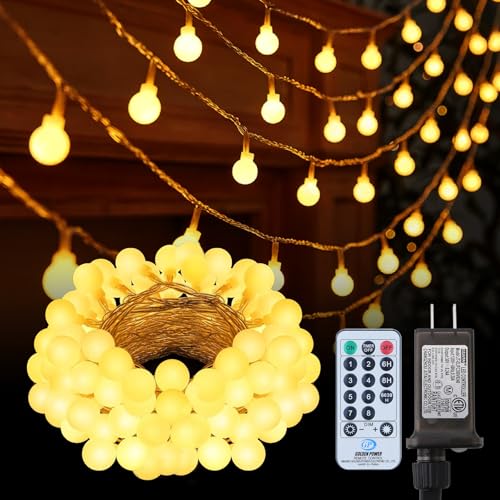
【Timing & Brightness Adjustable & Remote Control 】The string lights for bedroom is equipped with an intelligent remote control, two timing modes (6 hours on ,18 hours off and 8 hours on ,16 hours off ), and 4 levels brightness adjustment. There are also 8 lighting modes for you to choose, such as stable, flashing, slow gradient and so on. Whether it's decorated for indoors or outdoors, this fairy lights will create a warm and romantic atmosphere for you !
Step 4: Mark Hook Placement
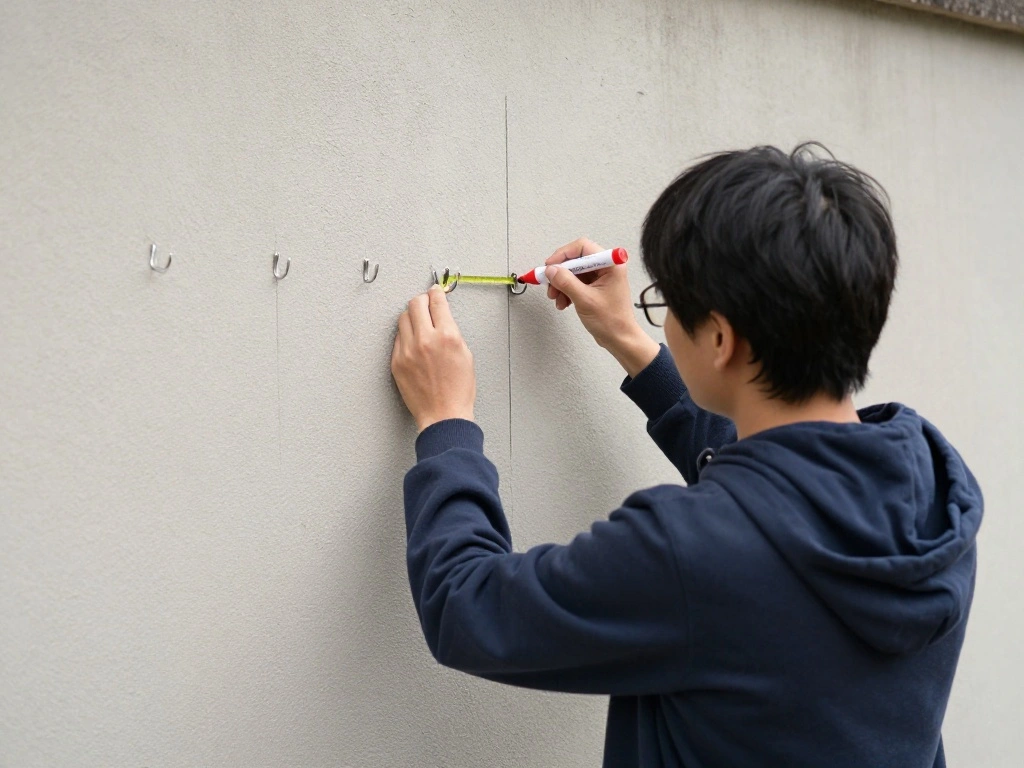
Once the area is prepared, mark where you want to place your adhesive hooks. Proper placement is key for the lights to hang evenly.
- Using your measuring tape, measure the distances according to your layout plan.
- Mark each location with a pencil or removable tape to avoid permanent marks.
- Double-check your measurements to ensure everything aligns with your planned design.
Pro Tip: Use a level to ensure your marks are straight, especially for long runs.
Why this matters: Accurate markings prevent uneven hanging and ensure a professional look.
Estimated time: 15 minutes.
Recommended Products

POWER SPECS — 16AWG grounded three-wire extension cord rated 125VAC/13A/1625W extends a single three-prong outlet from any grounded receptacle for reliable indoor or outdoor power

Extra Size for Safety: Extra size Male NEMA 5-15P power plug and Female NEMA 5-15R power socket for safety; It has high insulation safety performance to prevent electric shock; ETL/cETL Listed for safe approval

ETL Listed and Trusted: extension cord 100 ft rated 10 Amps, 1250 Watts and 125 VAC; Male NEMA 5-15P and female NEMA 5-15R; It is ETL/cETL Listed; Ensuring its compliance with strict safety standards; Each outdoor extension cord passes a 2500V high voltage test before leaving the factory to ensure safety; Reliability and efficiency outdoor extension cord waterproof are capable of meeting most electrical needs
Step 5: Apply Adhesive Hooks
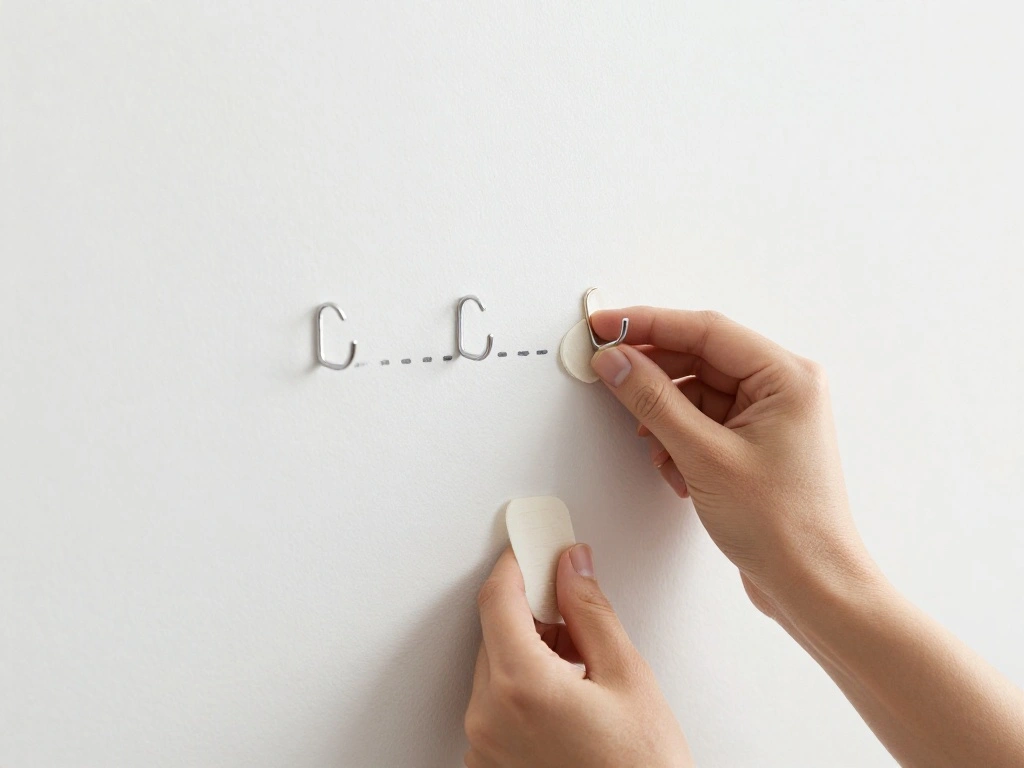
Now it’s time to attach the adhesive hooks! This step is where the magic begins as you start to set up your string lights.
- Peel off the backing of the adhesive on each hook carefully.
- Align the hook with your marked locations and press firmly for at least 30 seconds.
- Repeat for all hooks, ensuring they are evenly spaced as per your layout.
Warning: Ensure the hooks are rated for outdoor use to withstand weather conditions.
Why this matters: Properly placed hooks are essential for supporting the weight of the lights securely.
Estimated time: 30 minutes.
Step 6: Hang the String Lights
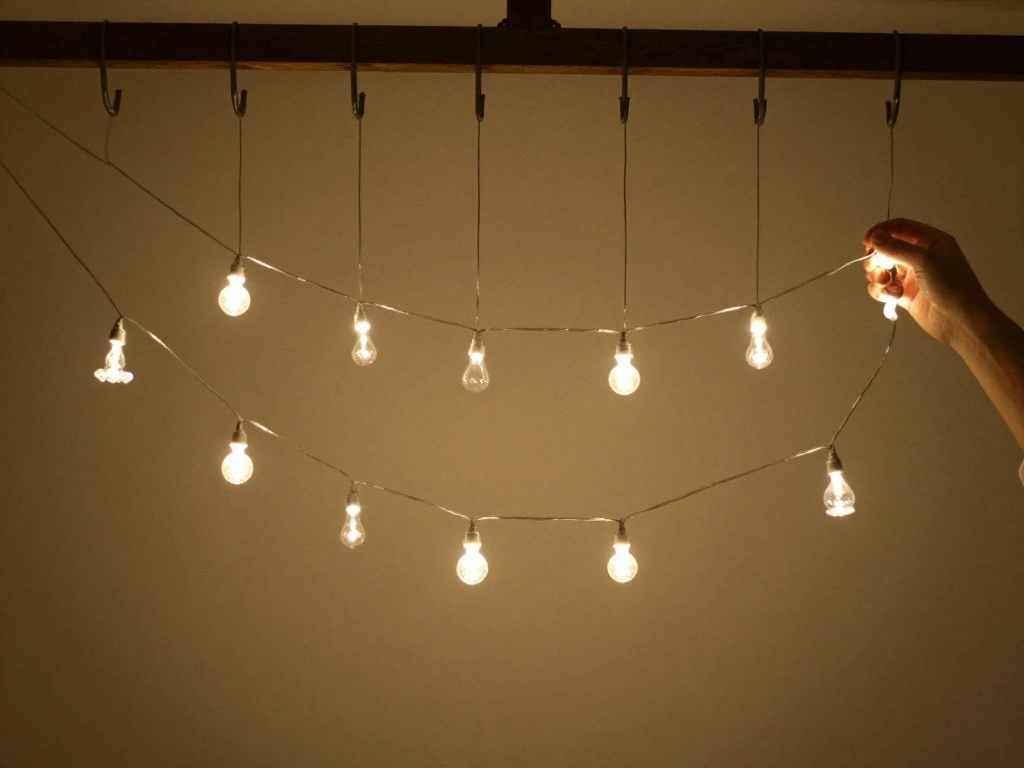
With the hooks in place, it’s time to hang your string lights. This is where your vision starts to come to life!
- Begin at one end of your layout and carefully hang the lights on the adhesive hooks.
- Work your way across, ensuring the lights are taut but not overly stretched.
- If you need to adjust the lights, do so gently to avoid damaging them.
Pro Tip: Use zip ties to secure any extra slack in the lights in a way that looks intentional.
Why this matters: Properly hanging the lights ensures they look great and stay secure throughout use.
Estimated time: 30 minutes.
Step 7: Connect the Extension Cord
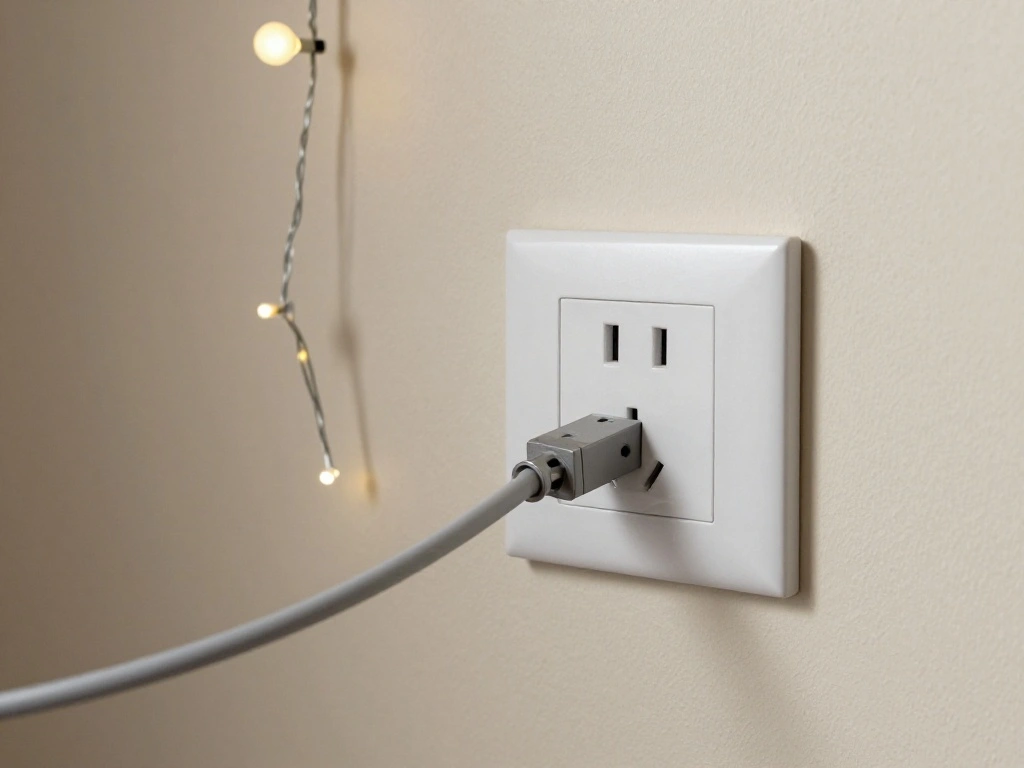
Once your lights are hung, it’s time to connect them to power. This step ensures that your lights shine bright!
- Locate the nearest outdoor power outlet and check the distance to your lights.
- Plug the extension cord into the outlet and run it to your lights, ensuring it does not create a tripping hazard.
- Connect the extension cord to the lights, checking that the connection is secure.
Warning: Ensure the extension cord is rated for outdoor use to prevent electrical hazards.
Why this matters: Proper connections ensure safety and functionality for your lights.
Estimated time: 15 minutes.
Recommended Products

ETL Listed and Trusted: 25 ft extension cord rated 13 Amps, 1625 Watts and 125 VAC; Male NEMA 5-15P and female NEMA 5-15R; It is ETL/cETL Listed; Ensuring its compliance with strict safety standards; Each outdoor extension cord passes a 2500V high voltage test before leaving the factory to ensure safety; Before use, please check the rated voltage, current, and power of the appliance to avoid exceeding 125V, 13A, and 1625W

🌟 Perfect Fit Extension – This 10ft solar extension cable easily connects multiple outdoor string lights, giving you flexible setup for patio, garden, or holiday decorations.
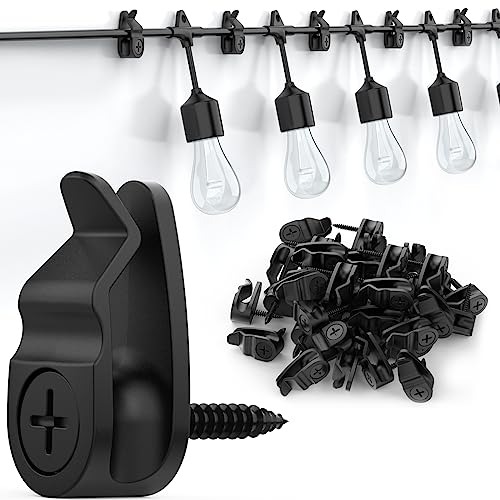
Secure and Stable: Our 50-pack Outdoor Light Hangers are designed with screw mounts for unparalleled stability, ensuring your string lights and decorations remain securely in place without swinging or falling.
Step 8: Test the Lights

Before you finalize everything, it’s essential to test the lights to ensure they work correctly. This step can save you time and effort later.
- Turn on the power to the extension cord and check that all lights illuminate properly.
- Look for any flickering or dead bulbs, and replace them if necessary.
- If some lights don’t work, double-check connections and ensure the power source is functioning.
Pro Tip: Keep spare bulbs handy for quick replacements.
Why this matters: Testing early helps you identify issues before your first gathering.
Estimated time: 15 minutes.
Step 9: Adjust and Secure Lights
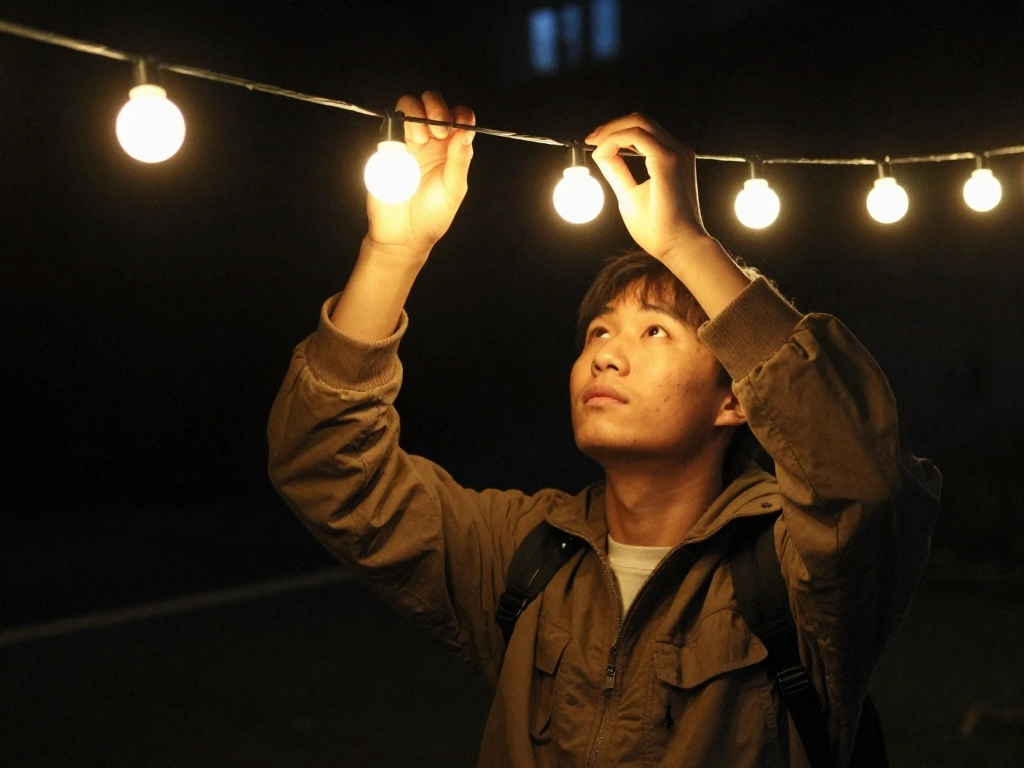
After testing, it’s time to make any necessary adjustments and secure the lights for a polished look. This helps achieve an inviting atmosphere.
- Adjust the lights for even spacing and alignment, ensuring they hang as per your layout.
- If you notice any sagging, use additional hooks or zip ties to secure them in place.
- Check that the extension cord is neatly tucked away to avoid any tripping hazards.
Pro Tip: Use decorative clips or ties that complement your outdoor decor for a finished look.
Why this matters: A neat arrangement enhances the overall aesthetic of your backyard.
Estimated time: 15-20 minutes.
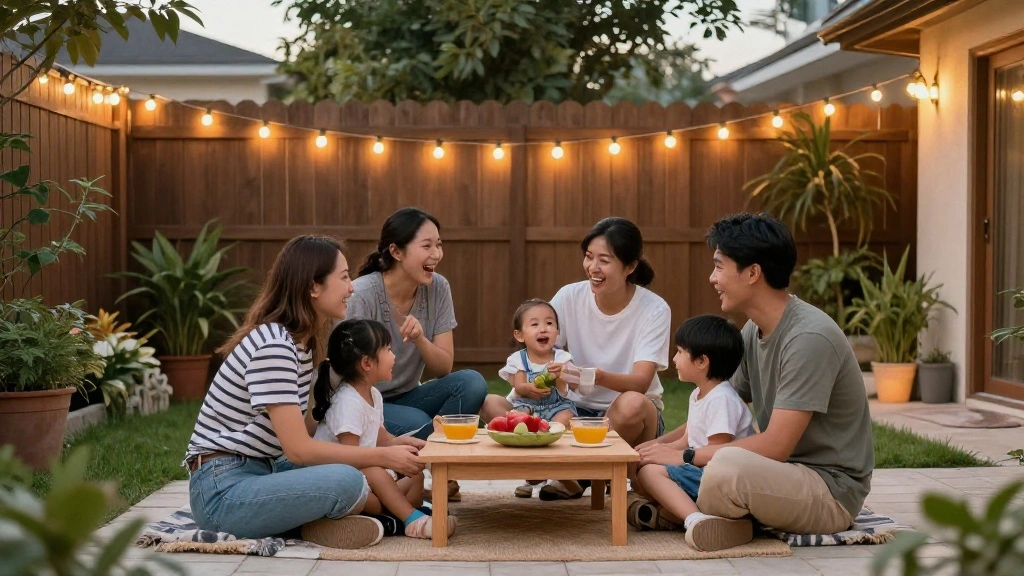
Step 10: Enjoy Your New Ambiance
Finally, it’s time to step back and enjoy your beautifully lit backyard! This is the moment you’ve been waiting for.
- Invite friends or family over to appreciate your hard work.
- Consider adding outdoor furniture or decor to enhance the experience.
- Take photos to capture the new ambiance and share it with loved ones.
Pro Tip: Incorporate additional lighting elements like lanterns or candles for a layered look.
Why this matters: Celebrating your hard work encourages you to enjoy your outdoor space more often.
Estimated time: Ongoing enjoyment!
Pro Tips
- Choose the Right Lights: Opt for LED string lights as they are energy-efficient and last longer.
- Layer Your Lighting: Combine string lights with other outdoor lights for a more dynamic look.
- Use a Timer: Set a timer for your lights to turn on and off automatically.
- Seasonal Decor: Change the decor around the lights for different seasons or holidays.
- Safety First: Always ensure your extension cords are rated for outdoor use and are kept dry.
Common Mistakes to Avoid
Warning: 1. Not checking the power source: If your lights don’t turn on, check the outlet first.
Warning: 2. Overloading the circuit: Ensure your lights and extension cord can handle the wattage.
Warning: 3. Using indoor lights outdoors: Make sure your lights are rated for outdoor use to avoid safety hazards.
Troubleshooting Section
Problem: Lights flickering or not turning on.
Solution: Check connections and ensure the outlet is working.
Problem: Adhesive hooks not sticking.
Solution: Clean the surface and allow the adhesive to set for longer.
Problem: Lights sagging.
Solution: Adjust hooks or add zip ties for support.
Variations/Alternative Methods
You can also explore other methods to hang your string lights without drilling:
- Using Tension Rods: Ideal for smaller spaces, tension rods can be placed between walls.
- Using Trees or Poles: If you have trees in your yard, hang lights from branches to create a natural look.
- Using Outdoor Furniture: Drape lights over furniture like pergolas or patio umbrellas for added charm.
FAQs
What if I don’t have a power outlet nearby? Consider using solar-powered string lights that do not require an outlet.
How long should I leave my lights on? It depends on your preference, but setting a timer for 4-6 hours is common.
Is it safe to leave string lights on overnight? Yes, as long as they are rated for outdoor use and properly installed.
Conclusion
Congratulations! You’ve successfully hung string lights in your backyard without drilling. Your outdoor space is now transformed into a cozy retreat perfect for gatherings or quiet evenings.
Now that you’ve completed this guide, consider adding other elements to enhance your backyard, like comfortable seating or decorative plants. Enjoy your newly lit space and don’t hesitate to experiment with different designs or lighting styles!
Recommended Products
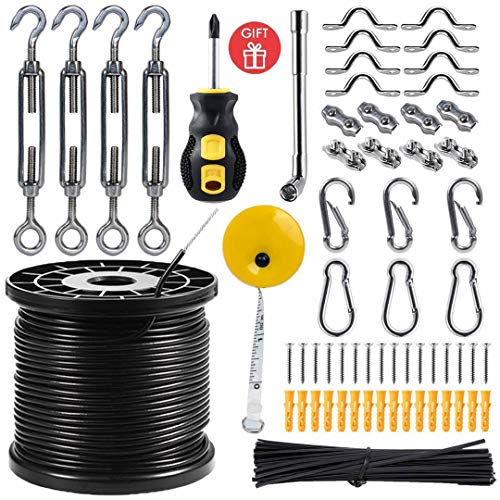
【MULTIPURPOSE USE】Our light hanging kit can be used in multiple ways such as hanging string lights for a romantic party, photos or any hanging needed. And you can design different lighting suspension types to enhance the visual effect according to the layout of your yard. Use your imagination and enjoy the fun of DIY.

【Safe and durable】100fts PVC stainless steel cable is insulated and waterproof, cable bare outer diameter is 1/16", coated outer diameter is 3/32". Breaking Strength is 480lbs. Ideal as a string light hanging kit for heavy outdoor use.

[304 STAINLESS STEEL] The cable is made of black vinyl-coated 304 stainless steel. It is insulated, rust-resistant, waterproof, weatherproof, corrosion-resistant, and highly resilient, making it suitable for outdoor use and any harsh weather conditions, such as intense sunlight and heavy rain. Its 7 x 7 strand structure, with a bare diameter of 1/16 inch and coated diameter of 3/32 inch, boasts a breaking strength of 480 pounds, ensuring reliable support for string lights