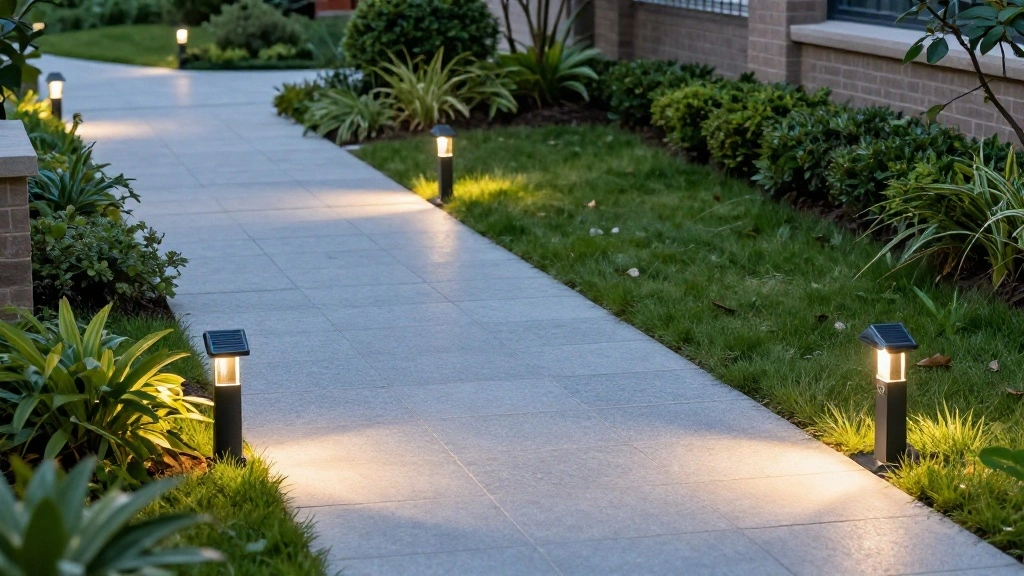
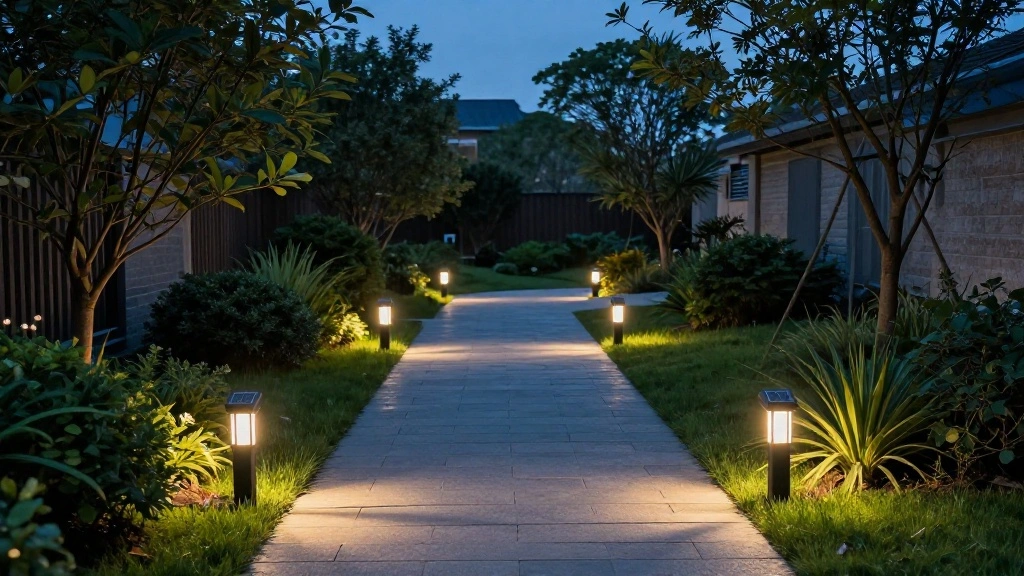
Are you tired of stumbling in the dark while walking through your beautiful garden? Installing solar path lights not only enhances the beauty of your outdoor space but also provides safety and security. With solar path lights, you can illuminate your garden walkway easily and affordably. In this beginner guide, you will learn how to install solar path lights, transforming your garden into a well-lit haven.
This guide will walk you through each step, from selecting the right lights to placing them along your walkway. By the end, you will have a charming, illuminated path that highlights your garden’s features and creates a welcoming atmosphere. You’ll be amazed at how simple it is to achieve this transformation!
This project is rated as beginner and will take you approximately 2-3 hours. Whether you’re entertaining guests or enjoying a quiet evening, solar path lights are a fantastic addition to any garden. Let’s get started!
TL;DR Summary
- Learn how to safely install solar path lights along your garden walkway.
- Gather all necessary materials before starting the project.
- Follow step-by-step instructions to ensure proper placement and functionality.
- Enhance safety and aesthetics in your garden with this beginner-friendly guide.
Recommended Products

3 LIGHTING MODES FOR ALL-NIGHT ILLUMINATION: Solar motion lights outdoor have 3 lighting modes to choose from, constant light mode (40 Lumens); Motion sensing mode (30 to 300 Lumens/25 to 200 Lumens), when someone passes by, intelligent infrared detection can sense wide-angle distances of 26ft and 160°.

SUPER BRIGHT 300 LUMENS – LIGHT UP YOUR ENTIRE PATHWAY-Brighter than standard solar lights, each light delivers up to 300 lumens, illuminating driveways, walkways, and gardens with powerful, wide coverage—no more dim spots or unsafe paths. Brighter than most 50-100 lumen solar lights. The fast-charging solar panel, plus a built-in high-capacity battery, will keep this landscape light illuminated for 8 - 10 hours with a full charge from 6 - 8 hours of direct sunlight.

SUPER BRIGHT 300 LUMENS LIGHT UP YOUR ENTIRE PATHWAY: Brighter than standard solar lights, each light delivers up to 300 lumens, illuminating driveways, walkways, and gardens with powerful, wide coverage-no more dim spots or unsafe paths. Brighter than most 50-100 lumen solar lights. The fast-charging solar panel, plus a built-in high-capacity battery, will keep this landscape light illuminated for 8 - 10 hours with a full charge from 6 - 8 hours of direct sunlight
Prerequisites/Materials Needed
- Solar Path Lights: 6-12 units (depending on walkway length)
- Garden Spade: 1 unit
- Measuring Tape: 1 unit
- Level: 1 unit
- Gloves: 1 pair
- Marker or Chalk: 1 unit
Skill Level & Time Estimate
Skill Level: beginner. This project is perfect for those who are new to DIY tasks. You will have the opportunity to learn while creating something beautiful!
Total time estimate: 2-3 hours. Here’s the breakdown:
- Gathering materials: 30 minutes
- Planning and measuring: 30 minutes
- Installing lights: 1-2 hours
Recommended Products

Balanced Modern Lighting with Upgraded Solar Panel: These upgraded solar pathway lights feature high-performance monocrystalline silicon solar panels. Compared to traditional amorphous silicon solar panels, TuyLuxe solar lights outdoor utilize 5V/250mA monocrystalline silicon solar panels with superior photovoltaic conversion efficiency. This means faster charging speeds and enhanced convenience—they not only elevate your outdoor decor but also provide soft, ambient illumination that perfectly complements gardens, lawns, patios, and walkways

【RGB/ Cool/ Warm White and Lighting Modes】Enjoy full control over color with 16 million options and tunable white light (Cool/ Warm White), allowing you to personalize your outdoor environment to match any mood or setting. Choose from three lighting modes: Motion for safety and efficiency, Luminance for automatic dusk-to-dawn lighting, and Continuous for constant illumination.

【US PATENT INTELLECTUAL PROPERTY PROTECTION】Upgrade your outdoor lighting with our 10 pack solar path lights. Our solar path lights are equipped with advanced LED filament bulbs for a more focused and bright light. The clear glass lampshade enhances light transmission, 3000K warm white light is perfect for illuminating and decorating your yard. Note: Turn on the switch before first use.
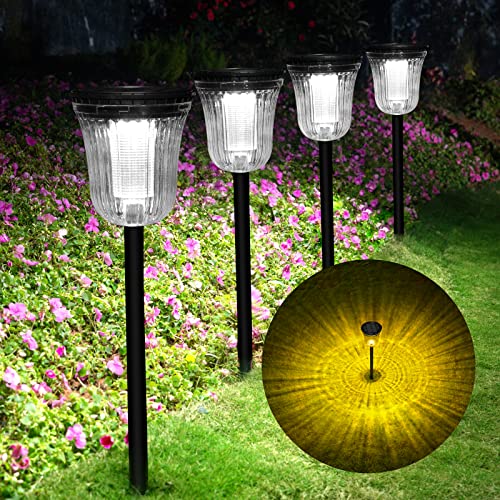
Step 1: Choose Your Solar Path Lights
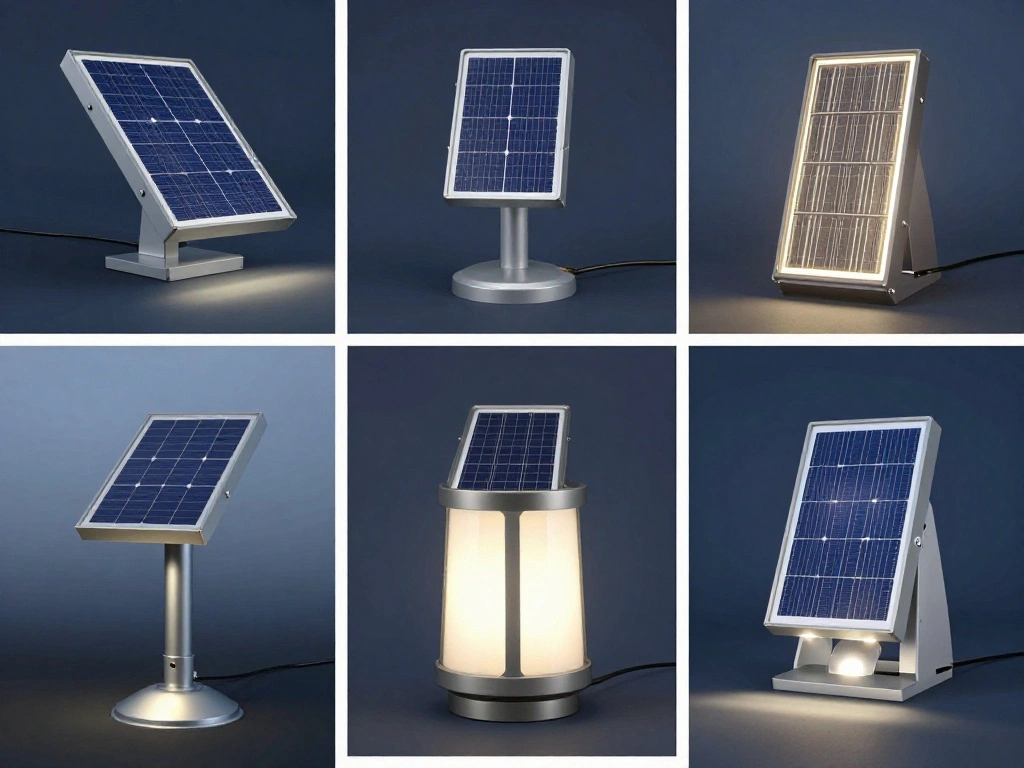
Start by selecting the right solar path lights for your garden. You can find various styles and brightness levels. Consider the following:
- Design: Choose lights that complement your garden style.
- Brightness: Select lights with sufficient lumens to illuminate your walkway.
- Battery Life: Look for solar lights with long-lasting batteries for extended nighttime use.
Pro Tip: Read customer reviews to find reliable models. This step matters because the right lights will enhance your garden’s appearance and functionality.
Estimated time: 30 minutes.
Recommended Products

【Brightness Upgrade】-Solar pathway lights outdoor adopts high luminous efficiency LED chips output higher brightness, with 2000mA high capacity lithium battery and high power solar panel, it is fully charged after 4-6 hours of direct sunlight and continues to illuminate for 8-10 hours.
【High Quality Solar Pathway Lights】WTGEGF Outdoor Solar Lights Crafted with Premium ABS + Shatter&Crack-Resistant PC, these solar lights for Outside boast durability. IP65 waterproof grade ensures use in all conditions - rain, snow, frost, high & low temperatures. This Solar Garden Lights can adapt to various outdoor environments, resisting rust, heat, and impacts. Need Help? Our 24/7 online team is at your service. WTGEGF provides 1 year service

Ultra Bright Solar Pathway Lights: Designed with 14 high-lumen LEDs, silver reflectors, and clear shades, these outdoor solar pathway lights deliver up to 200 lumens for bright, wide coverage up to 76 ft²—10X brighter than other solar path lights. The downward beam helps illuminate walkways, steps, patios, gardens, yards, pool areas, and uneven ground while reducing glare for neighbors. Each light covers more ground, so you can brighten larger outdoor areas with fewer tall solar lights
Step 2: Plan Your Layout
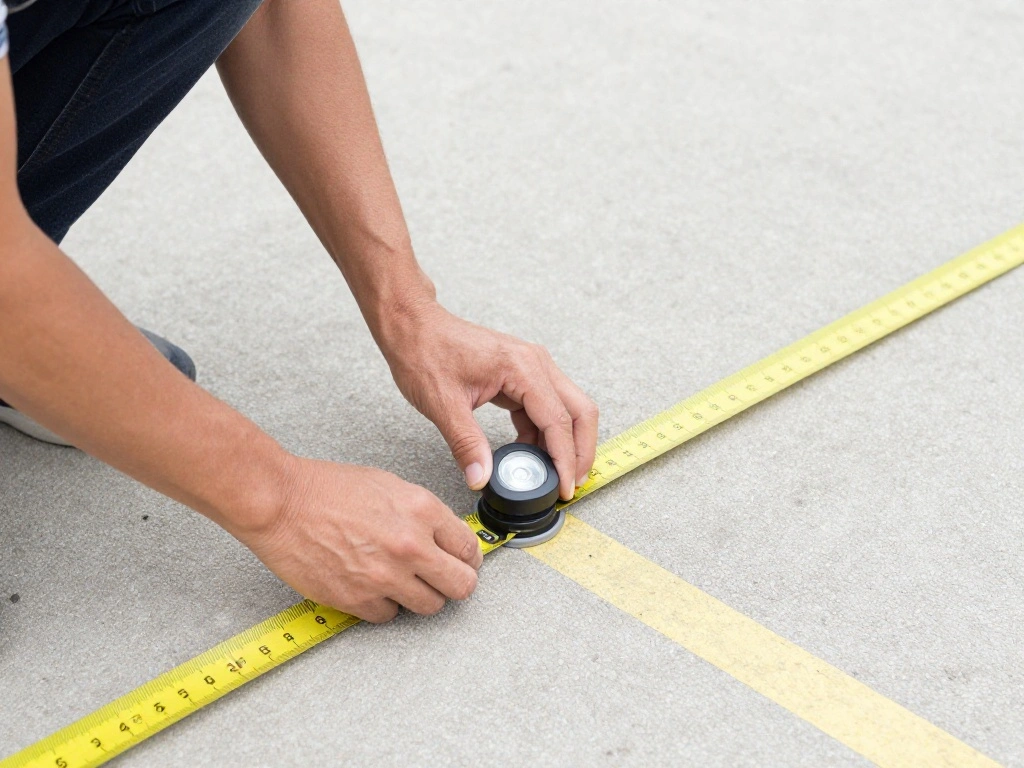
Next, plan the layout for your solar path lights. Follow these sub-steps:
- Measure: Use your measuring tape to determine the length of the walkway.
- Spacing: Decide how far apart to place the lights (typically 6-8 feet apart).
- Mark: Use your marker or chalk to indicate where each light will go.
Warning: Make sure to avoid any underground utilities while marking. This step is crucial as it ensures even lighting along your pathway.
Estimated time: 30 minutes.
Recommended Products

UNIQUE PATENTED SOLAR PATHWAY LIGHTS: US Patent intellectual property protected. Upgraded solar garden lights adopts a one-piece lamp head design, the lamp head imitated the diamond look, with high transparent acrylic material, which makes the light with strong transmission, large lighting area, super bright light output; The style is modern and simple, compact and delicate. landscape lighting to creates a romantic atmosphere for your home. Extremely pretty solar garden yard decor

UNIQUE PATENTED SOLAR PATHWAY LIGHTS: US Patent protected.Color changing solar garden lights adopts a one-piece lamp head design, the lamp head imitated the diamond look, with high transparent acrylic material, which makes the light with strong transmission, large lighting area, super bright light output; The style is modern and simple, compact and delicate. landscape lighting to creates a romantic atmosphere for your home. Extremely pretty solar garden yard patio decor

16-Pack Set Solar Pathway Lights: Includes a 16-pack of waterproof outdoor solar garden lights with 3000K warm white LED bulbs.An ideal choice for friends or family who love gardening or outdoor activities, these outdoor solar lights can decorate pathways, patios, landscapes, driveways, walkways, gardens, sidewalks and lawns.
Step 3: Prepare the Ground
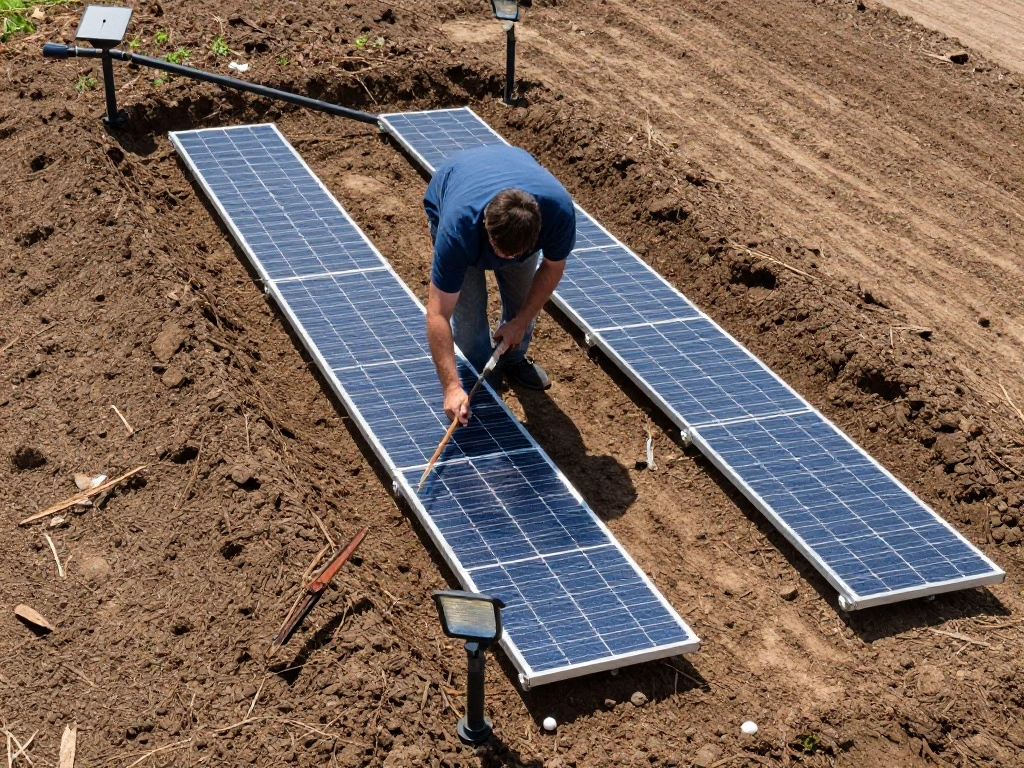
Prepare the ground for your solar path lights by following these steps:
- Clear the Area: Remove any debris, stones, or plants from the marked spots.
- Loosen the Soil: Use a garden spade to loosen the soil where the lights will be placed.
- Ensure Level Ground: Use a level to check that the surface is flat for proper installation.
Pro Tip: If the ground is too hard, consider watering it slightly to make digging easier. This matters because proper installation depends on a clear, level surface.
Estimated time: 30 minutes.
Step 4: Insert the Solar Lights
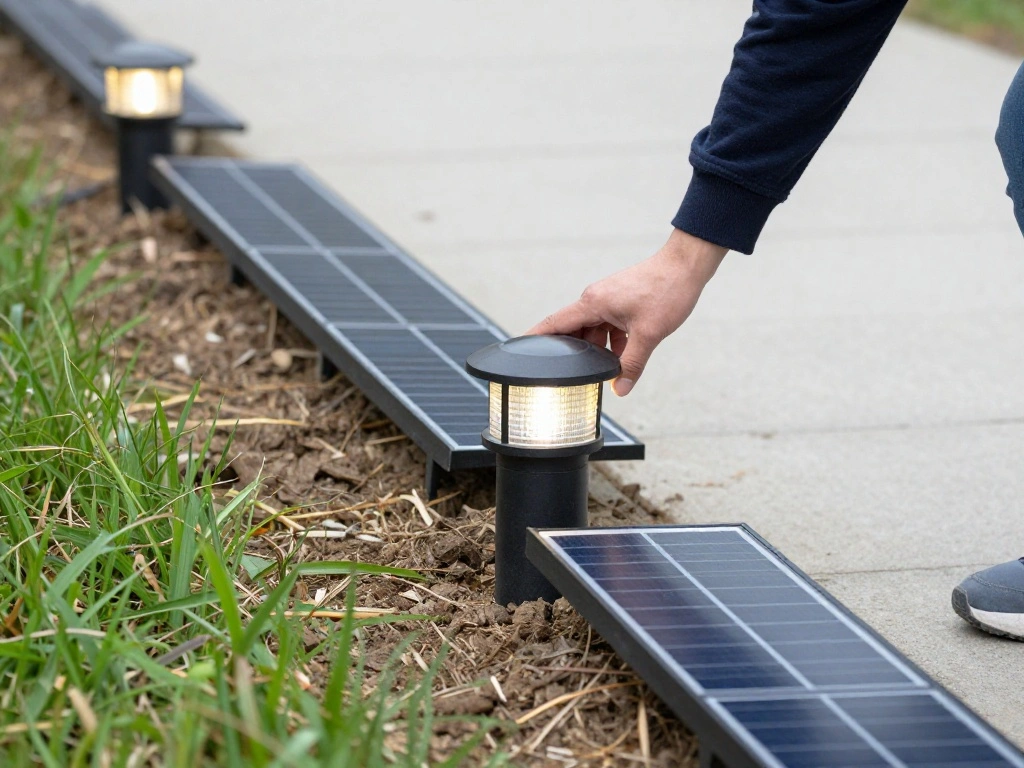
Now it’s time to install the solar path lights. Follow these steps:
- Unpack the Lights: Carefully remove each light from its packaging.
- Insert the Stake: Push the stake of each light into the ground at the marked spots.
- Check Stability: Make sure each light is secure and upright.
Warning: Do not force the lights into hard ground, as this can damage them. This step is important to ensure that each light is correctly positioned to receive sunlight.
Estimated time: 1 hour.
Step 5: Adjust the Angle of the Lights
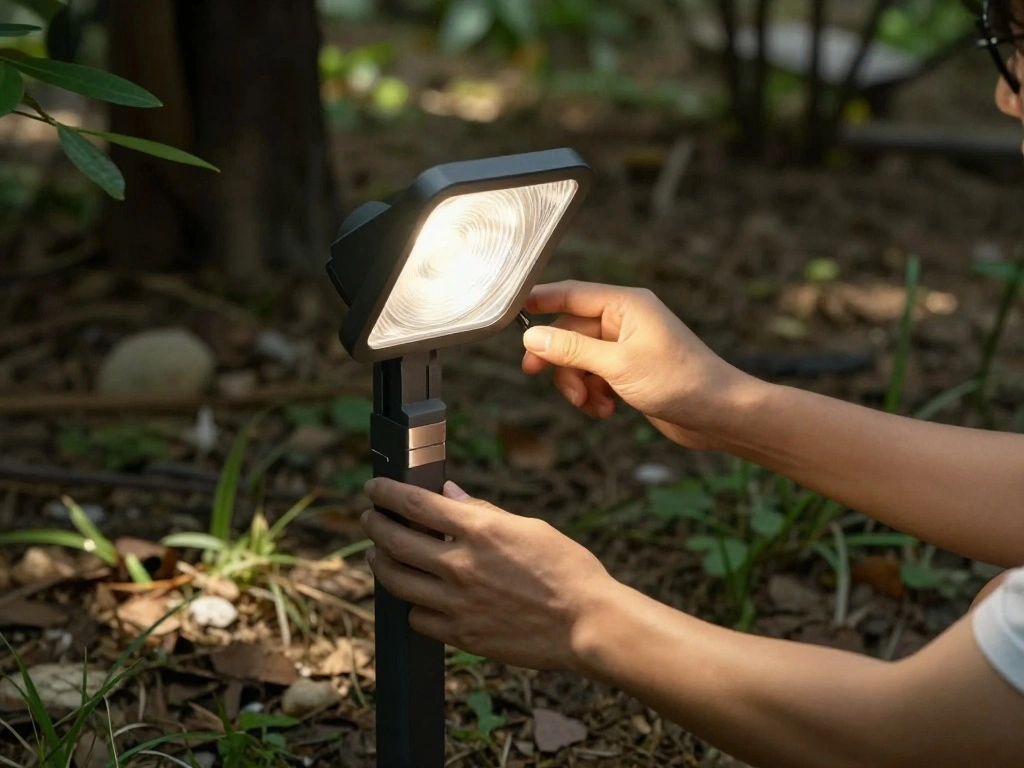
For optimal performance, adjust the angle of each solar light. Here’s how to do it:
- Check Position: Ensure that each light faces the walkway.
- Adjust Angle: Tilt the light head to direct the beam where you want it to shine.
- Double-Check Alignment: Step back and see if all lights are aligned consistently.
Pro Tip: Aim the lights slightly towards the center of the path for even illumination. This step is vital for maximizing the effectiveness of the lights.
Estimated time: 30 minutes.
Step 6: Test the Lights
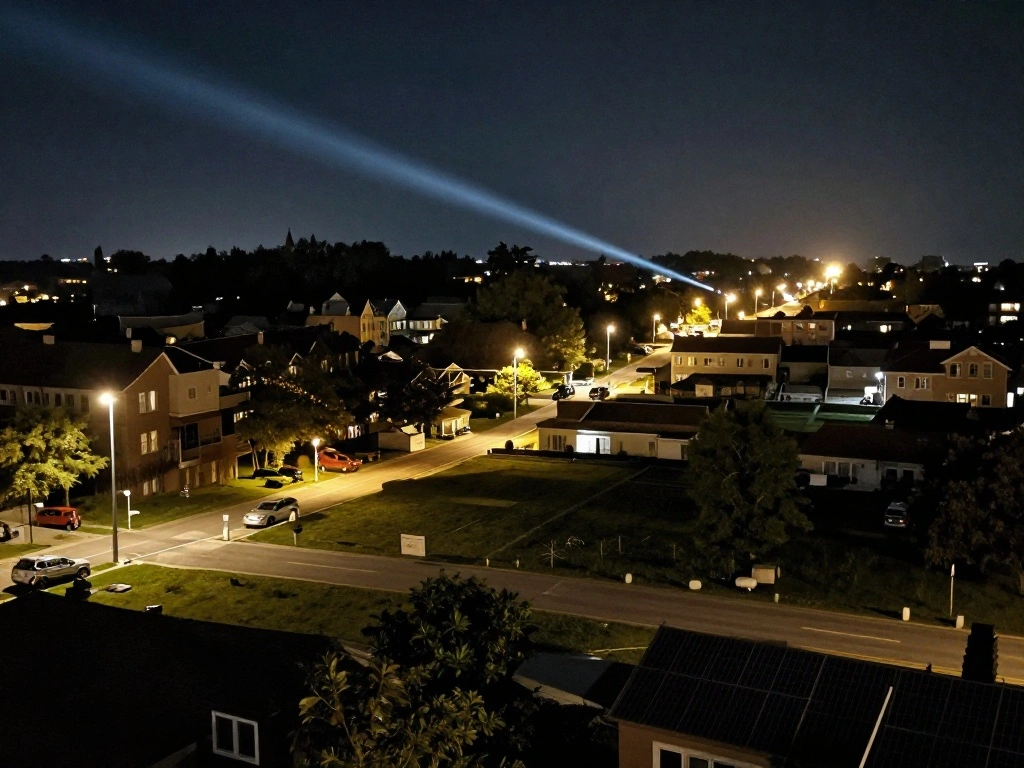
After installation, it’s essential to test your solar path lights. Follow these steps:
- Wait for Nightfall: Allow the lights to charge during the day.
- Check Functionality: Once dark, check if each light illuminates properly.
- Adjust if Necessary: If any lights are not working, check the batteries or positioning.
Warning: If a light doesn’t turn on, ensure it receives enough sunlight during the day. This step is crucial to confirm that your installation is successful.
Estimated time: 30 minutes.
Step 7: Maintain Your Solar Path Lights
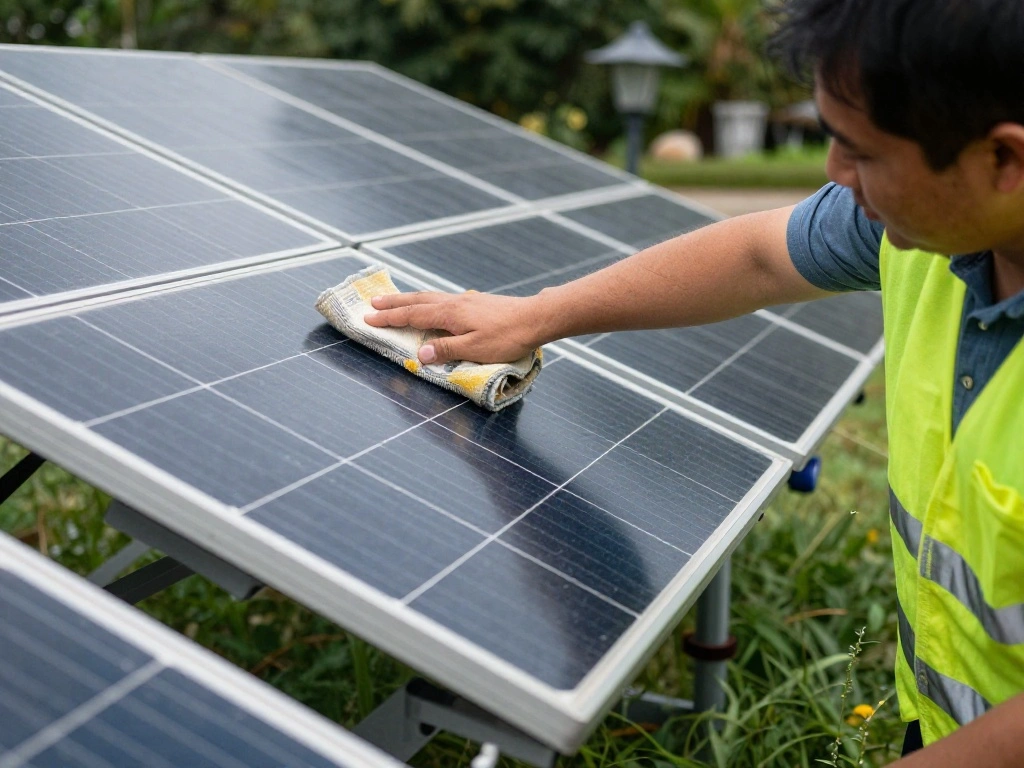
To ensure longevity, maintain your solar path lights regularly. Here’s what to do:
- Clean the Solar Panels: Wipe panels with a soft cloth every few weeks to remove dirt.
- Check for Damage: Inspect for any cracks or wear on the lights.
- Replace Batteries as Needed: Change batteries annually or as required.
Pro Tip: Regular maintenance helps prolong the life and efficiency of your lights. This step matters, as proper care ensures your lights work effectively for years.
Estimated time: 15 minutes monthly.
Step 8: Enjoy Your New Path Lights!

Now that your solar path lights are installed and functioning, take a moment to enjoy the transformation:
- Walk the Path: Stroll along your illuminated walkway.
- Invite Friends: Share your newly lit garden with family and friends.
- Relax: Create a peaceful atmosphere for evening relaxation.
Pro Tip: Consider adding seating or decorative elements to enhance the area further. This step is rewarding, as it showcases your hard work and improves your garden’s ambiance.
Estimated time: Ongoing enjoyment!
Step 9: Document Your Progress

Capture the journey of your installation by documenting your progress:
- Take Before Photos: Photograph the area before installation.
- Capture Installation Steps: Document each step for reference.
- Share Your Success: Post on social media or gardening forums.
Pro Tip: Sharing your project can inspire others to try it themselves! This step is fulfilling, as it allows you to reflect on your accomplishment.
Estimated time: 30 minutes.
Pro Tips
- Choose Quality: Invest in good-quality solar lights for better performance and durability.
- Plan for Seasonal Changes: Be mindful of seasonal sunlight variations when placing lights.
- Use Multiple Styles: Combine different styles of lights for a unique look.
- Consider Motion Sensors: For added security, look for lights with motion sensors.
- Think About Color: Use colored lights for a festive atmosphere during holidays.
Common Mistakes to Avoid
Warning: Don’t place lights too close together, as this can create uneven lighting and an overcrowded look. To avoid this, maintain recommended spacing of 6-8 feet. Warning: Avoid installing in shaded areas; this will reduce sunlight exposure and battery performance. Choose well-lit spots instead. Warning: Ensure the stakes are secure; loose lights can tip over easily in wind. Check stability during installation.
Troubleshooting Section
Problem: Lights won’t turn on at night.
Solution: Ensure they receive adequate sunlight during the day. Check the battery and replace if necessary.
Problem: Some lights are dim.
Solution: Clean the solar panels and check the battery health.
Problem: Lights flicker.
Solution: Inspect connections and replace batteries if they are low.
Problem: Lights are too bright.
Solution: Consider placing them further apart for more even lighting.
Variations/Alternative Methods
- Use Solar String Lights: Perfect for creating a whimsical atmosphere along a path.
- Consider Solar Spotlights: Ideal for highlighting specific garden features.
- Install Solar Lanterns: Add a decorative touch while providing light.
FAQs
What if I don’t have enough sunlight? Consider relocating the lights to a sunnier spot, or choose models with larger solar panels.
How long should I expect the lights to last? With proper care and maintenance, solar path lights can last for several years.
Is it safe to install solar lights in the rain? Yes, most solar lights are designed to be weather-resistant.
What if one light goes out? Check the battery and replace it if necessary. If it still doesn’t work, consider replacing the unit.
Can I use solar lights in winter? Yes, but ensure they receive some sunlight, as winter days are shorter.
Conclusion
Congratulations! You have successfully installed solar path lights along your garden walkway. Your outdoor space is now not only safer but also more inviting and beautiful. Enjoy your evenings outside, illuminated by your hard work!
As a next step, consider expanding your outdoor lighting or exploring other garden enhancements. Dive into related resources or projects to continue improving your garden. Remember, every effort counts towards creating a lovely outdoor space!