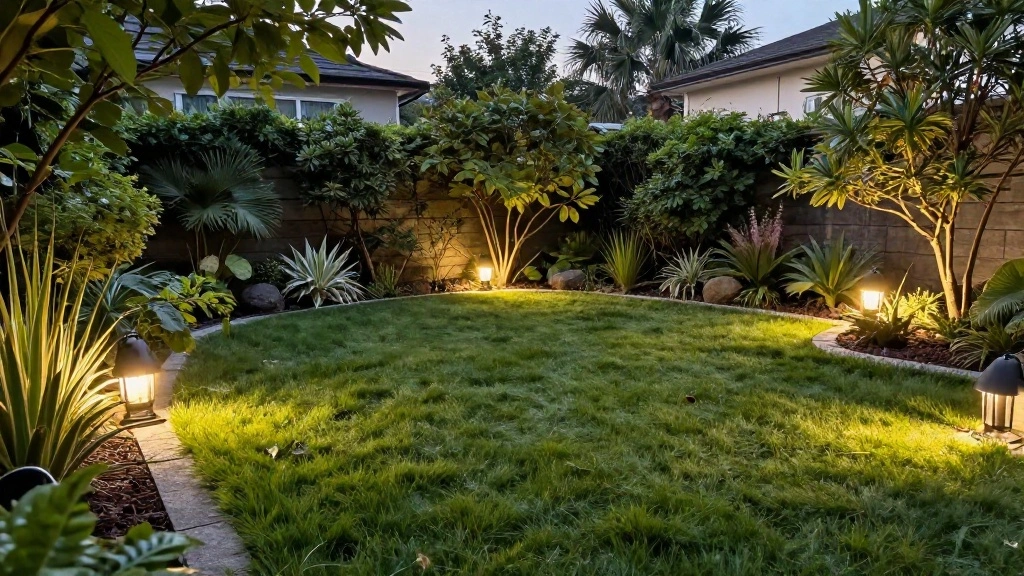
Are you tired of stumbling around your yard in the dark? Want to enhance your outdoor space but think hiring an electrician is the only way? You’re not alone. Many homeowners feel overwhelmed by the idea of installing landscape lighting, fearing the cost and complexity involved. But what if I told you that you can easily do it yourself, without any professional help?
In this guide, you’ll learn how to wire low-voltage landscape lighting yourself, transforming your yard into a beautifully lit sanctuary. By the end of this project, you’ll have a well-lit outdoor space that not only enhances your home’s curb appeal but also provides safety and security during nighttime.
This beginner-friendly guide will walk you through each step of the process, from gathering materials to installing the lights. You’ll need approximately 2-3 hours to complete the project, and don’t worry, no prior electrical experience is necessary. Let’s illuminate your outdoor space!
TL;DR Summary
- Gather all materials needed for low-voltage landscape lighting.
- Plan your layout and determine the placement of your lights.
- Install the transformer and connect wiring to the lights.
- Test your setup to ensure everything works correctly.
Recommended Products

[Built-in Dusk to Dawn Sensor] Landscape lighting that is connected to this transformer will automatically switch on at dusk and off at dawn. By converting household voltage from 120V AC to 12V AC safety voltage using 120W, a safer and more useful electrical current level is produced. Tip: Do not use with a dimmer switch.

[Dusk to Dawn Sensor] Connected to this dusk till dawn transformer, the landscape lighting will turn on automatically at dusk and off at dawn; 60W, convert 120V AC household voltage to 12V DC safety voltage, providing a safer and more practical electrical current level, don't worry about forgetting the switch, energy saving(Please note the transforemr not for Halogen light)

COMPATIBLE WITH ALL LOW VOLTAGE LIGHTINING SYSTERMS - The 200W low-voltage transformer converts 120V household AC voltage into 12V/14V safe AC voltage, providing stable and safe voltage and current levels. Compatible with all 12V/14V low voltage LED and halogen landscape lighting systems. Widely used in outdoor landscape lighting, path lights, spotlights, deck lights, string lights, etc.
Prerequisites/Materials Needed
- Low-Voltage Landscape Lights: 6-10 fixtures
- Low-Voltage Transformer: 1 (suitable wattage for total lights)
- Low-Voltage Cable: 100 feet (12 or 14 gauge)
- Wire Connectors: 10-15
- Garden Stakes: 10-15 (for securing lights)
- Wire Stripper: 1
- Shovel: 1 (for burying cables)
- Multimeter: 1 (optional, for testing)
Recommended Products

【Complete Landscape Lights Kit】Includes 12*5W landscape spotlight, 1*120FT landscape wire, 1*80W low voltage transformer, 24* fastlock wire connector. Light set includes everything you need for your outdoor landscape lighting system, no need to purchase additional accessories!

【Complete Landscape Lights Kit】Includes 8*5W landscape spotlight, 1*80FT landscape wire, 1*60W low voltage transformer, 16* fastlock wire connector. Light set includes everything you need in one box for your outdoor landscape lighting system, no need to purchase additional accessories!

【Complete Landscape Lighting Kit】Includes 1 × 60W light-sensing transformer, 1 × 100ft landscape wire, 12 × 3W aluminum landscape spotlight, 12 × fastlock2 wire connector. Kit includes everything you need for your outdoor landscape lighting system, all at a great bundle price!
Skill Level & Time Estimate
Skill Level: beginner
Total time estimate: 2-3 hours
Breakdown of time by major steps:
- Gather materials: 30 minutes
- Plan layout: 30 minutes
- Install transformer: 30 minutes
- Connect lights: 1 hour
- Testing and adjustments: 30 minutes
Recommended Products
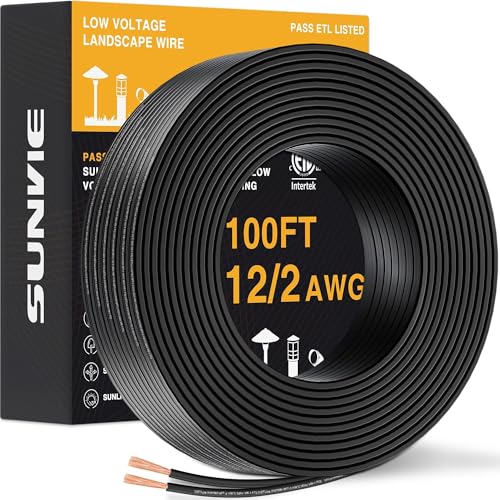
【Specification】 100FT 12/2 Conductors, SPT-2 black PVC insulation, pure copper, VW-1 fire resistant, maximum working volt 300V. Great for low voltage use.
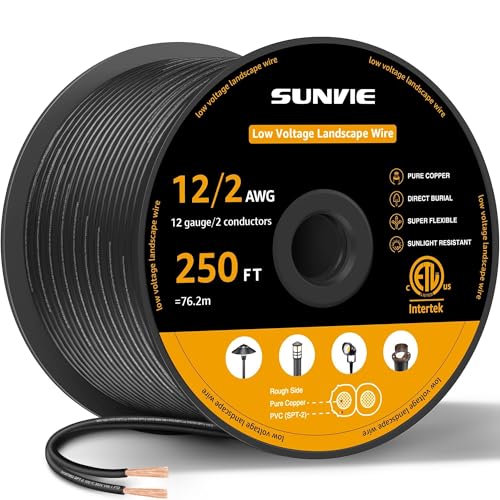
【Specification】 250FT 12/2 Conductors, SPT-2 black PVC insulation, pure copper, VW-1 fire resistant, maximum working volt 300V. Great for low voltage use.

【Multipurpose 12/2 low-voltage cable】This low voltage 12/2 cable is the best product for outdoor lighting purposes. These multipurpose cables are suitable for numerous outdoor lighting end-uses. Some of the examples include path-lights, area-lights, flood-lighting, Spot-lights, down-lights, etc. You can also use them foor underwater lights, in specialized areas, into the ground or inside the wells, decks, steps, hardscapes, etc.
Step 1: Plan Your Layout
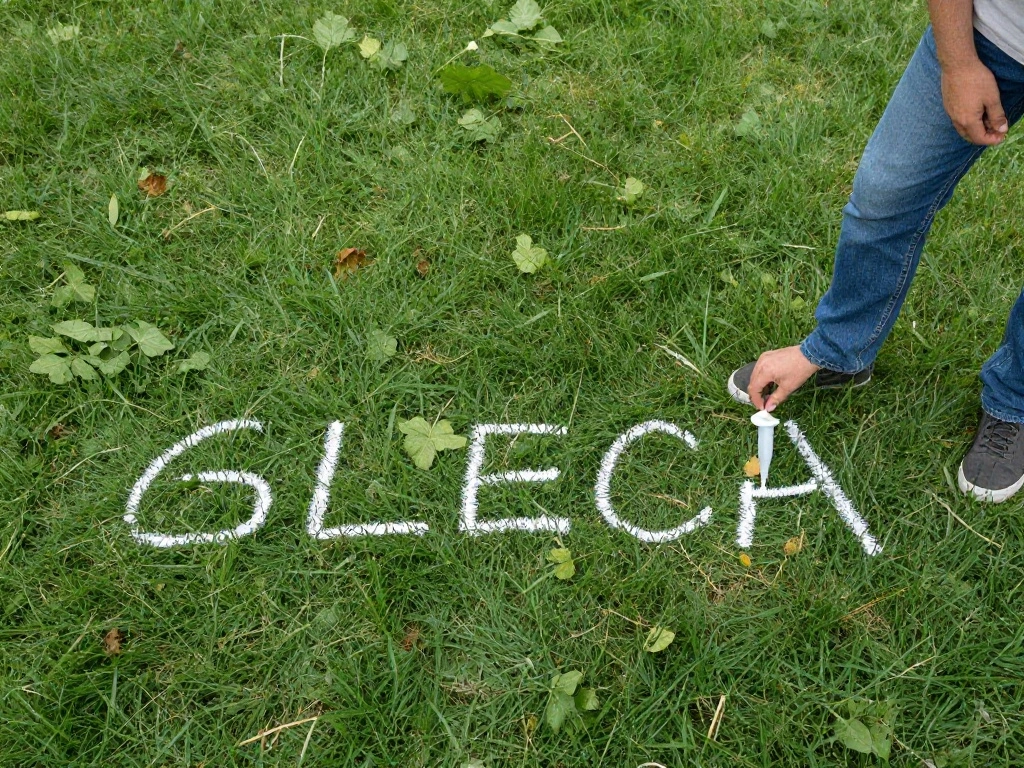
Begin by planning where you want to place your landscape lights. This step is crucial for achieving the desired lighting effect.
- Visualize: Walk around your yard and identify areas that need illumination.
- Mark the spots: Use stakes or chalk to mark where each light will go.
- Consider spacing: Aim for about 10-12 feet between each fixture for even lighting.
Pro Tip: Sketch your layout on paper for reference. This helps in staying organized during installation.
Why this matters: A well-planned layout ensures effective lighting and enhances the aesthetic appeal of your yard.
Time estimate: 30 minutes.
Step 2: Gather and Prepare Materials
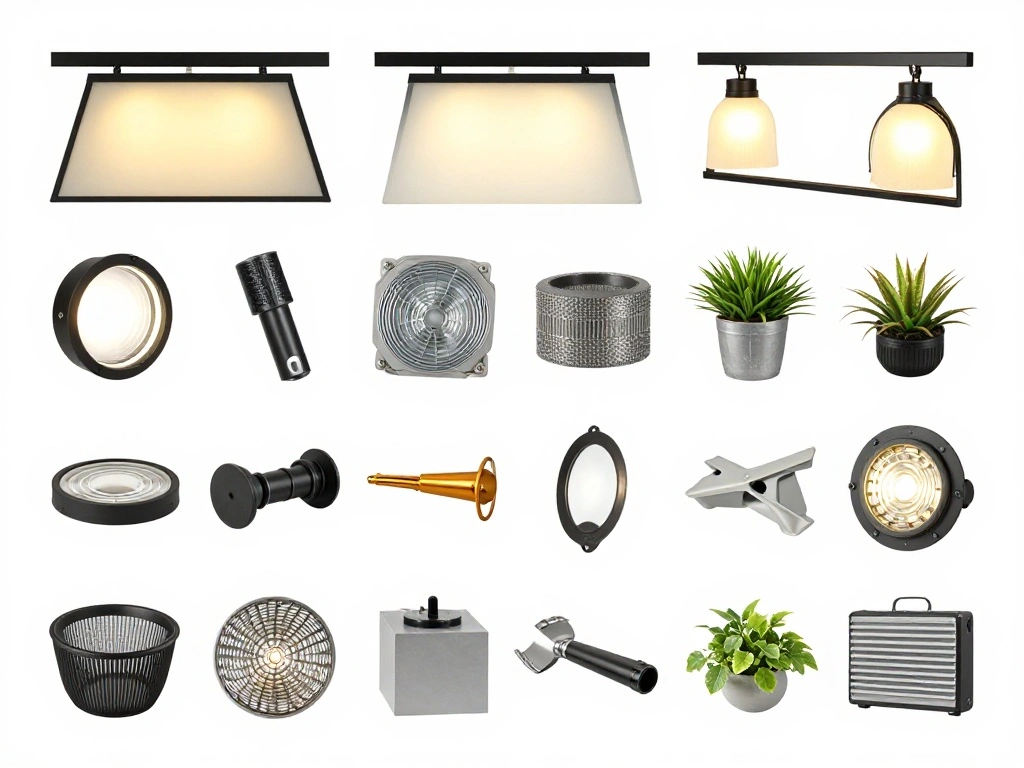
Now that you have a plan, gather all your materials and prepare them for installation.
- Collect all materials from your checklist.
- Inspect each item, ensuring everything is in good condition.
- Cut the low-voltage cable to the required lengths based on your layout.
Warning: Ensure that the transformer is compatible with your lights to avoid electrical issues.
Why this matters: Having everything ready saves time and prevents interruptions during installation.
Time estimate: 30 minutes.
Recommended Products

【Upgraded, Covering20 Lights】Upgraded SUNVIE fastlock2 low voltage landscape lighting connector. Only 1 connector is required per connection. 20 connectors cover 20 lights, making connection easier. PATENT NO. : US D935,409 S

【Upgraded, Covering 8 Lights】SUNVIE fastlock2 low voltage landscape lighting connector with 2021 new upgrade. Only 1 connector is required per connection. 8 connectors cover 8 lights, making connection easier. PATENT NO.: US D935,409 S

【COVERING 6 LIGHTS】Not as other connector which TWO PIECES PER CONNECTION,each of our low voltage connector per connection. Other connector 6pack is equal to 3 pairs, just covering 3 lights, our 6 pack is equal to 6 pairs, COVERING 6 LIGHTS. New Design but still work well !
Step 3: Install the Transformer
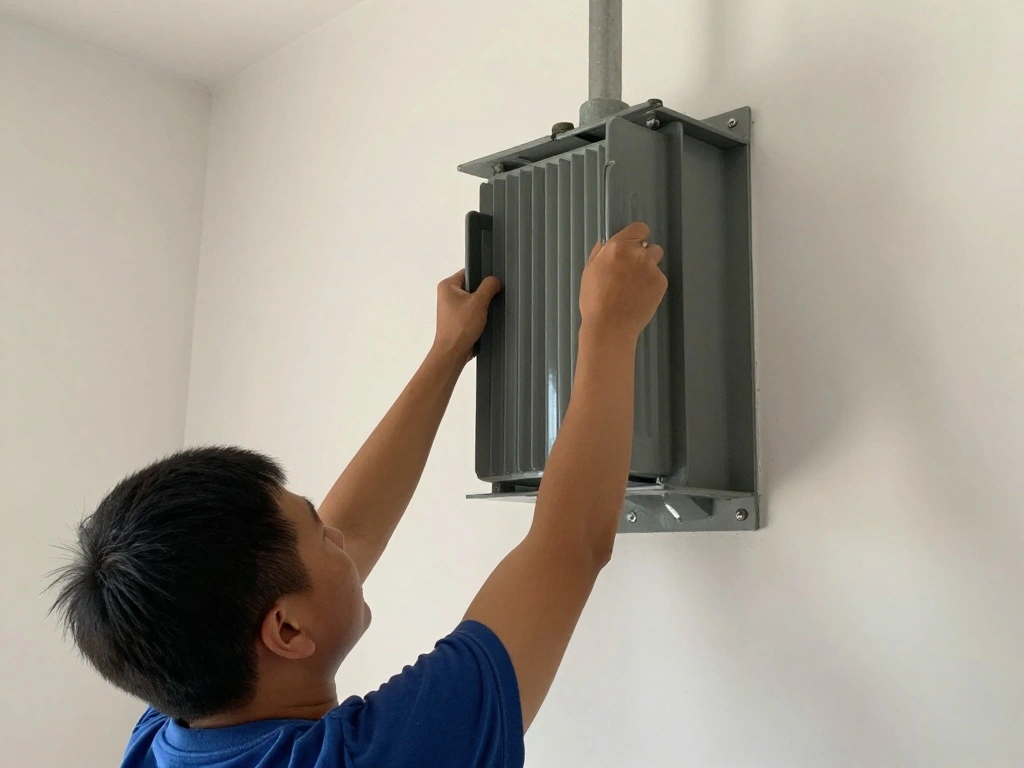
The transformer is the heart of your low-voltage lighting system. Here’s how to install it properly.
- Choose a location: Select a dry, shaded area close to an electrical outlet.
- Mount the transformer: Follow the manufacturer’s instructions and use screws to secure it to a wall or post.
- Connect to power: Plug the transformer into the outlet, ensuring it’s off before connecting.
Pro Tip: Use a weatherproof box or cover to protect the transformer from the elements.
Why this matters: Proper installation of the transformer is essential for safe operation and longevity of your lighting system.
Time estimate: 30 minutes.
Recommended Products

Good Quality: Energeaster electrical wire is made of 12 AWG 100FT with black 2 conductors and high quality PVC jacket, good conductivity, high mechanical strengthfeatures, flame retardant, anti-aging, acid and alkali resistance and dampproof

Low Voltage Applicability: Low voltage lighting cable is suitable for low voltage outdoor uses such as accent lights, path lights, spotlights, beautifully-lit garden, solar panel, outdoor speaker and so on

[SPECIFICATION] - 200-Feet 12AWG*2C , Black. 60℃ 150 Volt,UL Listed Type CL2, ETL Complied
Step 4: Lay Out the Low-Voltage Cable
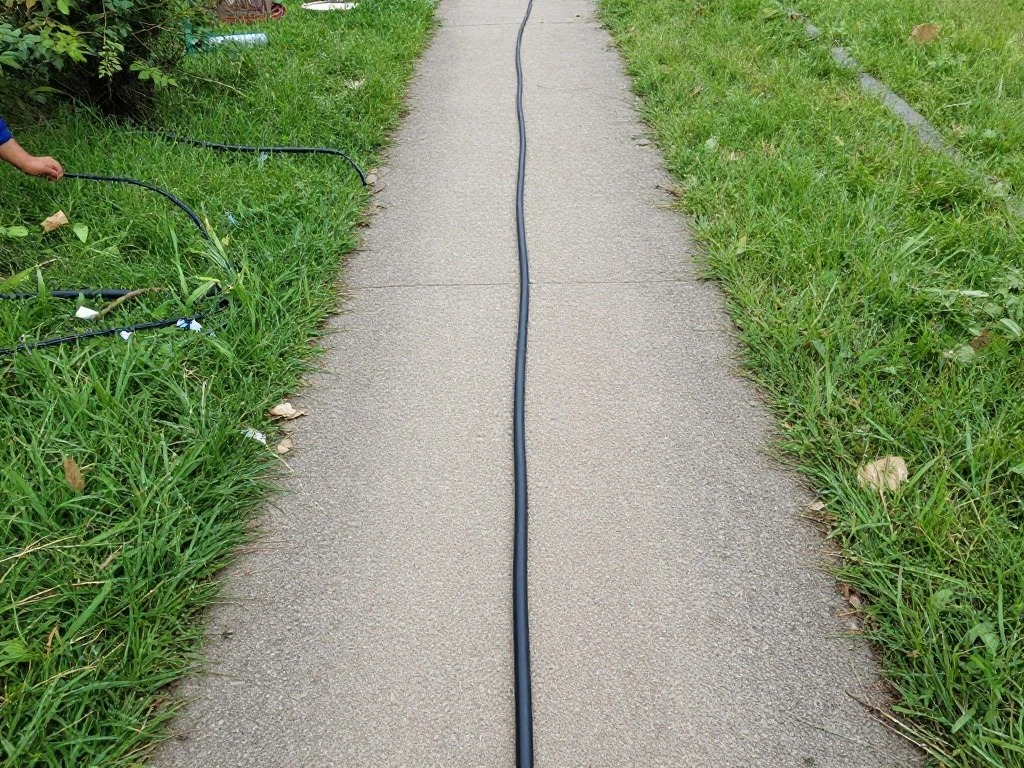
Next, lay out the low-voltage cable according to your planned layout.
- Start at the transformer: Run the cable from the transformer to the first light fixture location.
- Secure the cable: Use garden stakes to hold the cable in place as you move along to the next fixture.
- Continue laying cable: Follow your marked path until all fixtures are connected.
Warning: Avoid sharp bends in the cable to prevent damage.
Why this matters: Proper cable placement ensures a reliable power supply to all lights while keeping your yard looking neat.
Time estimate: 30 minutes.
Step 5: Connect the Lights
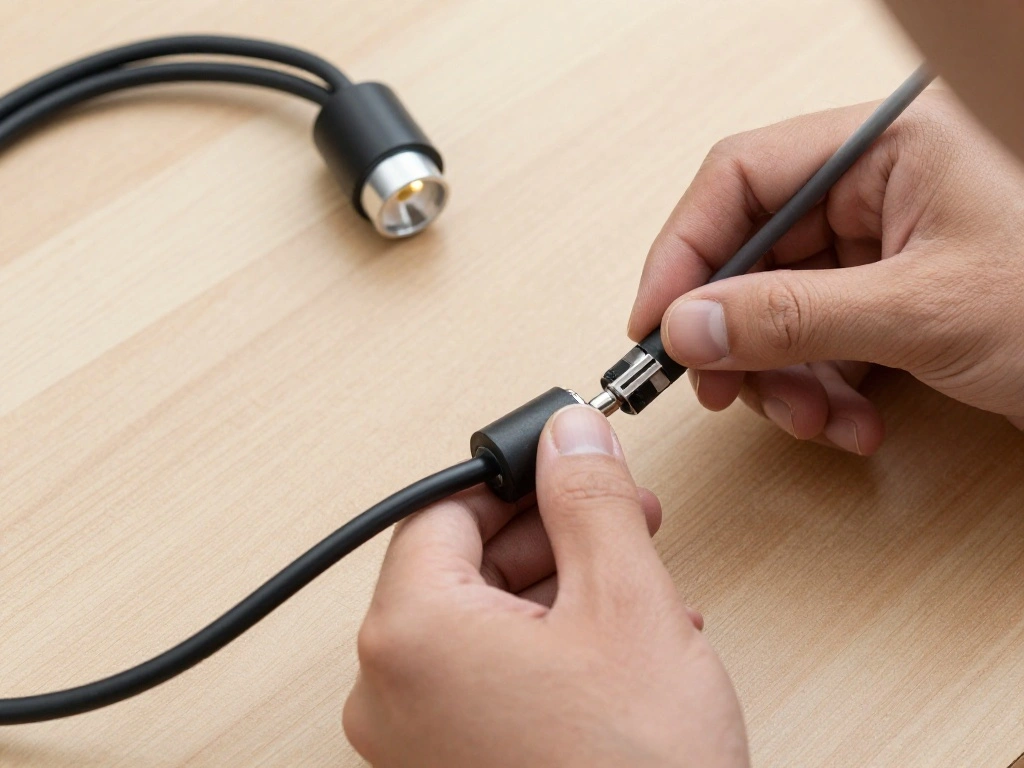
Now it’s time to connect the lights to the low-voltage cable.
- Strip the ends: Use wire strippers to remove about 1/2 inch of insulation from the ends of the cable.
- Connect each light: Twist the stripped ends of the cable to the light fixture leads, ensuring a secure connection.
- Use wire connectors: Secure the connections with wire connectors to prevent moisture ingress.
Pro Tip: Double-check polarity: Ensure that the positive and negative wires are connected correctly for optimal performance.
Why this matters: Proper connections ensure that your lights work efficiently and reduce the risk of electrical failures.
Time estimate: 1 hour.
Step 6: Bury the Cable
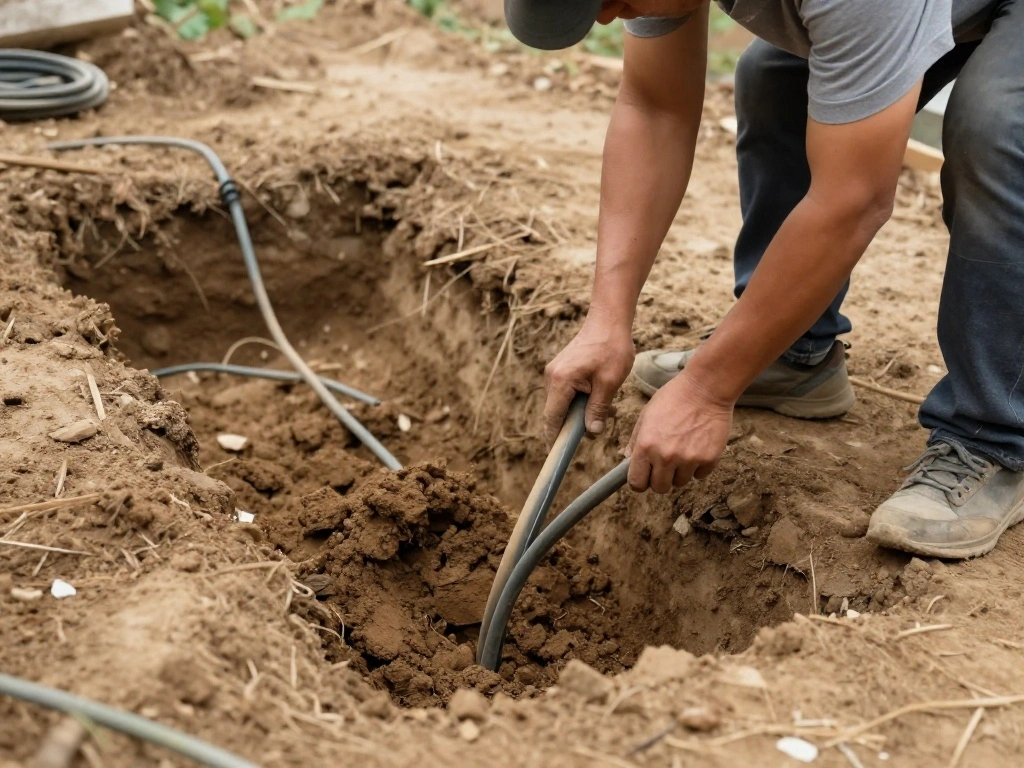
To preserve the aesthetics of your yard, bury the low-voltage cable.
- Dig a trench: Create a shallow trench (4-6 inches deep) along the cable path.
- Place the cable: Lay the cable into the trench, ensuring it’s straight and secure.
- Cover it up: Fill the trench with soil, patting it down gently to avoid air pockets.
Warning: Avoid burying the cable too deep to prevent damage during future landscaping work.
Why this matters: Burying the cable protects it from damage and keeps your yard looking tidy.
Time estimate: 30 minutes.
Recommended Products

SOLID BRASS MATERIAL: Fixture housing made of die-cast brass, thickened tube walls make it stronger, unique finish pickling process to maximize the life of the fixture, stable quality of CNC production process, corrosion and moisture resistant, prime choice for coastal or rainforest

【DURABLE CAST ALUMINUM CONSTRUCTION】IP65 waterproof heavy-duty die-aluminum housing and tempered glass lens cover are designed to withstand rain and snow. Frosted baking paint process makes it textured, corrosion-resistant, rust-resistant and more durable

Made of cast aluminum, with glass lens, adjustable tilt up/down; This is the Round Base model as picture shown, No ground stake
Step 7: Test the System
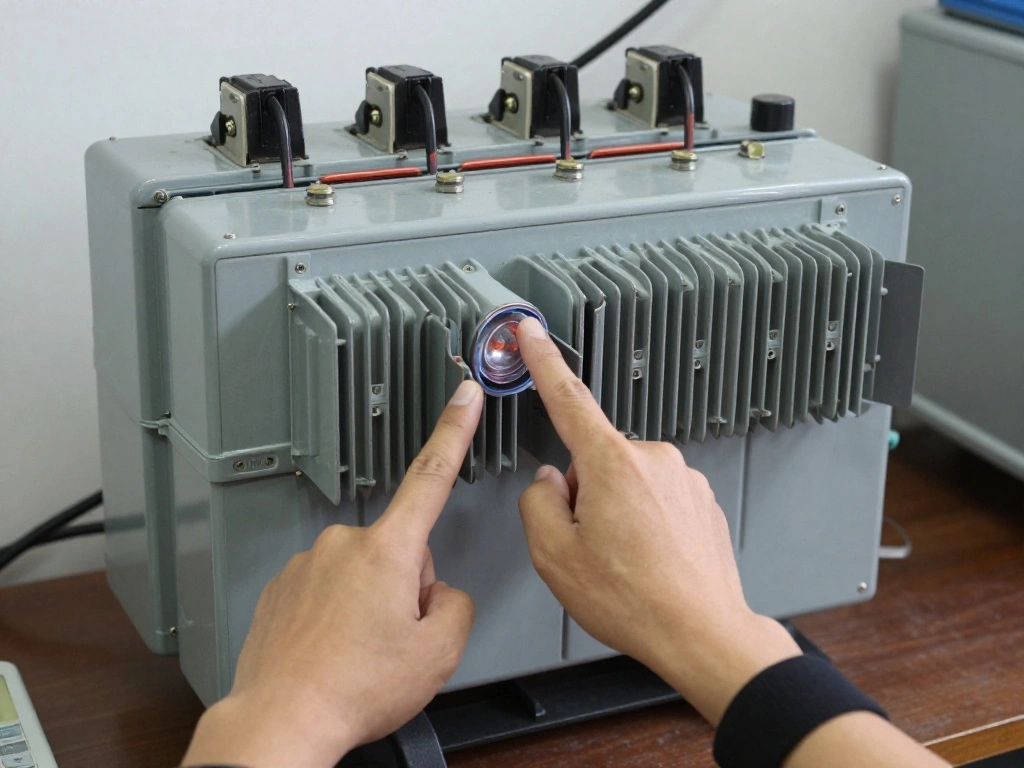
Before finishing up, you need to test the entire lighting system to ensure everything works correctly.
- Turn on the transformer: Switch the transformer on and check for power.
- Test each light: Walk along the cable path and check if each light is functioning.
- Make adjustments: If any lights are not working, check connections and troubleshoot as necessary.
Pro Tip: Use a multimeter to test connections if lights aren’t working to ensure power is reaching them.
Why this matters: Testing ensures that all fixtures are operational, allowing for timely fixes before finalizing the installation.
Time estimate: 30 minutes.
Step 8: Enjoy Your New Lighting
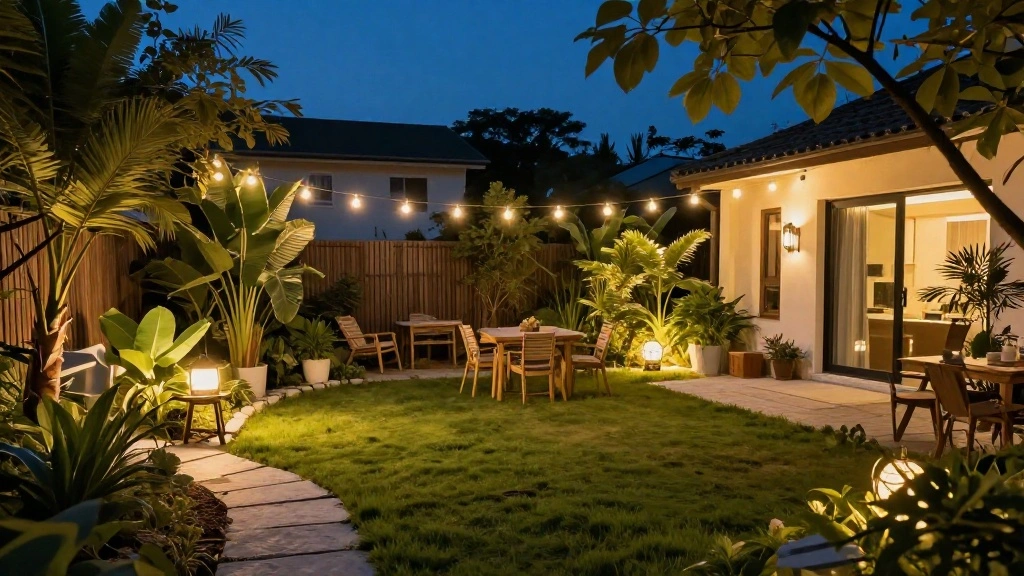
Congratulations! You’ve successfully installed your low-voltage landscape lighting.
- Step back: Take a moment to admire your work and see how the lighting enhances your outdoor space.
- Make adjustments: If needed, adjust the positioning of fixtures for better effect.
- Consider additional decor: Think about adding outdoor decor to complement your new lighting.
Pro Tip: Plan a night-time garden party to showcase your new lighting to friends and family!
Why this matters: Enjoying the fruits of your labor not only enhances your outdoor experience but also boosts your home’s ambiance.
Time estimate: 30 minutes.
Pro Tips
- Adjustable Fixtures: Choose lights with adjustable heads to direct light where it’s needed most.
- Energy-Efficient Bulbs: Opt for LED bulbs to save on energy costs and ensure longer lifespan.
- Seasonal Check: Regularly check connections and fixtures, especially after harsh weather.
- Use Timers: Consider installing timers or smart controls to automate your lighting.
- Experiment with Placement: Don’t be afraid to move fixtures around until you find the perfect look.
Common Mistakes to Avoid
Warning: 1. Not planning the layout properly can lead to uneven lighting. Always sketch your plan first.
Warning: 2. Using the wrong gauge wire may cause voltage drop. Ensure you use 12 or 14 gauge wire.
Warning: 3. Overloading the transformer can lead to system failure. Verify the total wattage before installation.
Warning: 4. Leaving connections exposed can lead to shorts. Always use connectors and sealant.
Warning: 5. Burying cables too deep can make future landscaping difficult. Keep it shallow and visible.
Troubleshooting Section
Problem: Some lights don’t turn on.
Solution: Check connections and ensure power is reaching the lights. If necessary, replace bulbs.
Problem: Flickering lights.
Solution: Check for loose connections or consider upgrading to a higher wattage transformer.
Problem: Too dim lighting.
Solution: Ensure you’re using the correct gauge wire and consider adding more fixtures.
Problem: Lights turn off unexpectedly.
Solution: Ensure the transformer is functioning and not overloaded.
Problem: Water in connections.
Solution: Use waterproof connectors and sealant to protect connections.
Variations/Alternative Methods
1. Solar Landscape Lighting: Easy to install as it requires no wiring but may not provide as much light.
2. Smart Lighting Systems: Integrate smart technology for remote control and automation but may require a bit more setup.
3. Line Voltage Lighting: Provides brighter illumination but involves higher voltage and professional installation.
FAQs
What if I don’t have a power outlet nearby? Consider using an extension cord or relocating the transformer closer to an outlet.
How long should I run the cable? Measure based on your planned layout, ensuring it reaches all fixtures with some excess.
Is it safe to install lighting myself? Yes, as long as you follow safety guidelines and manufacturer instructions.
What if my lights flicker? Check connections and ensure the transformer is not overloaded.
Can I use my existing outdoor outlet? Yes, just make sure it meets the voltage requirements for your transformer.
Conclusion

Well done! You’ve successfully completed your low-voltage landscape lighting project. Take a moment to admire the beautiful transformation of your outdoor space.
Now that you have this new lighting, consider exploring additional landscaping projects to further enhance your home’s exterior. Whether it’s adding flower beds, pathways, or outdoor furniture, the possibilities are endless!
Stay inspired and keep improving your outdoor oasis. Enjoy your new lighting!
Recommended Products

【Upgraded, Covering 12 Lights】SUNVIE fastlock2 low voltage landscape lighting connector with 2021 new upgrade. Only 1 connector is required per connection. 12 connectors cover 12 lights, making connection easier. PATENT NO.: US D935,409 S
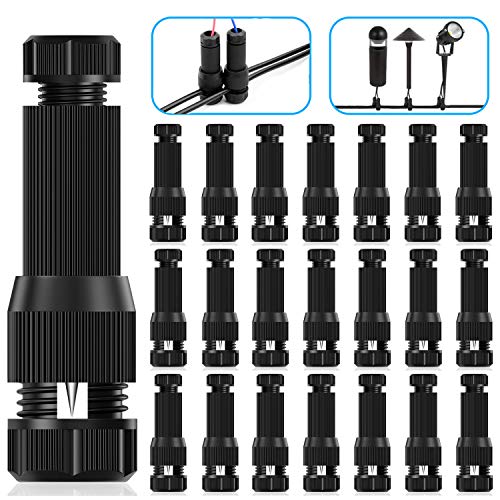
UNIQUE FASTLOCK DESIGN: With latest upgraded screw tight design, iCreating outdoor low voltage wire connector allows for a faster and more convenient connection of low voltage landscape lights than other landscape light connector. You can be confident that your connection is secure thanks to its excellent and high quality design
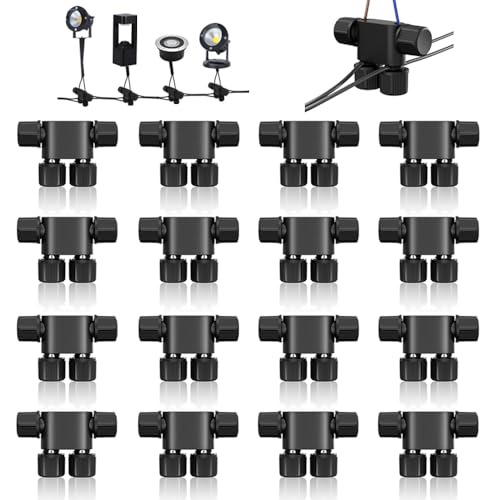
1.Premium quality: This landscape lighting connector is made of an ultra-robust nylon plastic + fiberglass blend and CNC machined nickel-plated brass pins, offering superior protection against rain, snow, and moisture - making it perfectly suited for outdoor applications