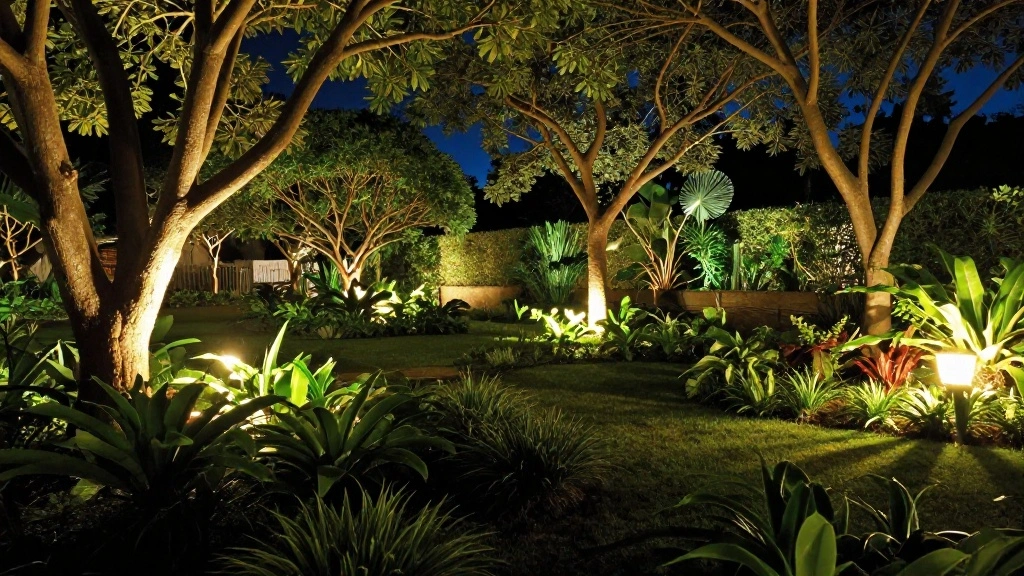
Are you tired of your garden trees disappearing into the darkness at night? Proper lighting can transform your outdoor space, making it inviting and magical. Without adequate lighting, you miss out on the beauty of your garden after sunset. This guide helps you understand the importance of illuminating your trees and provides practical techniques for achieving stunning results.
By following this guide, you will learn how to effectively light up your garden trees using uplighting and downlighting techniques. You’ll discover how to choose the right fixtures, placement strategies, and installation steps to make your garden a nighttime oasis.
This guide is designed for those with an intermediate skill level and will take approximately 2-3 hours to complete. Get ready to create a captivating nighttime landscape that enhances your home’s curb appeal and invites relaxation in your outdoor space.
TL;DR Summary
- Learn how to light up garden trees using uplighting and downlighting techniques.
- Understand the necessary materials and tools for installation.
- Follow step-by-step instructions to achieve beautiful nighttime aesthetics.
- Identify common mistakes and troubleshooting tips for a smooth project.
Prerequisites/Materials Needed
- Lighting Fixtures: LED spotlights (2-4 pieces depending on the number of trees)
- Extension Cords: 100 feet (1-2, depending on layout)
- Ground Stakes: 4-6 (for securing fixtures)
- Landscape Lighting Transformer: 1 (suitable wattage for total fixtures)
- Outdoor-rated Timer: 1 (optional for automation)
- Tools: Wire cutters, screwdriver, shovel (for digging holes if necessary)
Skill Level & Time Estimate
Skill Level: intermediate
Total Time Estimate: 2-3 hours
Step breakdown:
1. Planning and layout: 30 minutes
2. Material gathering: 30 minutes
3. Fixture installation: 1-2 hours
4. Testing and adjustments: 30 minutes
Step 1: Plan Your Lighting Layout
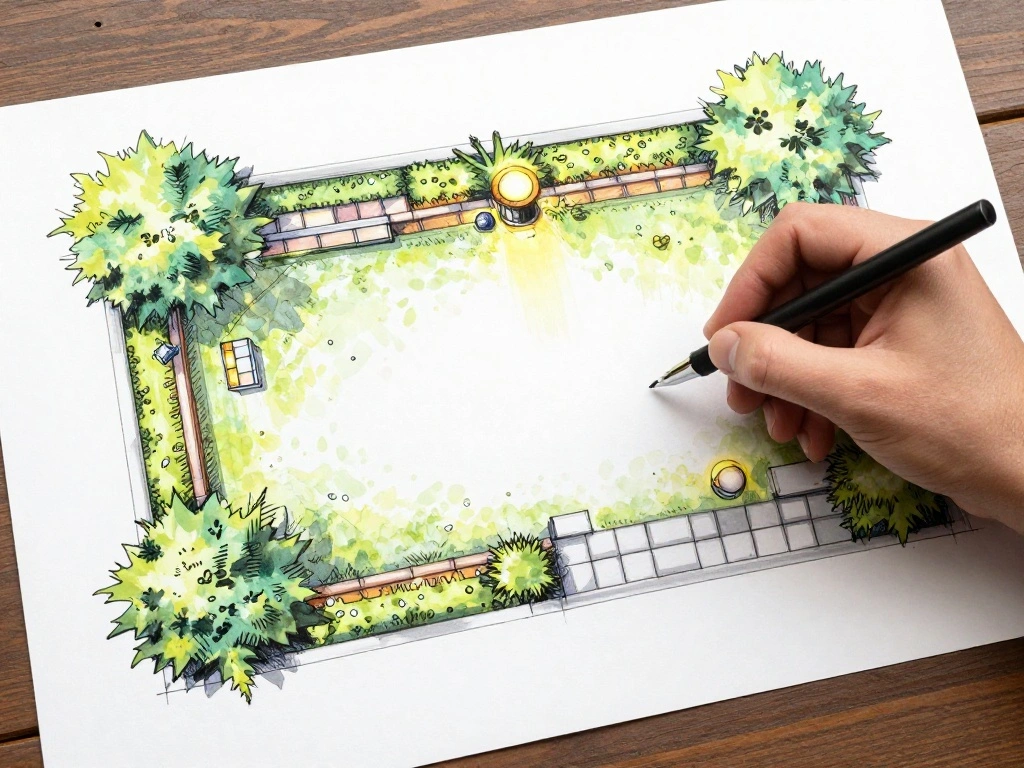
Before installing any lights, it’s crucial to plan your lighting layout. This step helps you visualize where each light will be placed to achieve the best effect. Follow these sub-steps:
- Identify the trees to be illuminated and the desired effect (uplighting or downlighting).
- Sketch a layout on paper, noting the distances and angles for the lights.
- Consider the height of the trees and how the light will disperse.
Pro Tip: Use a flashlight to simulate light angles during the daytime to visualize the effect.
Why this matters: A well-planned layout ensures you achieve the desired aesthetic without wasting time on reinstallation.
Time estimate: 30 minutes.
Step 2: Gather Your Materials

Once you have your plan, gather all necessary materials. Having everything ready will streamline the installation process. Follow these steps:
- Check your lighting fixtures and ensure they are functioning properly.
- Gather extension cords and any tools you will need.
- Set up a workspace near the installation area.
Warning: Ensure all materials are rated for outdoor use to prevent electrical hazards.
Why this matters: Proper materials ensure safety and functionality in your lighting design.
Time estimate: 30 minutes.
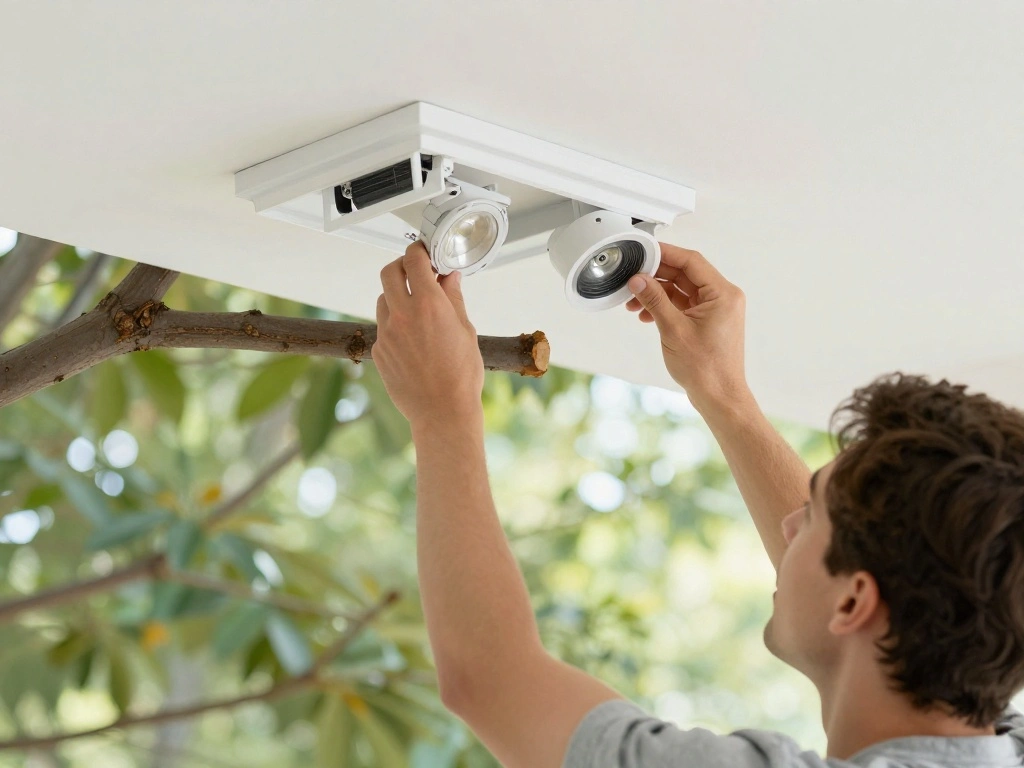
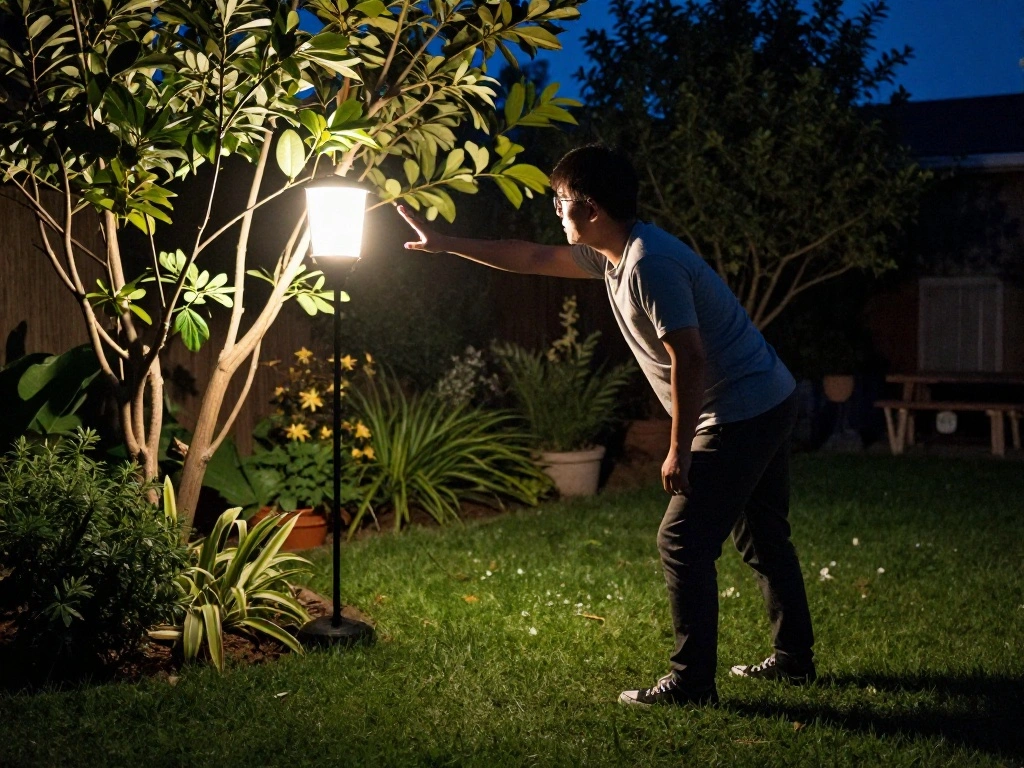
Step 3: Install Lighting Fixtures for Uplighting
Uplighting creates drama by illuminating the tree from below. To install uplighting, follow these steps:
- Position the fixtures at the base of the tree, angling them upward.
- Secure the fixtures with ground stakes or bury a few inches into the soil.
- Connect the fixtures to the transformer using the extension cords.
Pro Tip: Experiment with angles to achieve the desired effect before finalizing the placement.
Why this matters: Properly installed uplights highlight the tree’s structure and foliage, adding depth to your garden.
Time estimate: 1 hour.
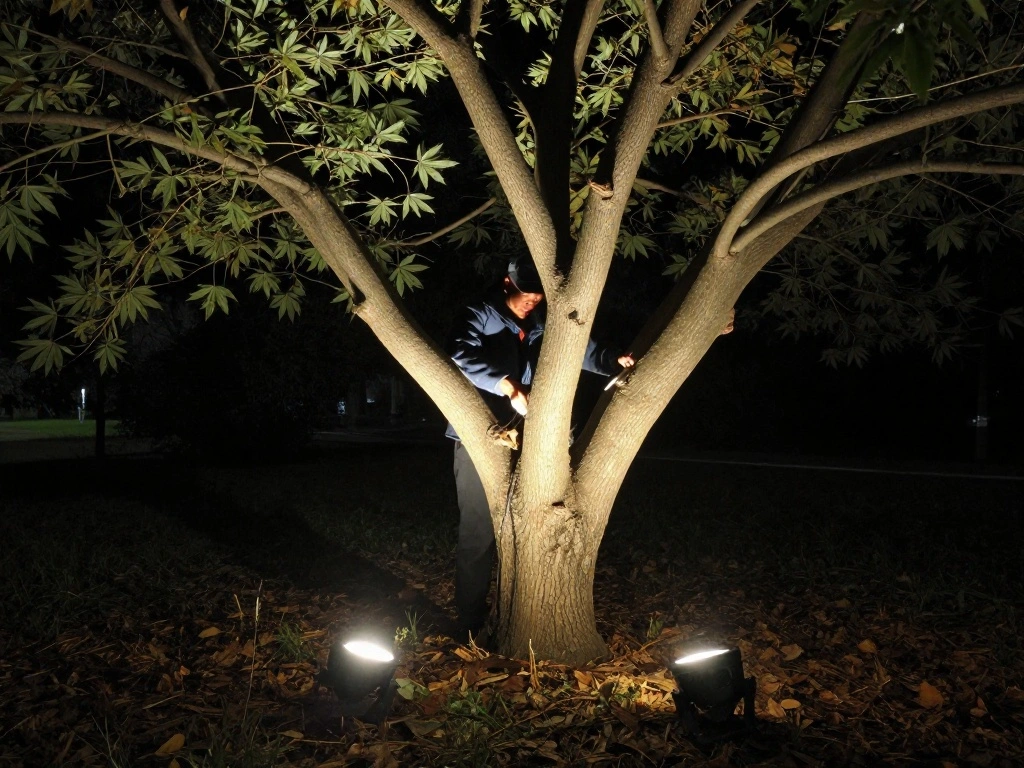
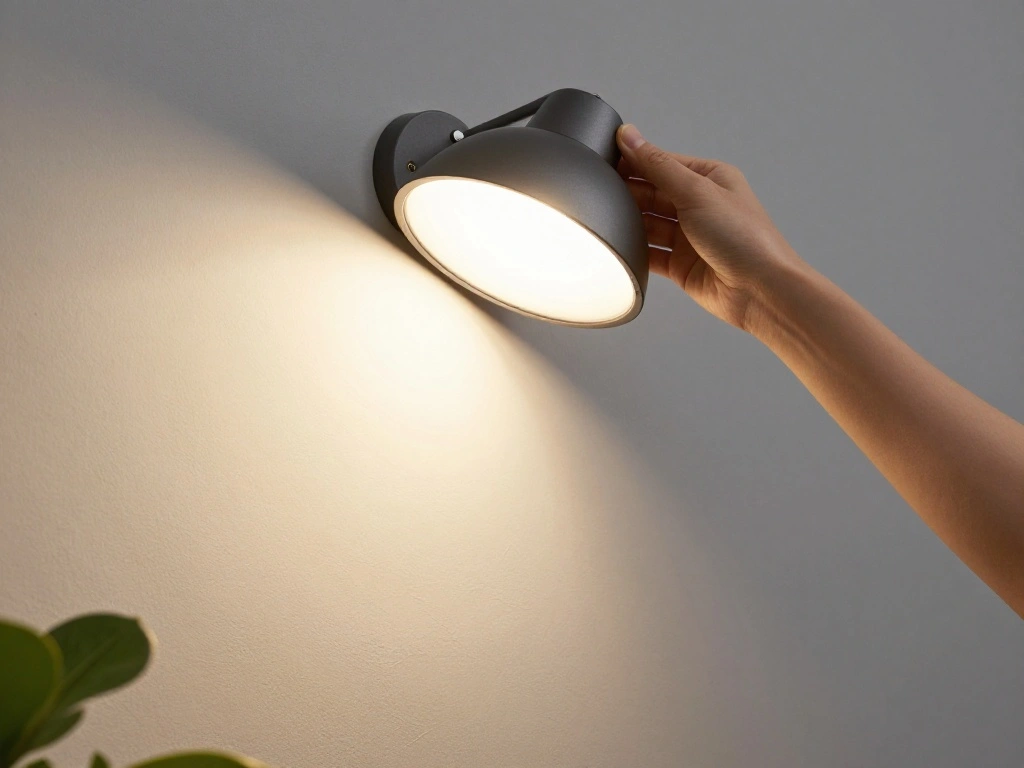
Step 4: Install Lighting Fixtures for Downlighting
Downlighting mimics moonlight and creates a soft ambiance. To install downlighting, follow these steps:
- Choose a high position (like a branch) for your fixtures.
- Secure the fixtures using hanging hardware or clamps.
- Run the power cable down the tree trunk and connect to the transformer.
Warning: Ensure the fixtures are securely attached to prevent them from falling.
Why this matters: Downlighting enhances the garden’s atmosphere and adds a natural look to the landscape.
Time estimate: 1 hour.
Step 5: Connect to Power Source
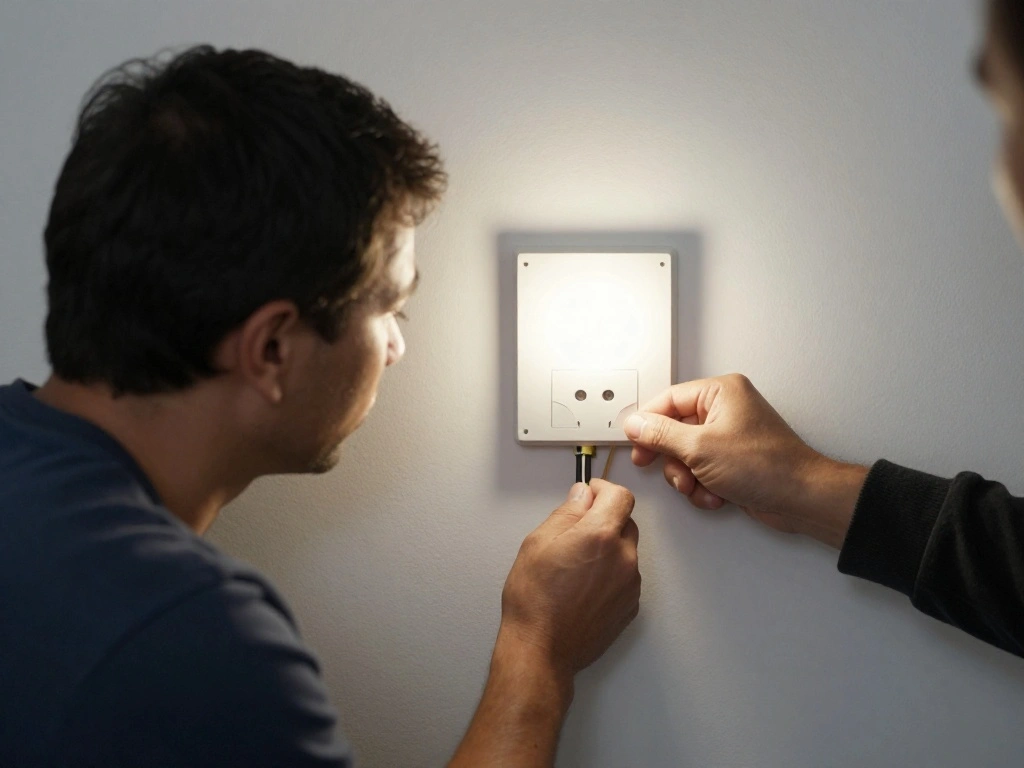
Once all fixtures are installed, it’s time to connect them to the power source. Follow these steps:
- Locate your landscape lighting transformer and plug it into a power outlet.
- Connect all fixture cables to the transformer, ensuring secure connections.
- Use outdoor-rated extension cords to reach the transformer from the lights.
Pro Tip: Use a timer for automatic lighting control and to save energy.
Why this matters: Proper connections ensure your lighting system functions safely and effectively.
Time estimate: 30 minutes.
Step 6: Test Your Lighting
After connecting everything, it’s time to test your lighting setup. This step ensures all fixtures work correctly. Follow these steps:
- Turn on the transformer and check each fixture one by one.
- Adjust the angles and positions of the lights as needed.
- Observe the lighting effects from various viewpoints in your garden.
Warning: If any lights do not work, double-check the connections and power supply.
Why this matters: Testing allows you to make necessary adjustments for optimal illumination.
Time estimate: 30 minutes.
Step 7: Make Adjustments as Needed
After testing, you may find that some lights need adjustments. Making these changes will enhance your garden’s nighttime appeal. Follow these steps:
- Identify any fixtures that need repositioning for better effect.
- Adjust the angle of the lights to highlight specific features.
- Ensure all fixtures are securely anchored and stable.
Pro Tip: Take photos of the lighting effects for future reference or adjustments.
Why this matters: Fine-tuning your setup will ensure you achieve your desired aesthetic.
Time estimate: 30 minutes.
Step 8: Enjoy Your Newly Lit Garden

With everything in place and adjusted, take a moment to enjoy your lit garden. This final step is vital for appreciating your hard work. Follow these steps:
- Invite friends or family to experience your garden’s transformation.
- Consider adding outdoor furniture to create a cozy space.
- Document your work with photos to share or for future reference.
Why this matters: Enjoying your garden brings satisfaction and allows you to share it with others.
Time estimate: 30 minutes.
Pro Tips
- Layer Your Lighting: Mix uplighting and downlighting for depth and interest.
- Use Different Colors: Consider colored bulbs for a unique ambiance.
- Regular Maintenance: Check fixtures and cables periodically to ensure optimal function.
- Seasonal Adjustments: Change lighting setups for different seasons or events.
- Incorporate Solar Lights: Use solar-powered lights for areas without outlets.
Common Mistakes to Avoid
Warning: Avoid these common pitfalls:
- Not considering light angles: This can result in unwanted shadows.
- Using non-weatherproof fixtures: This leads to premature failure.
- Over-lighting: Too many fixtures can create harsh lighting, detracting from the beauty.
Troubleshooting Section
Problem: One or more fixtures not lighting up.
Solution: 1. Check the power source. 2. Inspect connections. 3. Replace any faulty bulbs.
Problem: Lights are too bright or harsh.
Solution: 1. Adjust the angle of the lights. 2. Use dimmable fixtures if available.
Problem: Lights flickering.
Solution: 1. Inspect wiring for damage. 2. Ensure connections are secure.
Problem: Water pooling around fixtures.
Solution: 1. Ensure proper drainage in the area. 2. Adjust fixture placement if necessary.
Variations/Alternative Methods
Alternate methods include:
- Solar Lighting: Great for eco-friendly options, but may not provide the same brightness.
- Smart Lighting: Integrates with home automation for convenience.
- String Lights: Useful for a whimsical effect in trees or along walkways.
Each method can achieve a unique aesthetic based on your specific needs and preferences.
FAQs
- What if I don’t have access to an outlet? Consider using solar-powered lights or battery-operated fixtures.
- How long should I leave my lights on? Use a timer to set them for 6-8 hours, aligning with sunset times.
- Is it safe to install lights in wet conditions? Avoid installation during rain; ensure all fixtures are rated for outdoor use.
- Can I use regular bulbs for outdoor lighting? No, always use outdoor-rated bulbs to prevent damage.
- What if my lights keep blowing fuses? Check wattage compatibility and ensure no wires are pinched or damaged.
Conclusion

Congratulations on successfully lighting up your garden trees! You’ve transformed your outdoor space into a magical nighttime retreat. With your knowledge of uplighting and downlighting techniques, you can continue to enhance your garden.
As a next step, consider adding additional landscaping features or outdoor furniture to complement your new lighting. Explore related resources to keep improving your outdoor area and enjoy the beauty of your garden at night.