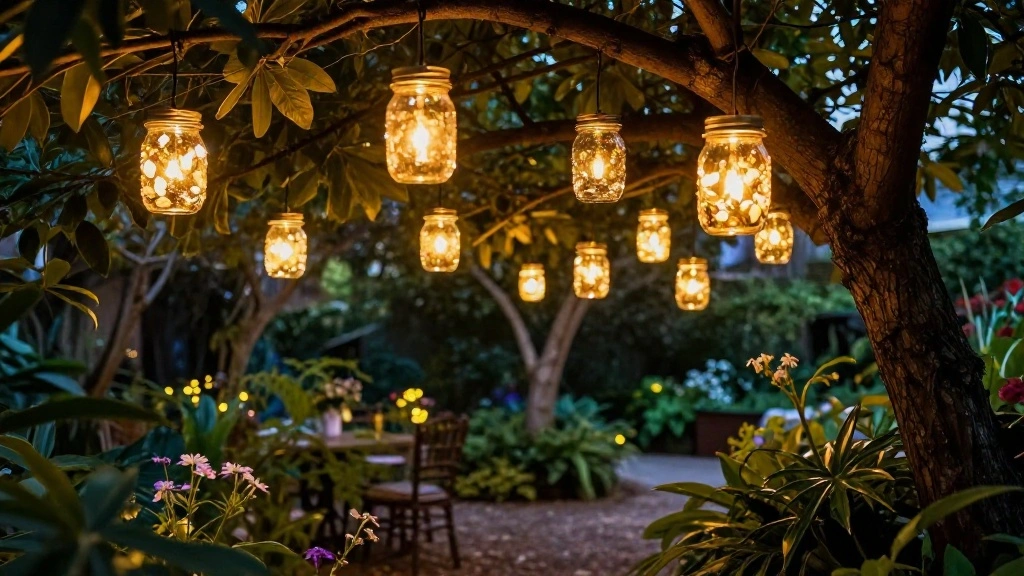
Do you want to add a charming glow to your garden without breaking the bank? With a DIY Mason Jar Garden Light, you can transform your outdoor space into a magical retreat for under $20! This project is not only budget-friendly but also a fun and creative way to enhance your garden or patio. In this guide, you will learn how to create beautiful garden lights using simple materials and a few easy steps.
This project is designed for beginners and can be completed in about 1-2 hours. By the end, you will have a stunning decoration that adds warmth to your evenings and showcases your DIY skills. Plus, it’s an excellent way to recycle old mason jars!
Let’s dive in and discover how you can create your very own DIY Mason Jar Garden Light!
TL;DR Summary
- Gather materials like mason jars, LED lights, and hooks.
- Prepare the jars by cleaning and drying them.
- Install the lights inside the jars and secure them with hooks.
- Place the jars in your garden for an enchanting ambiance.
Prerequisites/Materials Needed
- Mason jars (2-3 jars, any size)
- Battery-operated LED string lights (1 set)
- Wire or strong twine (1 roll)
- Hooks or nails for hanging (4-5 pieces)
- Scissors (1 pair)
- Optional: Paint or decorative materials for jar embellishment
Skill Level & Time Estimate
Skill Level: beginner
Total time estimate: 1-2 hours
Step breakdown:
1. Gather materials – 10 minutes
2. Prepare jars – 15 minutes
3. Install lights – 20 minutes
4. Hang jars – 15 minutes
Step 1: Gather Your Materials
Start by collecting all the materials listed earlier. Ensure you have everything ready before beginning your project, as this will make the process smoother and more enjoyable.
1. Check your mason jars for any cracks or damage. If they are dirty, wash them with soap and water, then let them dry completely.
2. Open your LED string lights and ensure they function correctly. Replace batteries if necessary.
3. Cut a length of twine or wire that’s sufficient for hanging your jars.
Pro Tip: Use different sizes of mason jars for varied heights when hanging them to create an interesting visual effect.
Time estimate: 10 minutes
Step 2: Prepare the Mason Jars
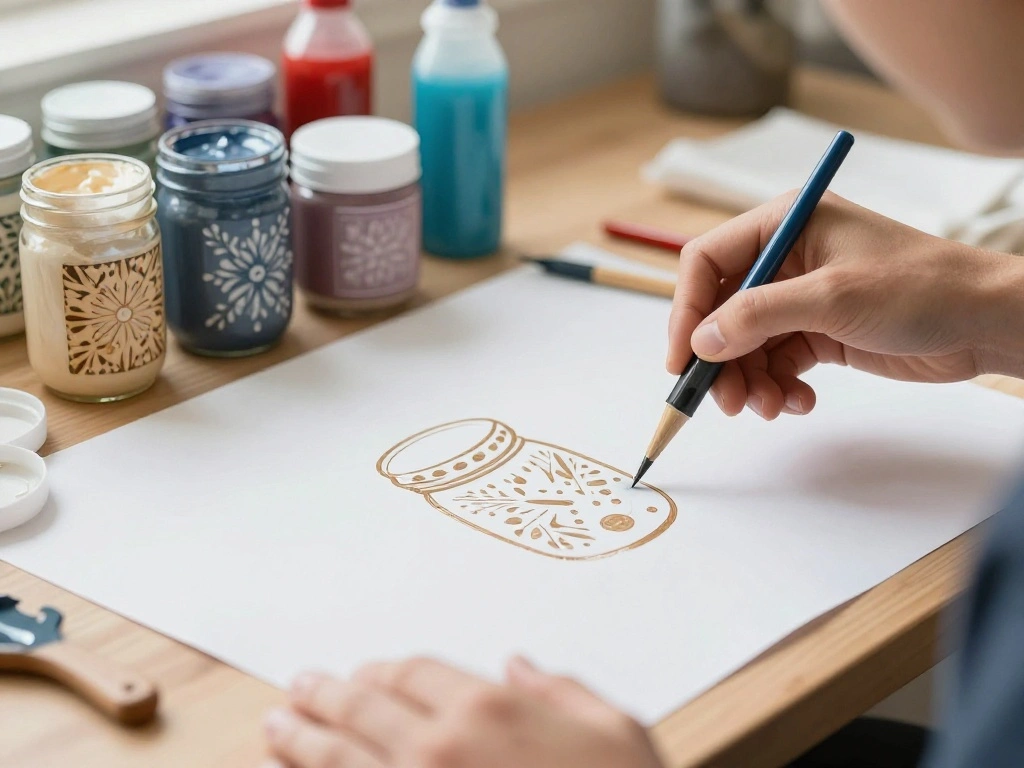
Before you can use your mason jars as garden lights, you need to prepare them properly. This involves cleaning them and, if desired, decorating them.
1. Clean the mason jars thoroughly, removing any labels or adhesive.
2. If you want to add a personal touch, paint the outside of the jars or use decorative stickers.
3. Allow any paint to dry completely before proceeding to the next step.
Warning: Ensure paint is non-toxic if you choose to decorate the jars. Avoid using paint that could chip off into the light source.
Time estimate: 15 minutes
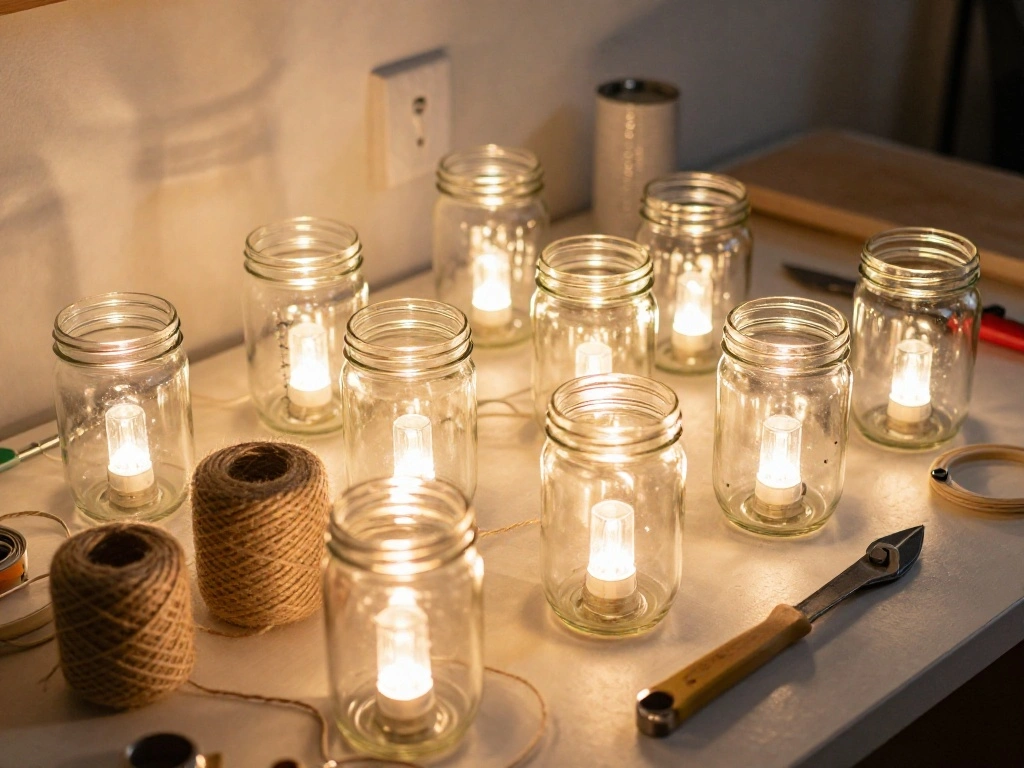
Step 3: Install the LED Lights
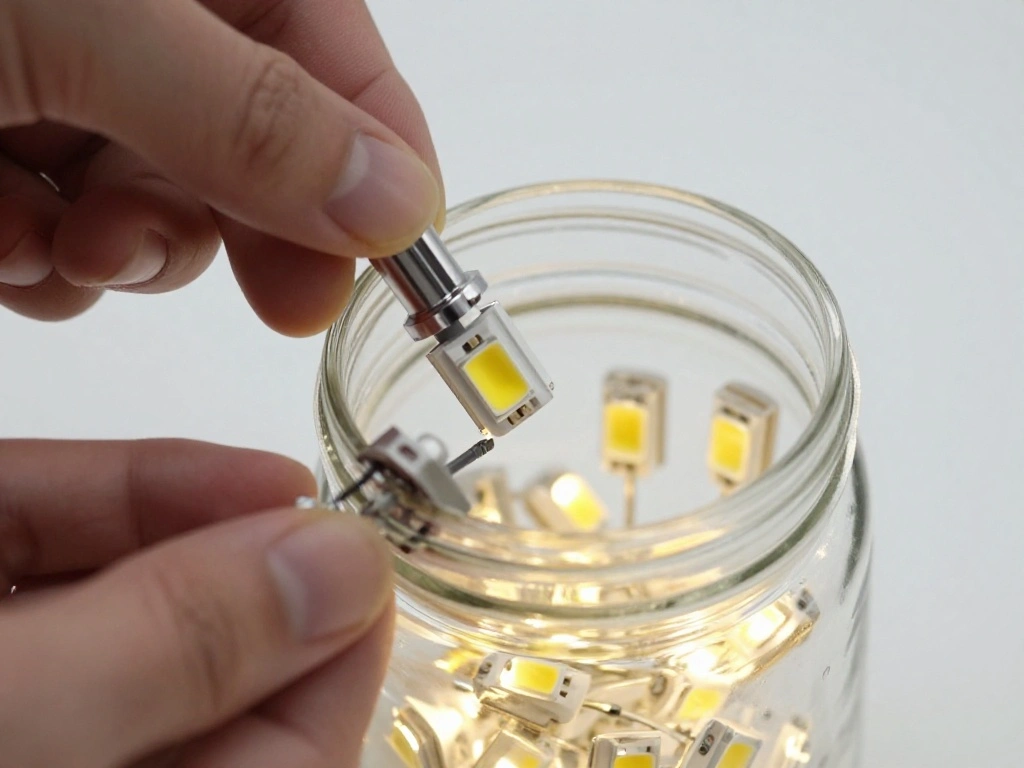
Now that your jars are ready, it’s time to install the LED lights inside. This step is crucial for achieving that magical glow in your garden.
1. Open the LED string lights and carefully insert them into the mason jar, ensuring the battery pack remains outside.
2. Arrange the lights evenly inside the jar for optimal illumination.
3. If needed, secure the lights in place using a small piece of tape or glue.
Pro Tip: Use fairy lights with a timer feature to automatically turn on and off at your desired times.
Time estimate: 20 minutes
Step 4: Prepare for Hanging
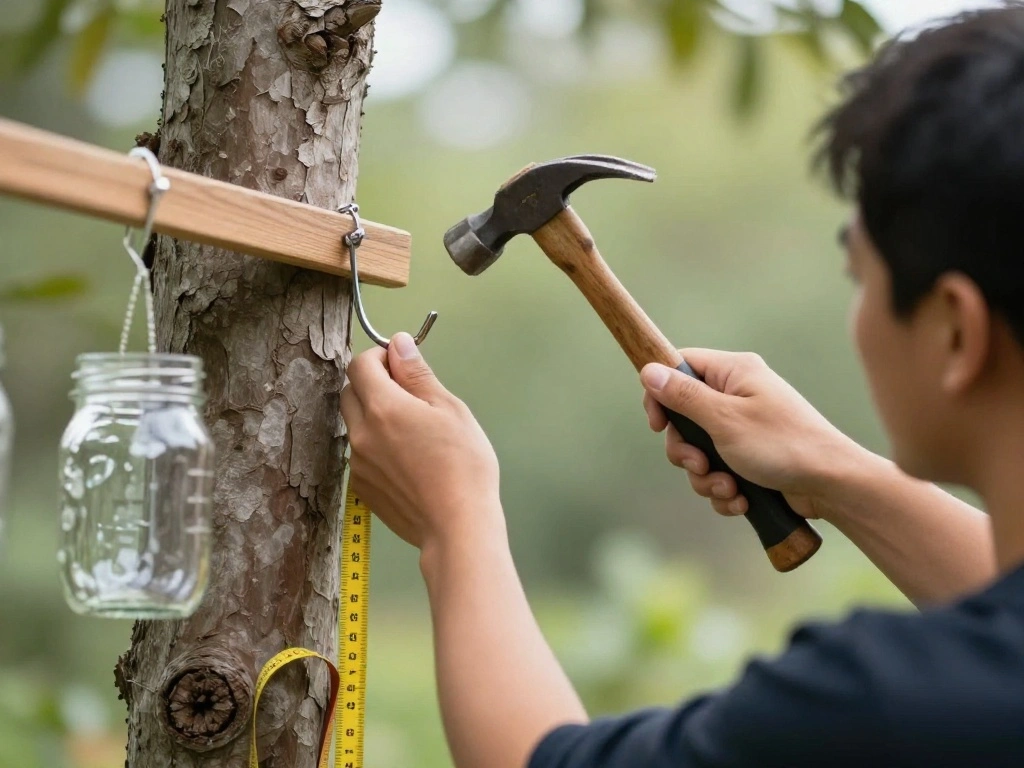
Before you can hang your beautiful garden lights, you need to prepare the jars for hanging. This will involve securing them with hooks or twine.
1. Measure the desired height for your jars and mark the spots where you’ll install the hooks.
2. Hammer the hooks or nails into the designated spots. Ensure they are secure and can hold the weight of the jars.
3. Cut lengths of twine to attach to the jars, making sure they are long enough to reach the hooks.
Warning: Always check the stability of your hooks to avoid them falling and breaking the jars.
Time estimate: 15 minutes
Step 5: Hang the Mason Jars
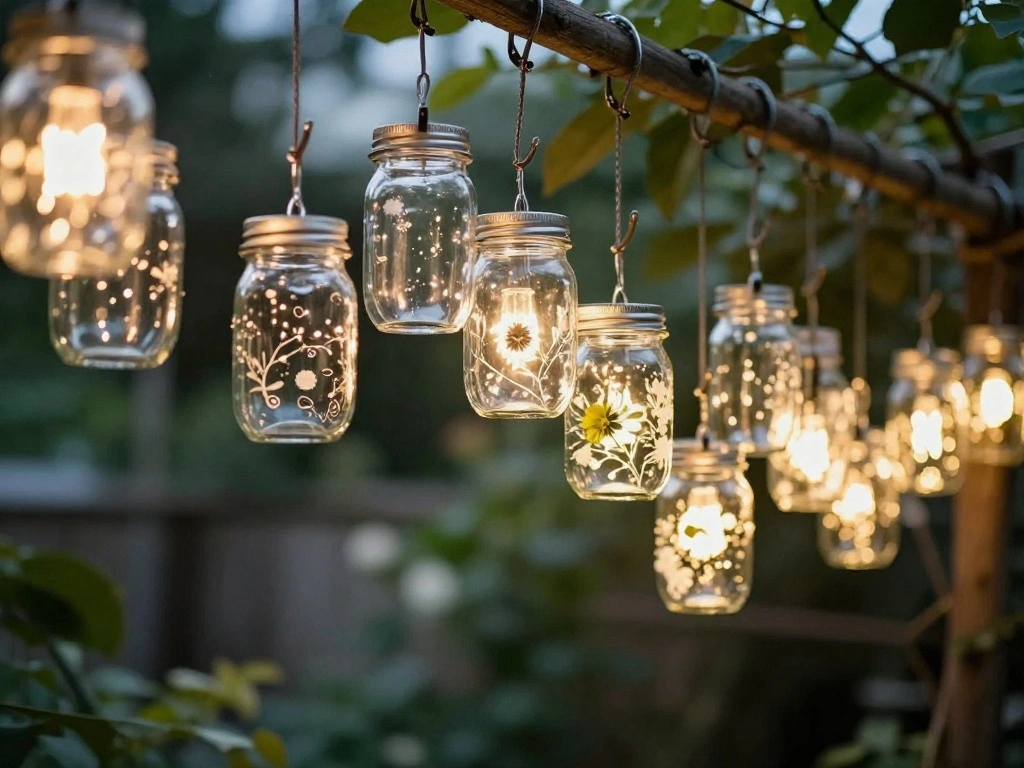
Now comes the exciting part—hanging your mason jars to illuminate your garden! This step will allow you to see your hard work come to life.
1. Take the twine and tie it securely around the top of each jar.
2. Hang the jars on the installed hooks, adjusting the height as needed for a cohesive look.
3. Ensure the jars are stable and won’t swing too much in the wind.
Pro Tip: Cluster the jars at different heights for a more dynamic and enchanting display.
Time estimate: 15 minutes
Step 6: Test the Lights
Once your jars are hung, it’s time to test the lights and see the fruits of your labor. This step ensures everything is functioning as intended.
1. Turn on the LED lights to check their functionality.
2. Adjust the placement of the jars if necessary to achieve the desired brightness and glow.
3. If you used a timer, set it according to your preference.
Warning: If the lights don’t turn on, double-check the battery connections and ensure the lights are properly secured inside the jars.
Time estimate: 10 minutes
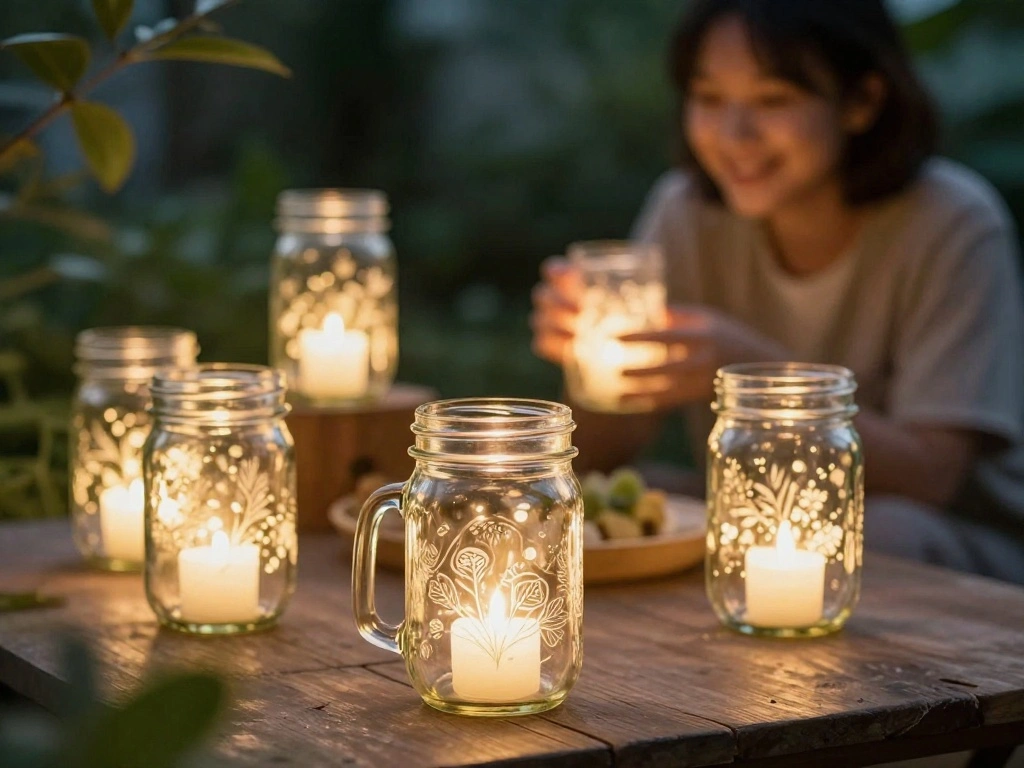
Step 7: Enjoy Your New Garden Lights

Congratulations! You’ve successfully created your own DIY Mason Jar Garden Lights. Now it’s time to enjoy the ambiance they bring to your outdoor space.
1. Invite friends or family to enjoy the new atmosphere during an evening gathering.
2. Experiment with different placements around your garden or patio to find the best spots for lighting.
3. Share your creation on social media to inspire others!
Pro Tip: Consider making more jars in different colors or styles for a unique look that reflects your personality.
Time estimate: 10 minutes
Pro Tips
- Color Choice: Use colored LED lights for a festive touch during holidays or events.
- Seasonal Themes: Decorate jars according to seasons—for example, snowflakes in winter or flowers in spring.
- Safety First: Use waterproof LED lights if placing jars in exposed areas.
- Mix and Match: Combine mason jars with other light sources like lanterns for variety.
- Regular Maintenance: Check the lights and jars periodically to ensure they’re in good shape and replace batteries as needed.
Common Mistakes to Avoid
Warning: Using Non-Waterproof Lights: This can lead to shorts and failures in outdoor settings. Always opt for waterproof options.
Warning: Not Securing Jars Properly: This may cause them to fall. Make sure hooks are secure and jars are well tied.
Warning: Overloading Hooks: Using too much weight can lead to hooks breaking. Ensure hooks are rated for the weight of jars and lights.
Warning: Neglecting Battery Changes: Dead batteries will ruin the light display. Regularly check and replace as necessary.
Troubleshooting Section
Problem: Lights don’t turn on.
Solution: Check the battery connections and ensure they are installed correctly.
Problem: Jars are swinging too much.
Solution: Re-adjust twine lengths or check the stability of the hooks.
Problem: Lights flicker.
Solution: Ensure the LED lights are properly connected and check for loose wires.
Problem: Jars are breaking.
Solution: Ensure they are securely hung and avoid placing them in high-traffic areas.
Problem: Water getting into jars.
Solution: Seal the top of the jars with a lid or use waterproof lights.
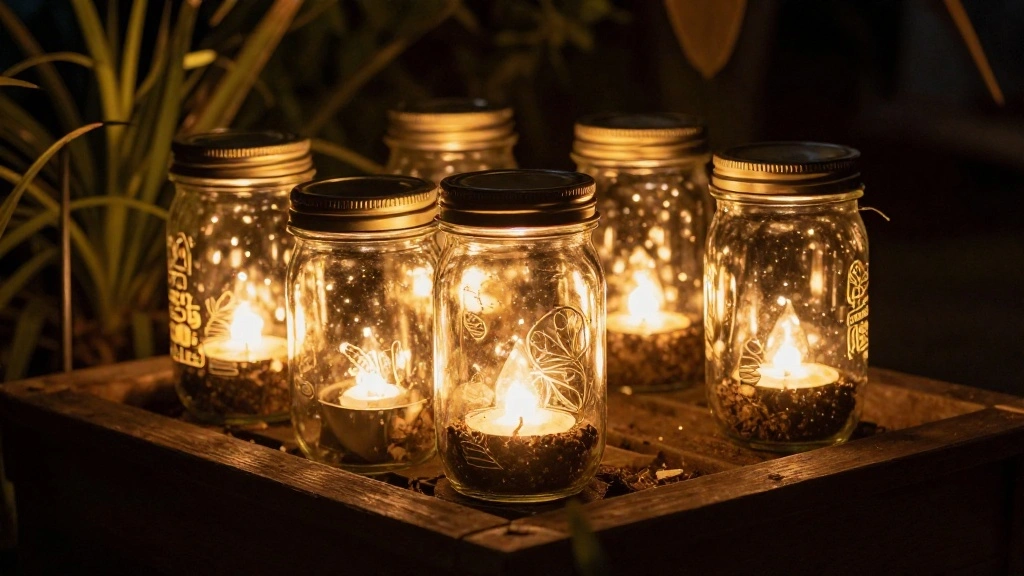
Variations/Alternative Methods
1. Solar Mason Jar Lights: Replace LED lights with solar-powered ones for an eco-friendly option. Perfect for sunny gardens!
2. Decorative Elements: Add pebbles, sand, or even flowers inside the jars for a unique aesthetic.
3. Hanging Plants: Use the same concept to create hanging planters instead of lights, adding greenery to your space.
FAQs
What if I don’t have mason jars? Any clear glass container can work, just ensure it’s sturdy enough to hold the lights.
How long should I expect the lights to last? Battery-operated LED lights usually last up to 30-50 hours, depending on usage.
Is it safe to leave these lights outside? Yes, as long as you use waterproof lights and secure them properly.
What if I want to change the design later? Simply repaint or decorate the jars as desired without affecting the light functionality.
Can I use this technique indoors? Absolutely! These lights can be a beautiful addition to indoor decor as well.
Conclusion
Well done! You’ve successfully created your own DIY Mason Jar Garden Lights. Not only have you enhanced your garden’s ambiance, but you’ve also tapped into your creative side. Consider making additional jars in various styles or colors to further personalize your space.
As you admire your handiwork, think about sharing your project with friends or on social media to inspire others. For your next DIY project, explore more ways to brighten your outdoor areas or even create themed decorations for holidays!