Are you tired of inconsistent watering for your raised garden beds? Overwatering can drown your plants, while underwatering can stunt their growth. Without a reliable irrigation system, it can be challenging to keep your plants thriving. The solution? A drip irrigation system, designed to deliver water directly to the roots of your plants, ensuring they receive the moisture they need without the hassle.
By following this guide, you will learn how to set up a drip irrigation system tailored specifically for your raised beds, allowing for efficient water usage and healthier plants. Expect to understand the components you need, how to install them, and tips for maintenance.
This guide is perfect for beginners, taking an estimated 2-3 hours to complete. With clear, step-by-step instructions, you’ll finish this project with a fully operational system. Let’s dive in and transform your gardening experience!
TL;DR Summary
- Set up a drip irrigation system to ensure consistent watering for your raised beds.
- Gather necessary materials including tubing, emitters, and connectors.
- Follow step-by-step instructions for installation.
- Implement maintenance tips to keep your system running smoothly.
Prerequisites/Materials Needed
- Drip irrigation tubing (50 feet)
- Drip emitters (various sizes)
- Connector fittings (Tee and Elbow)
- Pressure regulator (1 per system)
- Filter (1 per system)
- Hose end connector (1)
- Scissors or tubing cutter
- Stake holders or landscape pins
- Measuring tape
Skill Level & Time Estimate
Skill Level: beginner
Total time estimate: 2-3 hours
Breakdown of time by major steps:
- Gathering materials: 30 minutes
- Planning layout: 30 minutes
- Installing the system: 1-2 hours
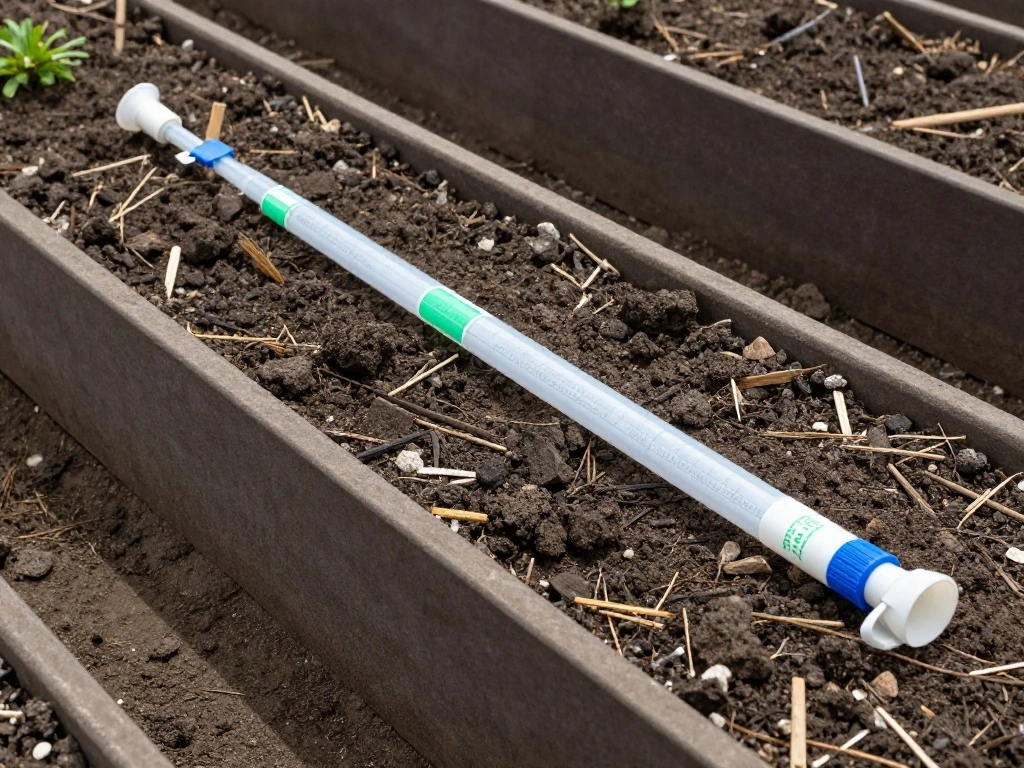
Step 1: Plan Your Layout
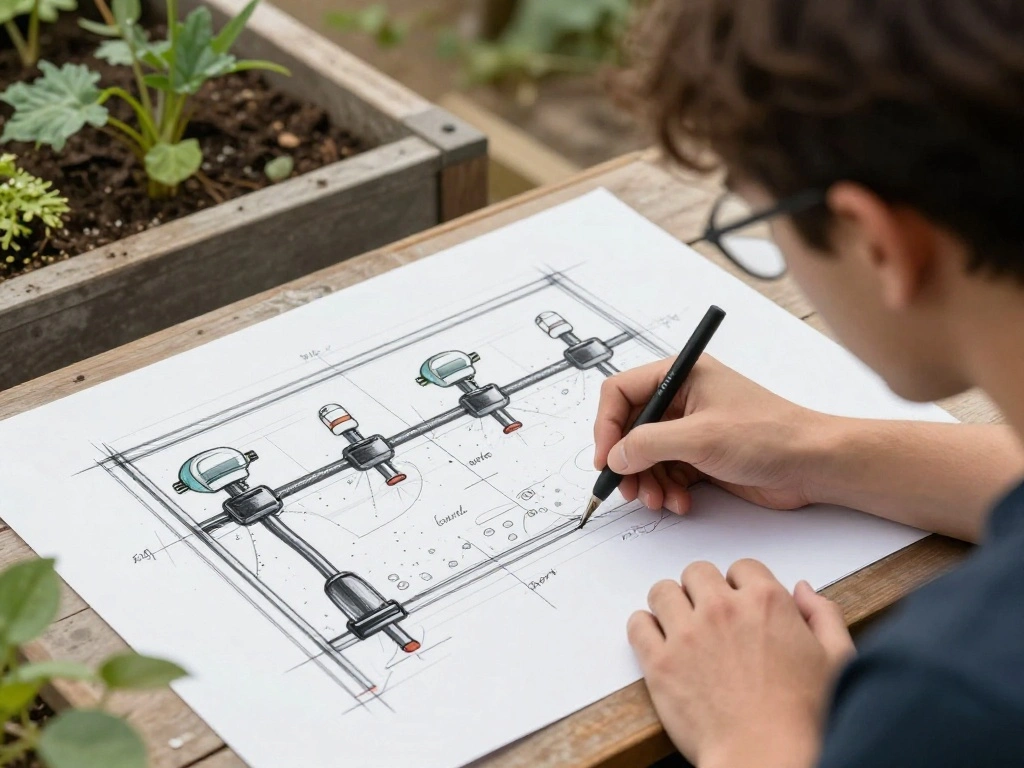
Begin by sketching a layout of your raised beds and determining where to position the drip irrigation system. This step is crucial for optimal water distribution.
- Measure the dimensions of your raised beds using a measuring tape.
- Decide where your water source will connect, ideally near the garden.
- Consider the placement of the emitters to ensure each plant gets adequate water.
Pro Tip: Mark the spots for your emitters to visualize how the water will flow.
Why this matters: A well-planned layout reduces redundancy and ensures every plant receives water efficiently.
Time estimate: 30 minutes
Step 2: Gather Your Materials
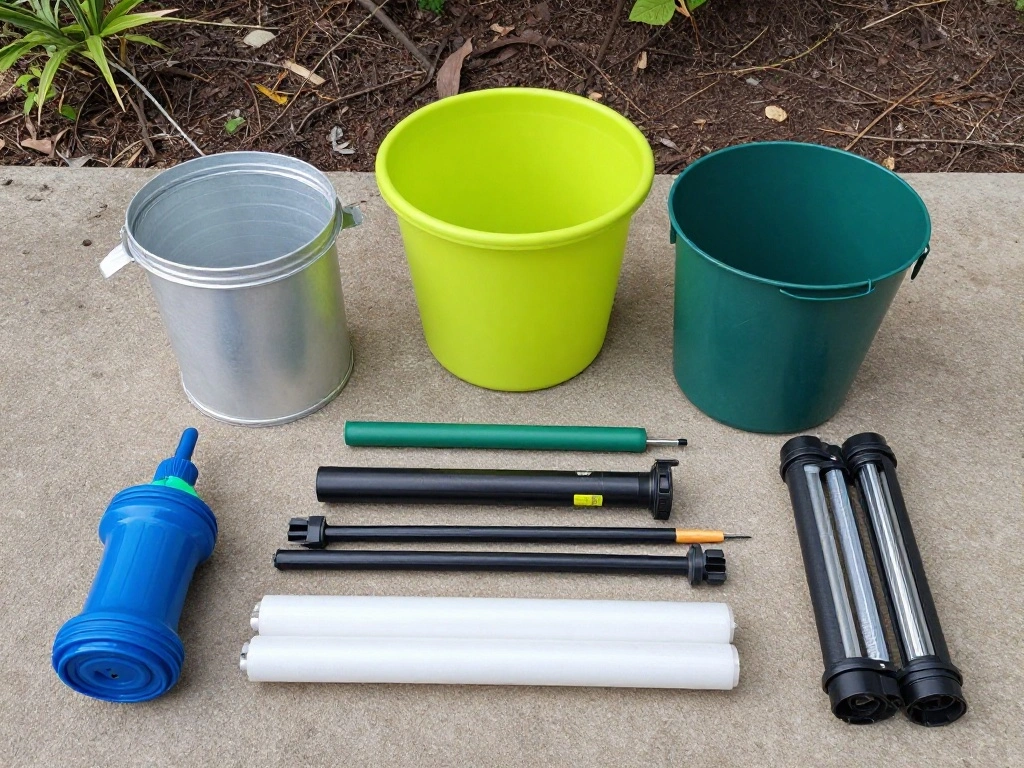
Now that you have a plan, it’s time to gather all the materials needed for the installation. Having everything on hand will streamline the process.
- Collect the drip irrigation tubing, emitters, connectors, pressure regulator, and filter.
- Ensure you have a pair of scissors or a tubing cutter for precise measurements.
- Double-check the quantity of each item according to your layout plan.
Pro Tip: Purchase a little extra tubing in case of mistakes.
Why this matters: Having all materials ready prevents interruptions during installation.
Time estimate: 30 minutes
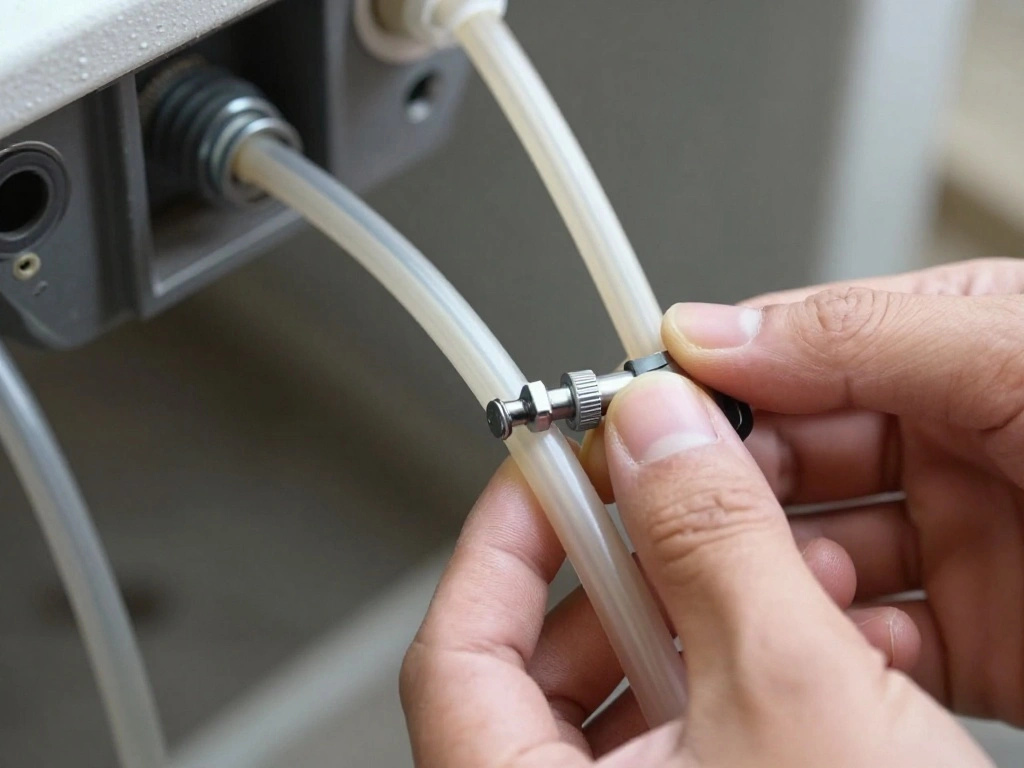
Step 3: Install the Filter and Pressure Regulator
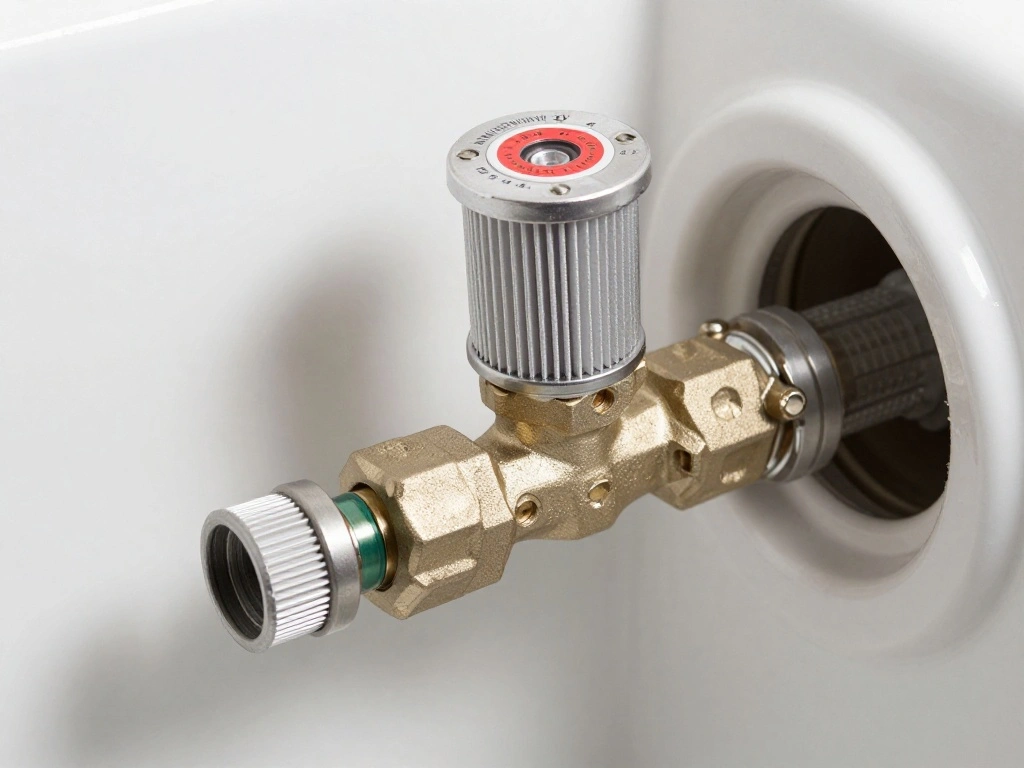
To ensure the longevity of your drip system, install the filter and pressure regulator first. This step protects your emitters from clogging.
- Attach the filter to the water source using the hose end connector.
- Connect the pressure regulator to the filter. This device controls water pressure for the emitters.
- Ensure all connections are tight to prevent leaks.
Warning: Failure to install the filter may lead to clogged emitters, disrupting your irrigation.
Why this matters: Proper pressure regulation and filtration are vital for a functional drip irrigation system.
Time estimate: 20 minutes
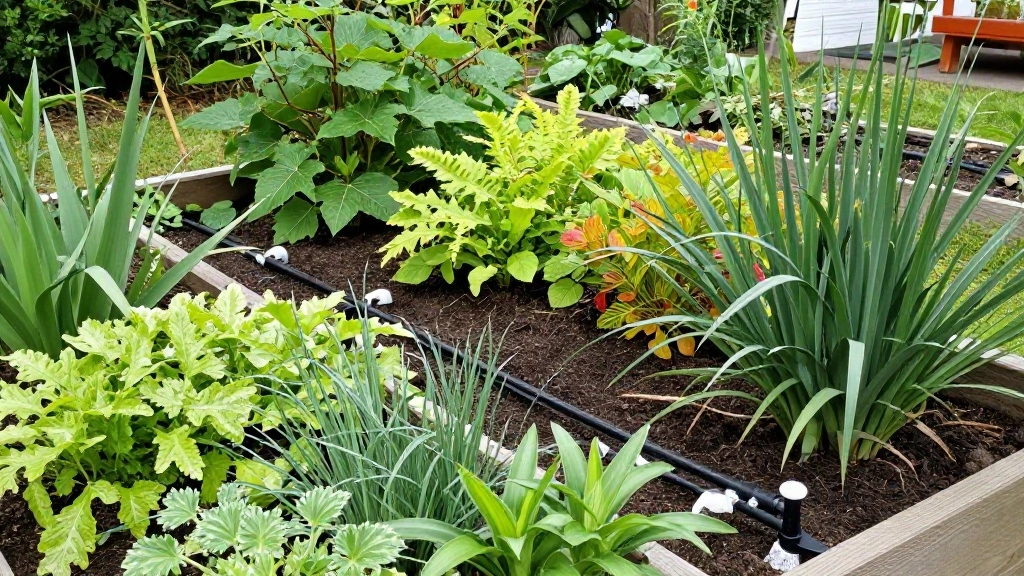
Step 4: Lay Out the Tubing
With the filter and regulator in place, lay out the drip tubing according to your planned layout. This step establishes the main water delivery lines.
- Unroll the drip tubing from the spool.
- Position the tubing along the perimeter of your raised beds, ensuring it follows the marked layout.
- Secure the tubing with stakes or landscape pins to prevent movement.
Pro Tip: Allow the tubing to rest in the sun for a few minutes; it becomes more flexible.
Why this matters: Proper tubing layout is essential for even water distribution.
Time estimate: 30 minutes
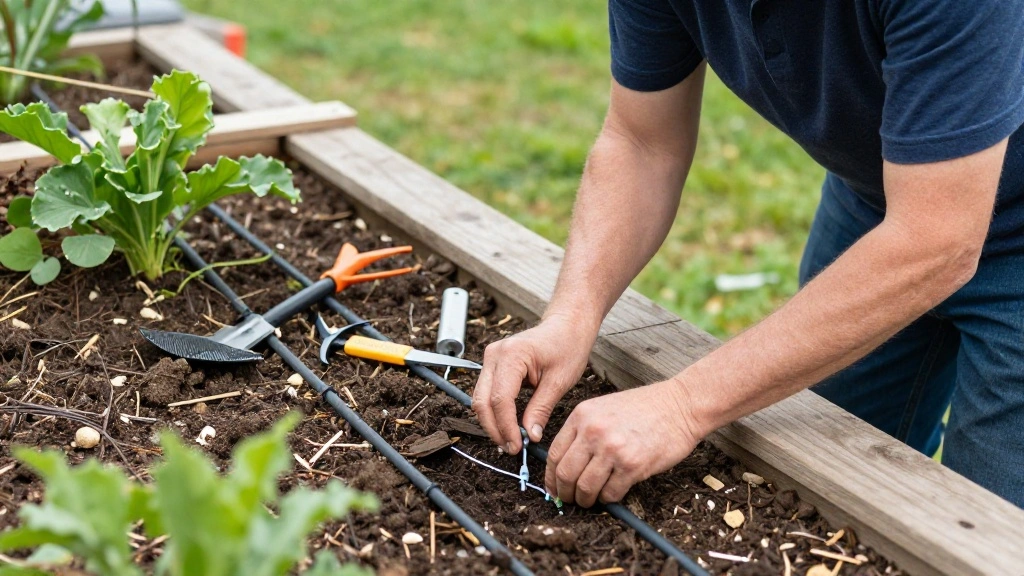
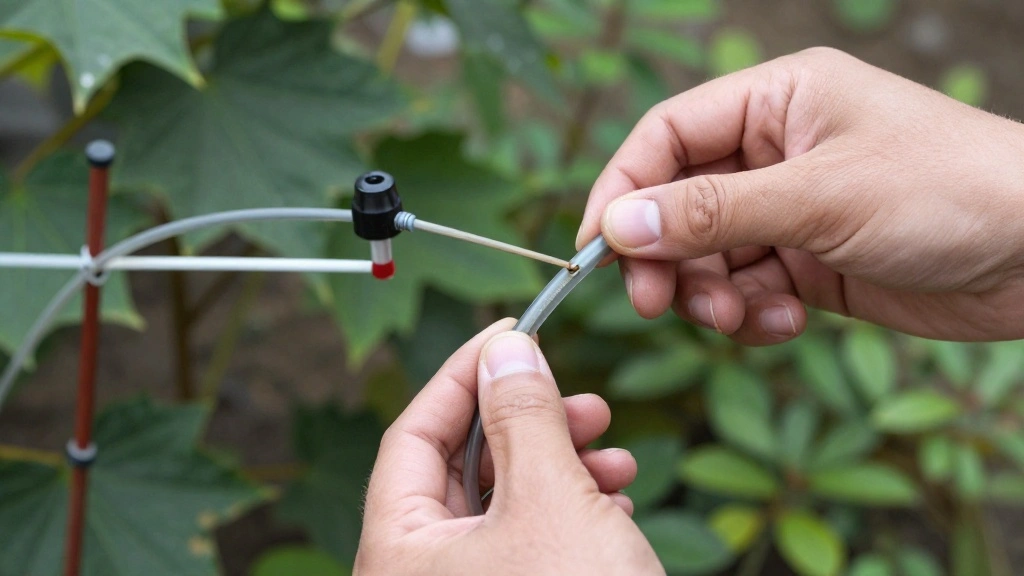
Step 5: Install Emitters
Now it’s time to install the emitters that will deliver water directly to your plants. Choosing the right emitter type and placement is key for plant health.
- Identify the locations marked for emitters based on your plant spacing.
- Use scissors to cut small holes in the tubing where each emitter will go.
- Screw in the emitters, ensuring they are snug to prevent leaks.
Pro Tip: Use different emitter sizes for plants with varying water needs.
Why this matters: Proper emitter installation ensures each plant receives the right amount of water.
Time estimate: 40 minutes
Step 6: Connect the Tubing to the Water Source
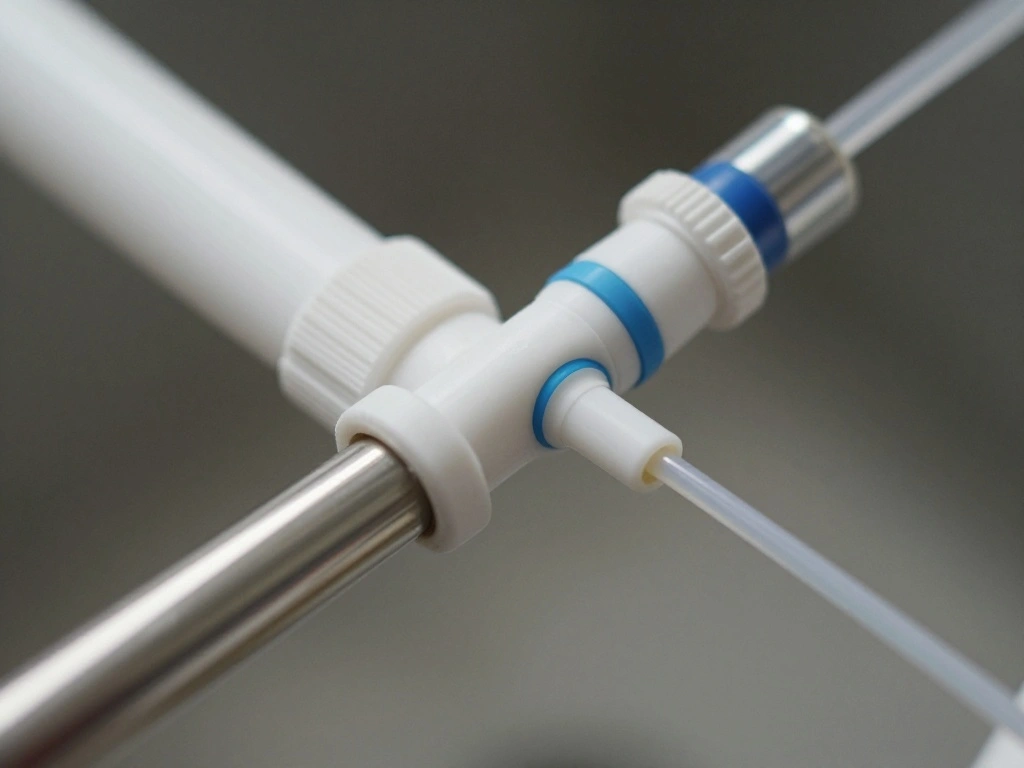
The next step is to connect your drip tubing to the water source. This ensures that your system has a reliable supply of water.
- Attach the end of the drip tubing to the pressure regulator.
- Ensure all connections are tight to prevent leaks.
- Turn on the water supply and check for any leaks at the connections.
Warning: Leaks can waste water and damage your garden; check thoroughly.
Why this matters: A secure connection guarantees the system operates effectively.
Time estimate: 20 minutes
Step 7: Test the System
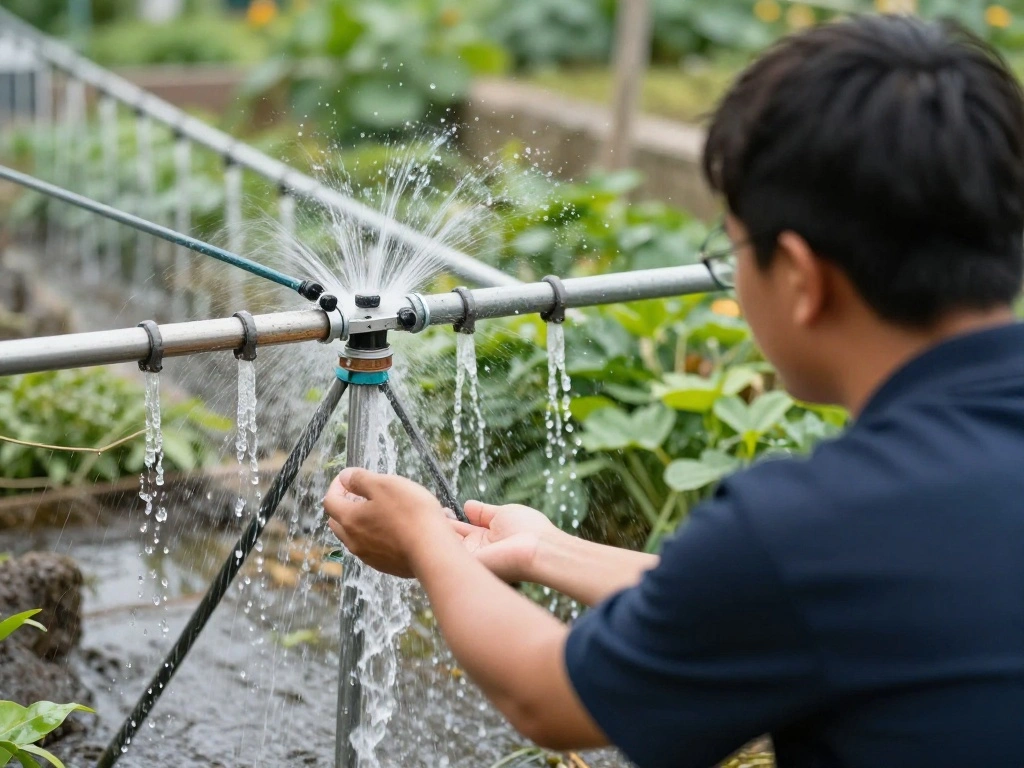
Once everything is connected, it’s time to test your drip irrigation system. This step ensures that water reaches all parts of your raised beds.
- Turn on the water supply and observe the emitters.
- Check for even water distribution; adjust emitters if necessary.
- Monitor for leaks and tighten connections as needed.
Pro Tip: Test the system during different times of the day to ensure consistent performance.
Why this matters: Testing helps identify any issues before your plants rely on the system.
Time estimate: 30 minutes
Step 8: Maintain Your System
Now that your drip irrigation system is installed and tested, maintenance is essential for long-lasting performance.
- Regularly check emitters for clogs and clean them as needed.
- Inspect tubing for cracks or leaks and replace sections if necessary.
- Flush the system periodically to remove sediment buildup.
Pro Tip: Schedule maintenance checks every few weeks during the growing season.
Why this matters: Ongoing maintenance ensures optimal function and prevents costly repairs.
Time estimate: 20 minutes
Pro Tips
- Choose the Right Emitters: Different plants have different watering needs; match emitters to plant types.
- Use a Timer: Automate watering with a timer to ensure consistent moisture levels.
- Monitor Weather Conditions: Adjust watering schedules based on rainfall and temperature changes.
- Mulch Your Beds: Adding mulch helps retain moisture and reduce evaporation.
- Inspect Regularly: Frequent checks can prevent larger problems and ensure efficient water use.
Common Mistakes to Avoid
Warning: Skipping the filter can lead to clogged emitters. Always install it to prevent dirt buildup.
Warning: Overwatering can drown plants. Set timers and monitor soil moisture to avoid this.
Warning: Neglecting to check connections can cause leaks. Regularly inspect to ensure everything is secure.
Troubleshooting Section
Problem: Emitters aren’t delivering water.
Solution: Check for clogs and clear them using a pin or needle.
Problem: Water pressure is too high.
Solution: Ensure the pressure regulator is properly installed.
Problem: Tubing is leaking.
Solution: Tighten connections or replace damaged sections.
Variations/Alternative Methods
- Soaker Hoses: Great for smaller gardens; they deliver water slowly through the entire length. Best for uniform surface watering.
- Automatic Sprinklers: Ideal for larger areas; provide broader coverage but use more water.
- Rain Barrels: Collect rainwater for irrigation; eco-friendly and cost-effective.
FAQs
- What if I don’t have a water source nearby? Consider using a rain barrel or a portable water tank to supply your system.
- How long should I run my drip system? Typically, 30 minutes to 1 hour, depending on plant needs and soil moisture.
- Is it safe to water with treated water? Yes, as long as the water is safe for plants; avoid using water that contains harmful chemicals.
- What if my plants look dry even after watering? Check emitters for clogs and ensure they are delivering water effectively.
- Can I expand my system later? Yes, drip irrigation systems can be easily expanded by adding more tubing and emitters.
Conclusion
Congratulations on setting up your drip irrigation system! You’ve taken a significant step towards more efficient and stress-free gardening. As the plants thrive with consistent watering, enjoy watching them grow and flourish.
Next, consider exploring companion planting or crop rotation to maximize your raised bed’s potential. You can also delve into other sustainable gardening practices to further enhance your gardening experience. Keep nurturing your green thumb!