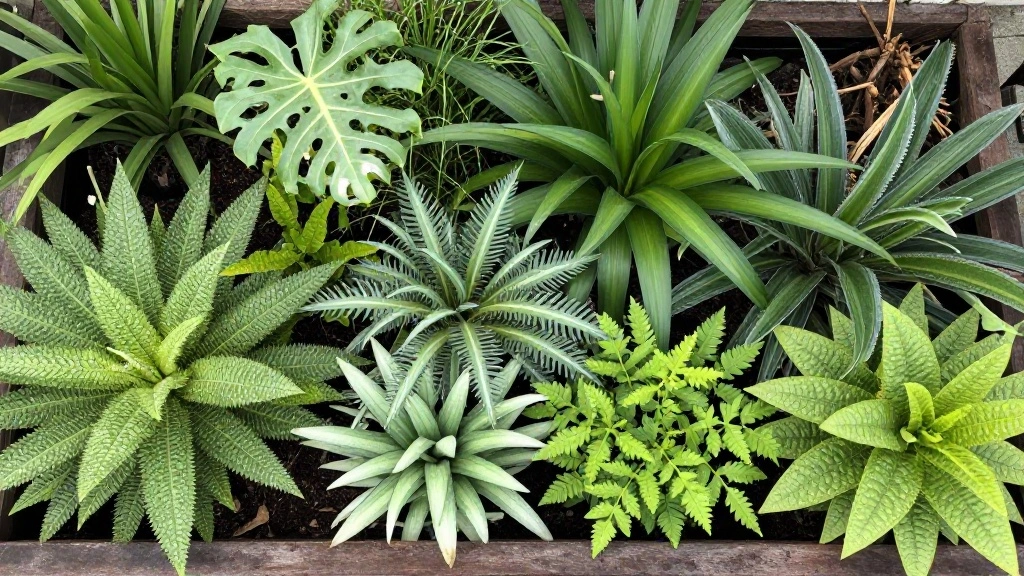
Are you struggling to grow vibrant plants in containers? Many beginners face the common issue of using the wrong soil mix, which can lead to poor plant growth and disappointment. The urgency to find a solution is real—using the right soil mix can make all the difference in achieving a thriving container garden.
In this guide, you’ll learn how to create a DIY container garden soil mix that is designed to provide your plants with the nutrients and structure they need. By the end of this article, you will have a reliable recipe to create your own soil mix at home, ensuring your plants flourish.
This guide is tailored for beginners and will take approximately 1-2 hours to complete, including preparation and mixing time. Get ready to transform your gardening experience!
TL;DR Summary
- Learn to make an effective DIY container garden soil mix.
- Perfect for beginners with minimal effort.
- Estimated time to complete: 1-2 hours.
- Follow 6 simple steps to achieve the perfect mix.
Prerequisites/Materials Needed
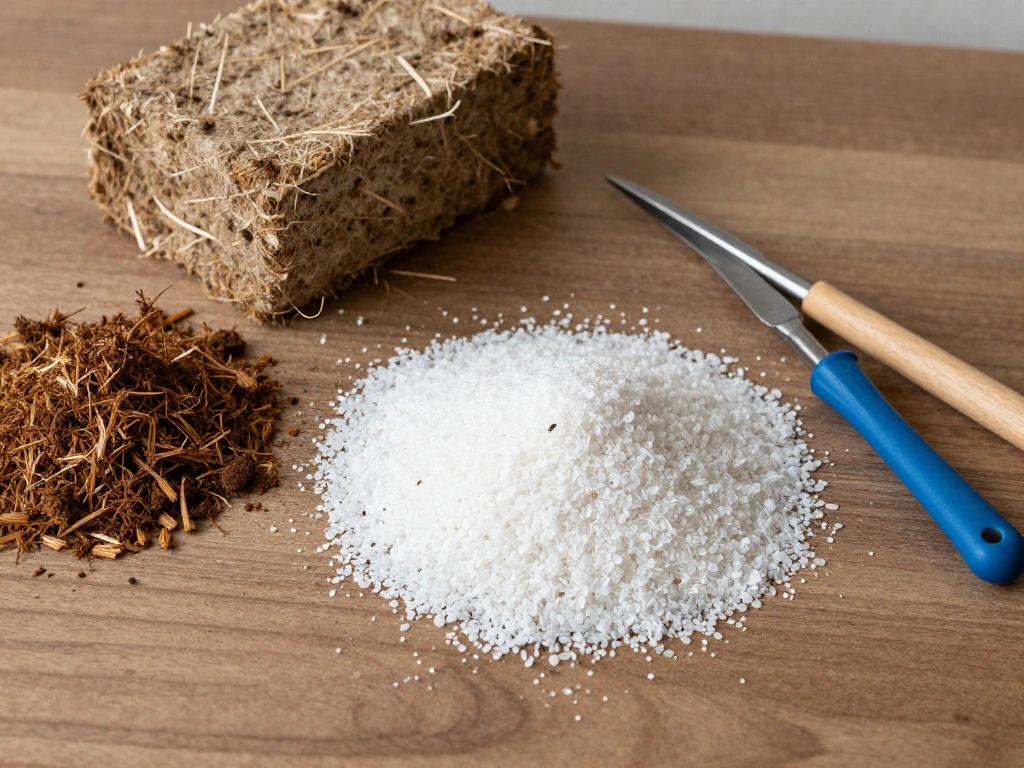
- Soil Components:
- Peat moss – 2 parts
- Compost – 1 part
- Perlite or vermiculite – 1 part
- Tools:
- Large mixing container
- Garden trowel or shovel
- Measuring cups or a bucket
Skill Level & Time Estimate
Skill Level: beginner
Total time estimate: 1-2 hours for preparation and mixing.
Step 1: Gather Your Materials
Begin by gathering all your materials in one place. This step ensures you have everything you need to create your soil mix efficiently.
- Collect peat moss, compost, and perlite or vermiculite.
- Get your measuring cups or bucket, garden trowel or shovel, and a large mixing container.
Why this matters: Having all materials ready allows for a smooth mixing process without interruptions. Pro Tip: Choose a large enough mixing container to accommodate all your ingredients comfortably.
Time estimate: 10-15 minutes.
Step 2: Measure Your Ingredients
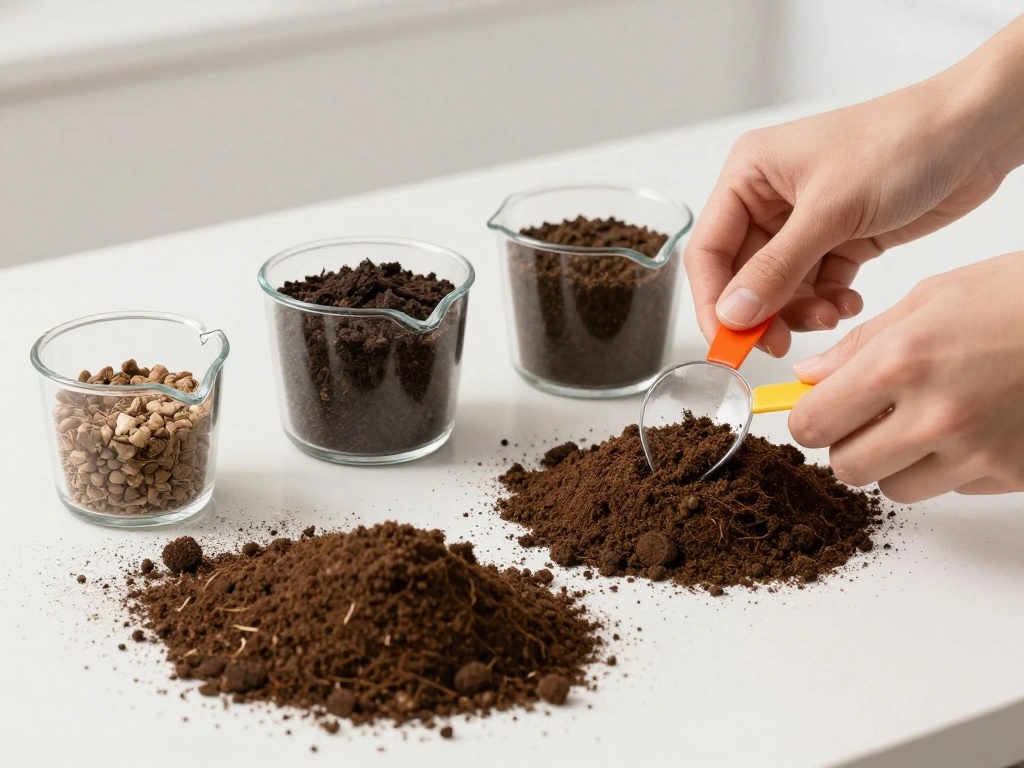
Now that you have your materials, it’s time to measure them accurately to create the ideal soil mix.
- Use your measuring cups or bucket to measure:
- 2 parts peat moss
- 1 part compost
- 1 part perlite or vermiculite
- Ensure the measurements are precise, as this affects the texture and drainage of your mix.
Why this matters: Proper measurements ensure that your soil mix retains moisture and provides good aeration for your plants. Warning: Using incorrect proportions can lead to poor drainage or nutrient deficiencies.
Time estimate: 15-20 minutes.
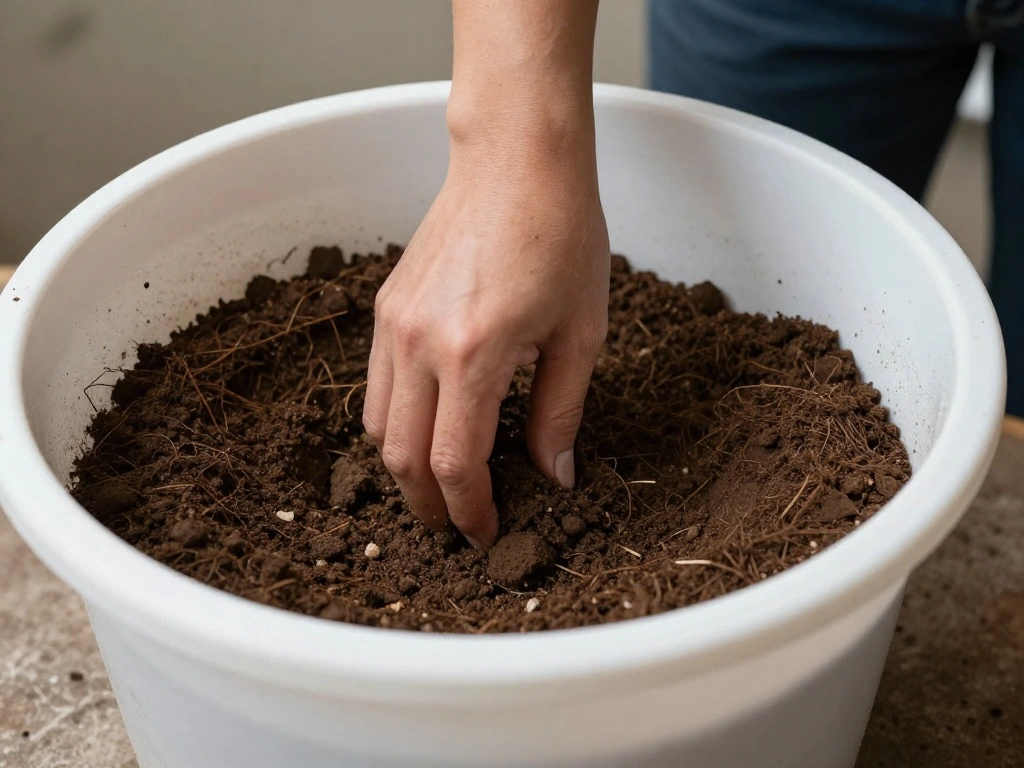
Step 3: Combine the Ingredients
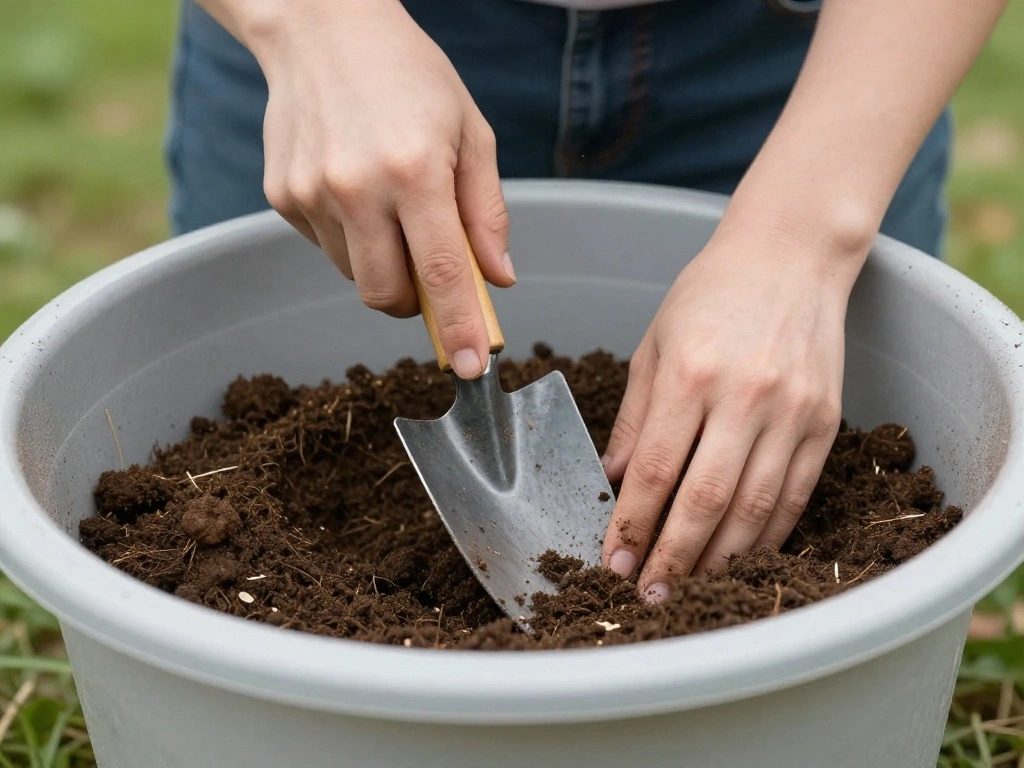
It’s time to mix your measured ingredients together in the large container.
- Start by adding the peat moss to the mixing container.
- Add the compost next.
- Finally, incorporate the perlite or vermiculite.
Use your garden trowel or shovel to mix thoroughly until the ingredients are evenly distributed. Why this matters: A well-mixed soil ensures that all components work together to provide the best environment for your plants.
Pro Tip: Mix vigorously, breaking up any clumps in the peat moss to ensure a smooth texture.
Time estimate: 20-30 minutes.
Step 4: Check the Texture
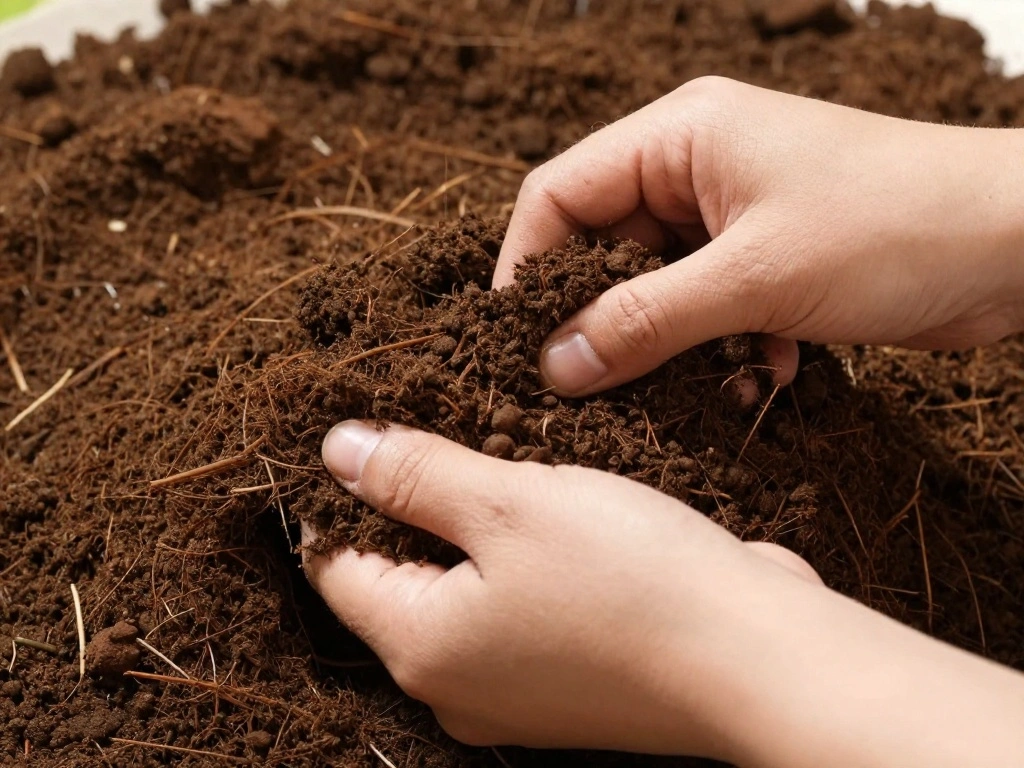
After mixing, it’s essential to check the texture of your soil mix to ensure it is suitable for planting.
- Take a handful of the mix and squeeze it gently.
- If it holds together but crumbles easily, it’s perfect.
- If it’s too dry, add a little water; if it’s too wet, add more peat moss or perlite.
Why this matters: The right texture affects how well your plants will establish themselves and grow. Warning: Avoid making the mix too wet, as this can lead to root rot.
Time estimate: 10-15 minutes.
Step 5: Store or Use Immediately
Once your mix is ready, you can either use it right away or store it for later use.
- If using immediately, fill your containers with the soil mix.
- If storing, place the mix in airtight bags or containers to keep it fresh.
Why this matters: Proper storage helps maintain the quality of your soil mix until you are ready to use it. Pro Tip: Label your storage containers with the date of mixing for future reference.
Time estimate: 10-15 minutes.
Step 6: Plant Your Container Garden
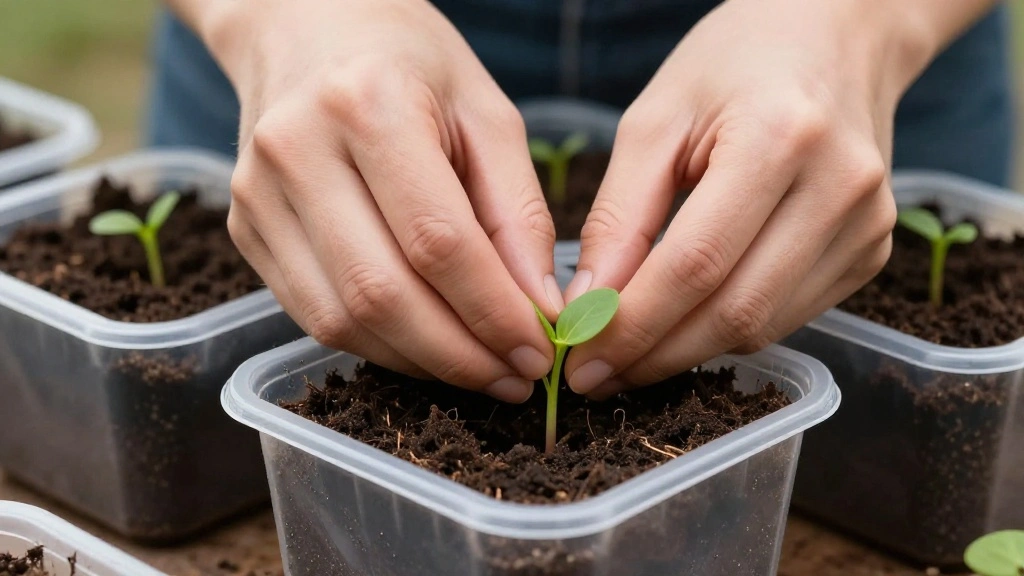
Now that you have your soil mix, it’s time to plant!
- Choose your plants based on your container size and sunlight availability.
- Fill your containers with the soil mix, leaving space at the top for watering.
- Plant your chosen seedlings or seeds according to their specific planting instructions.
Why this matters: Proper planting ensures that your plants will thrive in their new environment. Warning: Avoid overcrowding your containers to allow for proper growth.
Time estimate: 30-45 minutes.
Pro Tips
- Tip for Watering: Water your plants deeply but infrequently to encourage deep root growth.
- Tip for Fertilizing: Use a balanced organic fertilizer every 4-6 weeks to provide additional nutrients.
- Tip for Monitoring: Keep an eye on your plants for signs of stress or nutrient deficiency.
- Tip for Seasonal Changes: Adjust your watering and feeding schedule according to seasonal changes.
- Tip for Pest Control: Regularly inspect your plants for pests and treat them promptly to prevent infestations.
Common Mistakes to Avoid
- Warning: Overwater your plants. This can lead to root rot. Always check the soil moisture before watering.
- Warning: Using too much compost can lead to overly dense soil. Stick to the recommended proportions.
- Warning: Forgetting to check the texture can result in poor drainage. Always feel the mix before planting.
Troubleshooting Section
- Problem: Plants are wilting or yellowing.
Solution: Check for overwatering or nutrient deficiencies. Adjust watering schedules and fertilize if necessary. - Problem: Soil mix is too compact.
Solution: Add more perlite or vermiculite to improve aeration and drainage. - Problem: Plants are not growing well.
Solution: Ensure they are receiving enough sunlight and check for pests.
Variations/Alternative Methods
- Alternative 1: Use coconut coir instead of peat moss for a more sustainable option.
- Alternative 2: Incorporate worm castings for added nutrients.
- Alternative 3: Experiment with different ratios based on plant needs, especially for heavy feeders.
FAQs
- What if I don’t have peat moss? You can substitute it with coconut coir or aged bark.
- How long should I store my soil mix? Use it within 3-6 months for the best results.
- Is it safe to use garden soil in pots? It’s not recommended, as garden soil can lead to compaction and may contain pests.
Conclusion
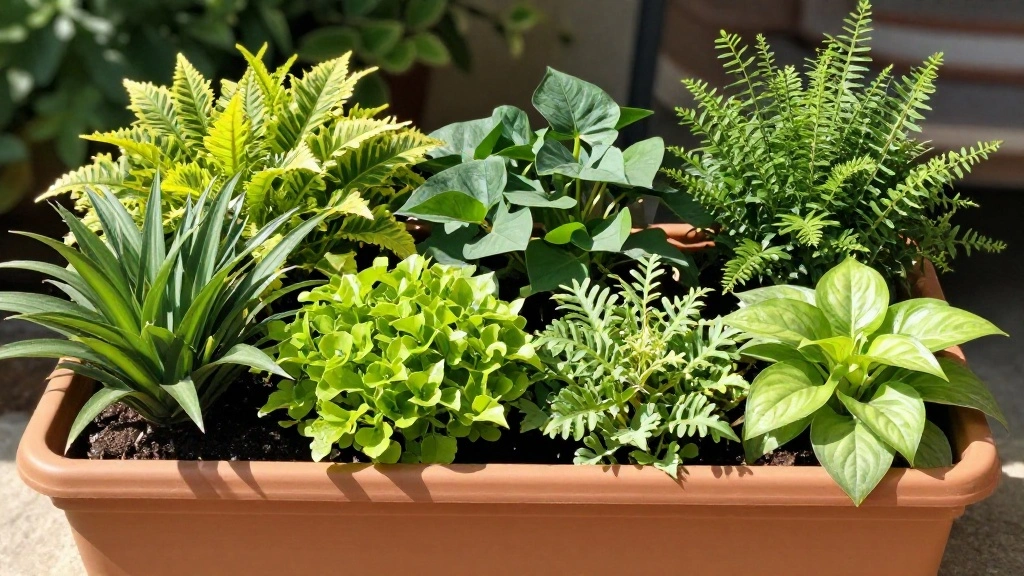
Congratulations! You have successfully created your own DIY container garden soil mix. Your plants are now set up for success with the right nutrients and structure. Enjoy the satisfaction of watching your garden thrive.
As you move forward, consider exploring different plants to add variety to your garden. You can also experiment with other soil mixes tailored to specific plant types. Keep nurturing your gardening passion, and soon enough, you’ll be a pro!