Watering container gardens can be a daunting task for beginners, as overwatering or underwatering can quickly lead to plant death. With the right techniques, you can keep your container gardens thriving. This guide will help you master the art of watering, ensuring that your plants receive the right amount of moisture at the right times.
By following this guide, you will learn how to properly assess the watering needs of your container plants, adjust your method based on weather conditions, and implement effective watering strategies. You’ll be able to cultivate a flourishing container garden without the fear of drowning your plants.
In this article, you will specifically learn about the best practices for watering, the tools you’ll need, and tips to avoid common pitfalls. This guide is designed for beginners and will take approximately 1-2 hours to read and implement the techniques shared.
Let’s dive in and ensure your container gardens thrive!
TL;DR Summary
- Understand the importance of proper watering techniques for container gardens.
- Learn how to assess soil moisture effectively.
- Implement watering methods that suit different weather conditions.
- Avoid common mistakes that can harm your plants.
Prerequisites/Materials Needed
- Watering can or garden hose with a spray nozzle
- Soil moisture meter (optional)
- Mulch (optional)
- Fertilizer (optional)
- Timer (optional for automated watering systems)
Skill Level & Time Estimate
Skill Level: beginner
Total time estimate: 1-2 hours
Breakdown:
- Reading and understanding the guide: 30 minutes
- Gathering materials: 15 minutes
- Implementing watering techniques: 30-60 minutes
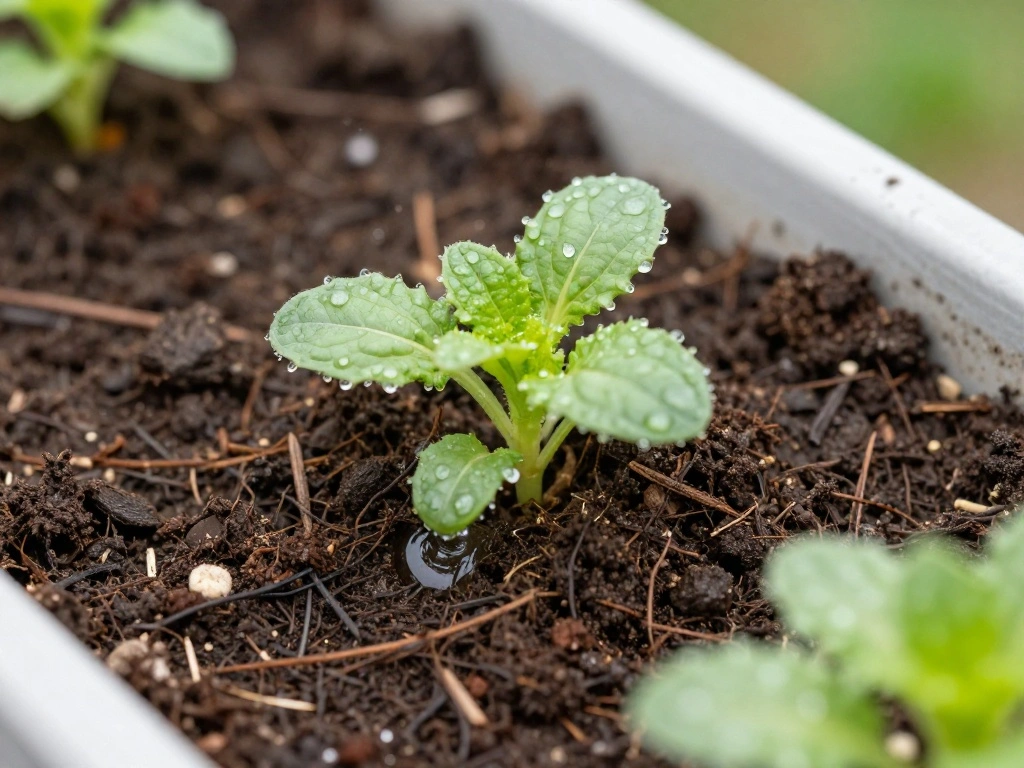
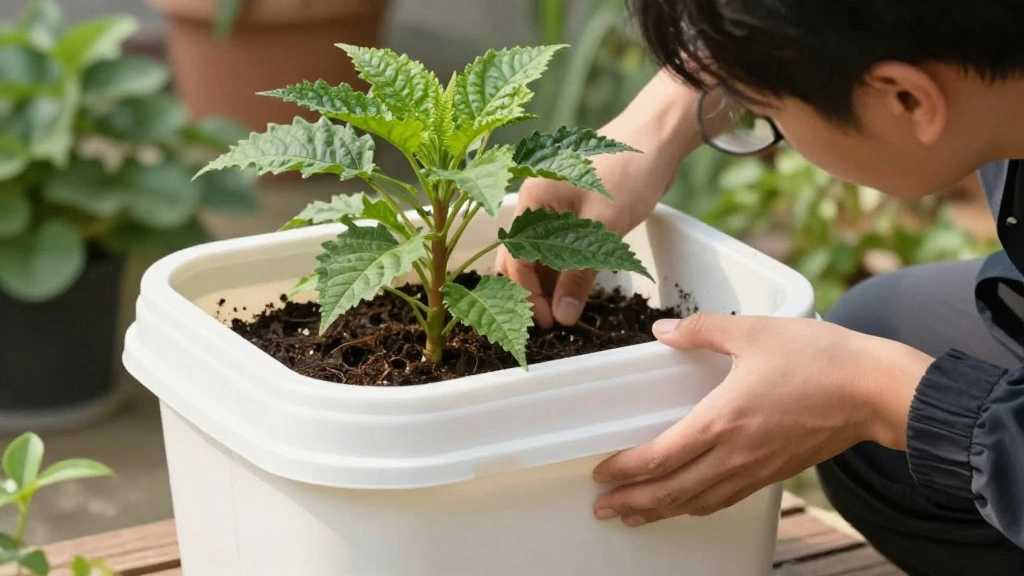
Step 1: Assess Soil Moisture
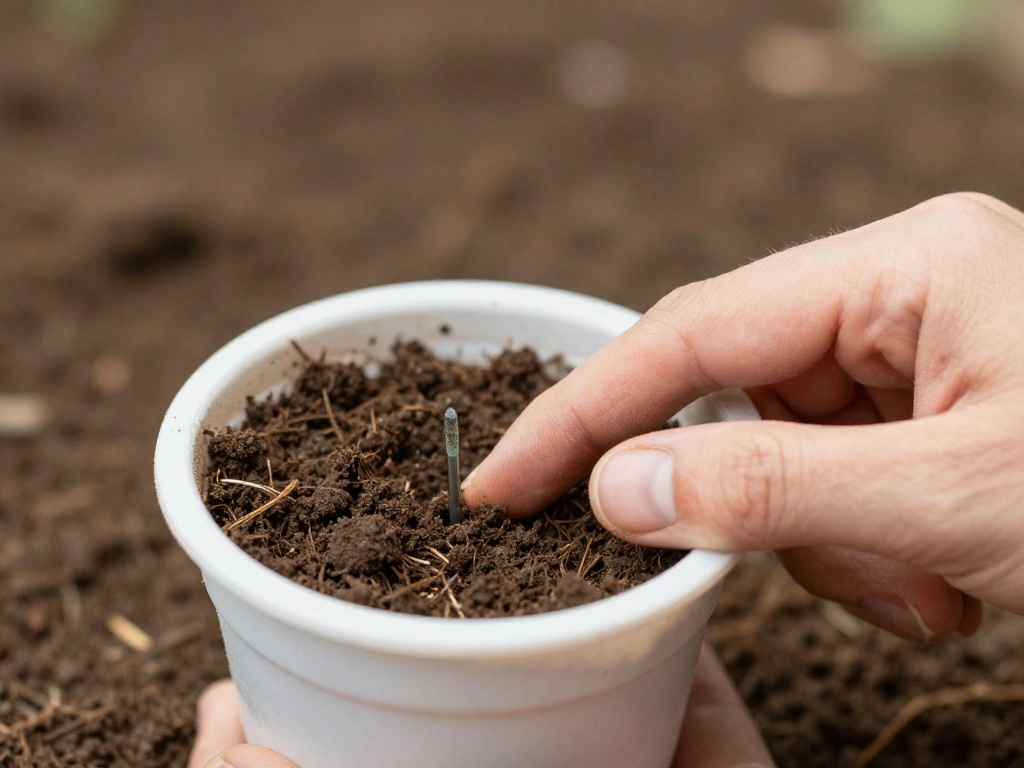
Before watering, check the moisture level of the soil in your container. This step ensures you only water when necessary, preventing overwatering.
- Stick your finger about an inch into the soil.
- If the soil feels dry, it’s time to water. If it feels moist, wait a day or two.
Pro Tip: Use a soil moisture meter for a more accurate reading if you’re unsure about your finger test. This matters because overwatering is one of the leading causes of plant death in containers.
Time estimate: 5-10 minutes
Step 2: Choose the Right Time to Water
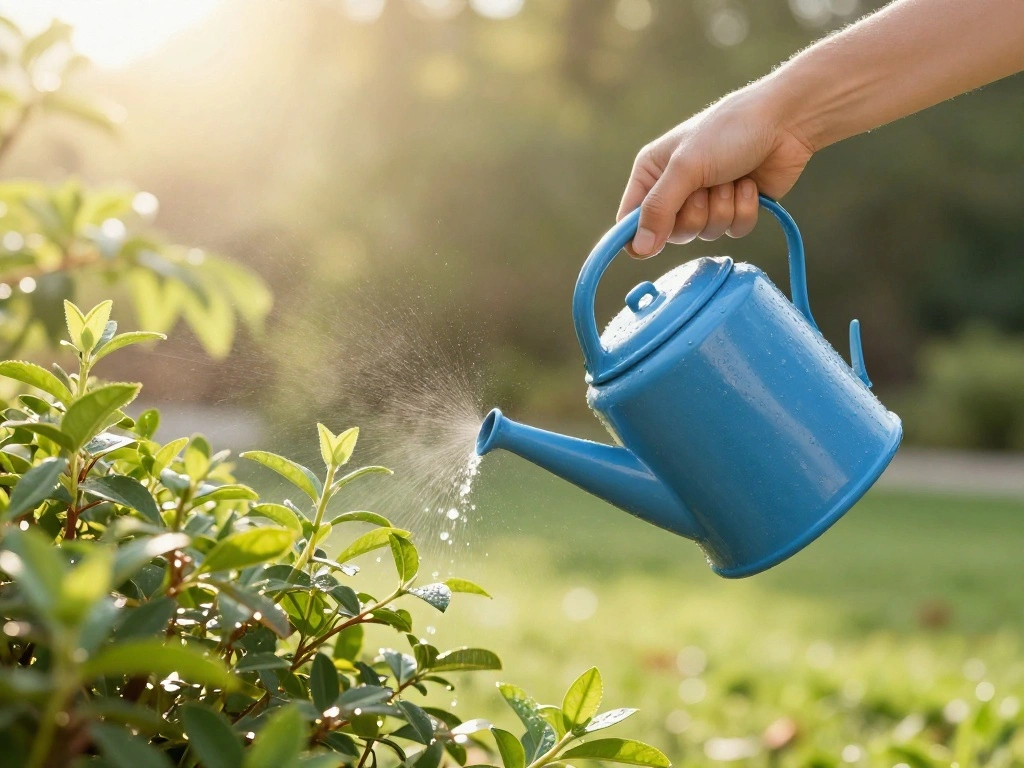
Timing your watering is crucial for effective moisture retention. Watering during the hottest part of the day can lead to rapid evaporation.
- Water in the early morning or late afternoon when temperatures are cooler.
- Observe your plants; if they seem droopy, they may need immediate watering.
Warning: Avoid watering in the evening as this can lead to fungal diseases due to prolonged dampness overnight. This matters because proper timing can reduce water waste and promote healthier plants.
Time estimate: 10 minutes
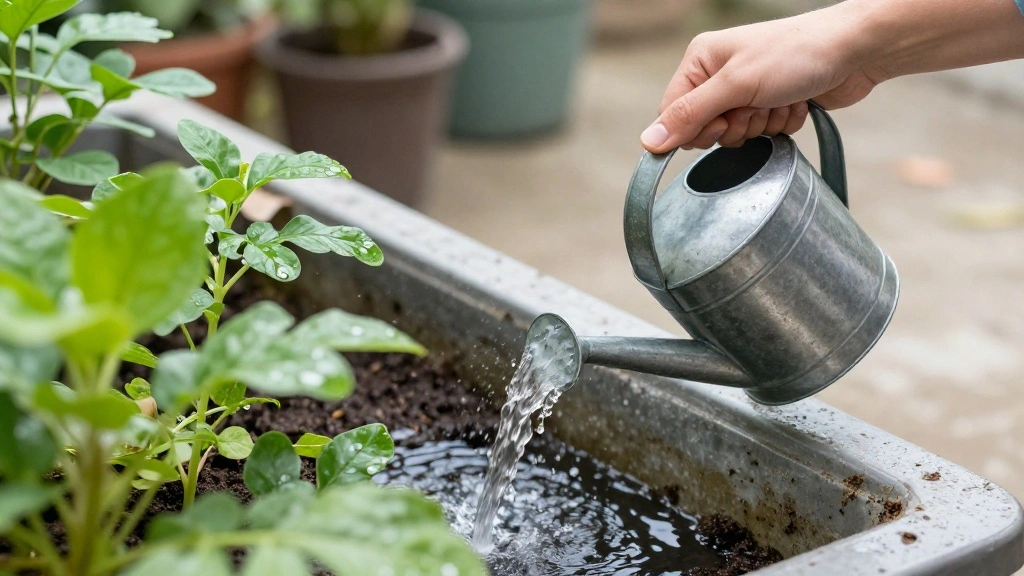
Step 3: Use the Right Amount of Water
Determining how much water to give your container plants is essential. Too little can cause stress, while too much can drown them.
- As a general rule, water until you see it draining from the bottom of the pot.
- Adjust the amount based on the size of your container; larger pots require more water.
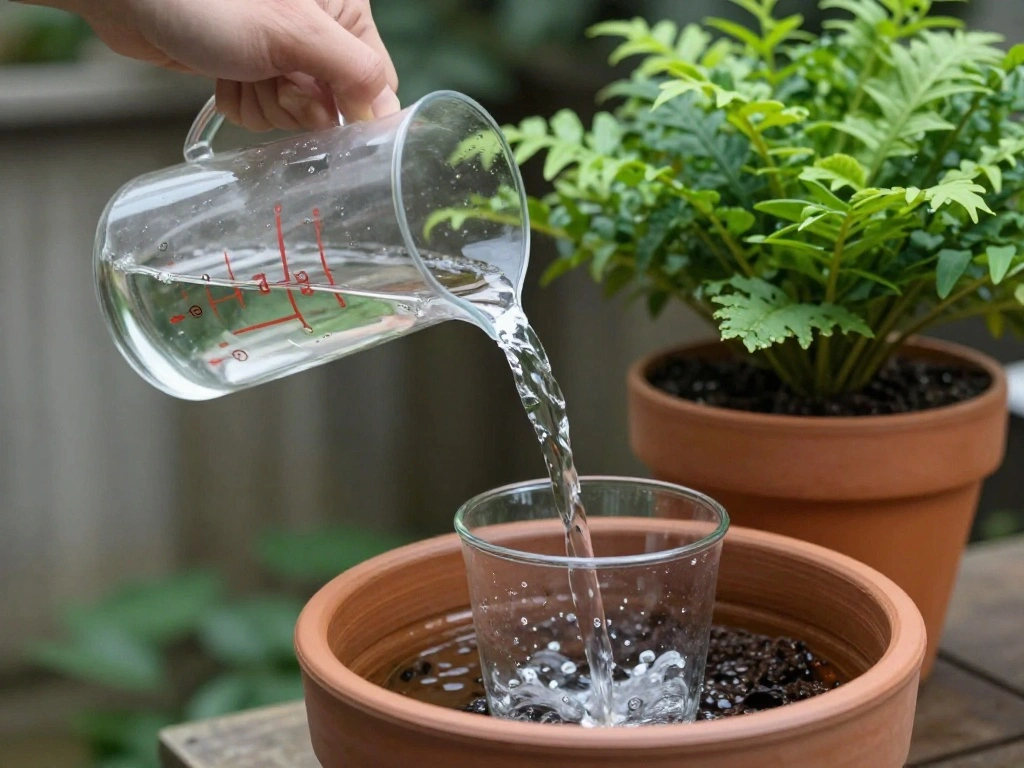
Pro Tip: Consider using a measuring cup to ensure consistency with your watering amounts. This matters because consistent watering promotes even growth and health.
Time estimate: 10-15 minutes
Step 4: Water Deeply and Thoroughly
Deep watering encourages roots to grow deeper and makes them more resilient. Shallow watering can lead to weak root systems.
- Water slowly and allow it to absorb before adding more.
- Ensure water penetrates the entire root zone, typically 6-12 inches deep.
Warning: Avoid quick, surface watering as it can promote shallow root growth. This matters because stronger roots lead to healthier plants.
Time estimate: 15-20 minutes
Step 5: Apply Mulch (Optional)
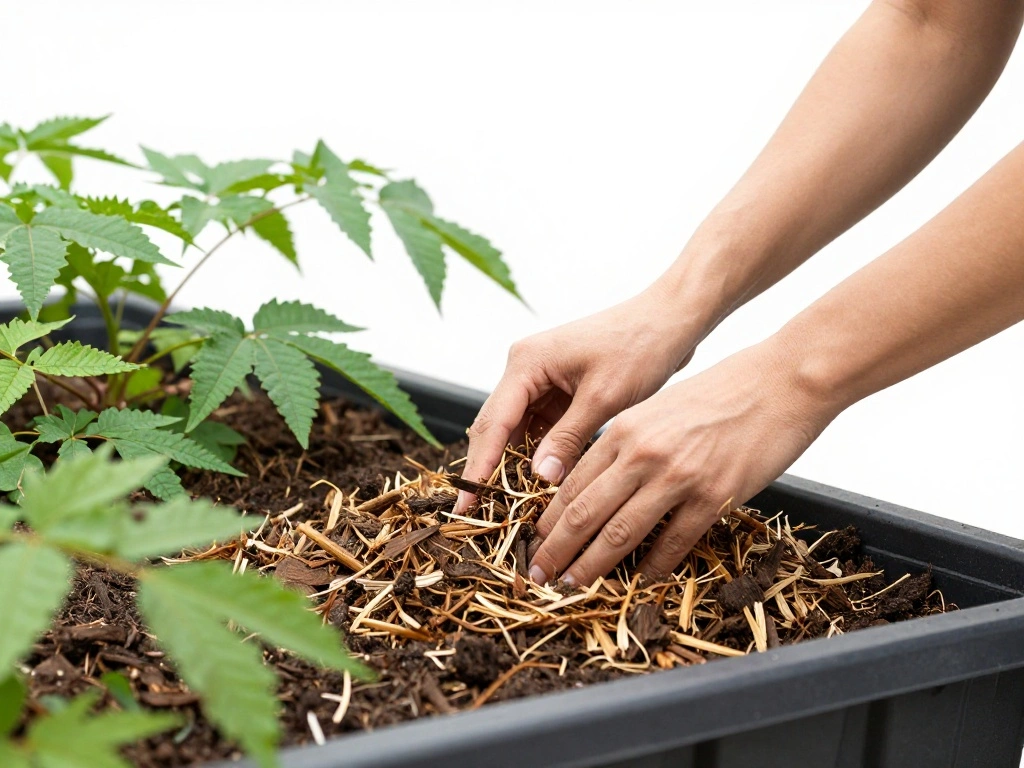
Applying mulch helps retain soil moisture and can prevent weeds. While optional, it can improve the health of your container garden.
- Choose an organic mulch like straw or wood chips.
- Apply a layer about 1-2 inches thick on top of the soil.
Pro Tip: Mulch also helps regulate soil temperature, which is beneficial during extreme weather. This matters because healthy soil leads to healthy plants.
Time estimate: 20 minutes
Step 6: Monitor Weather Conditions
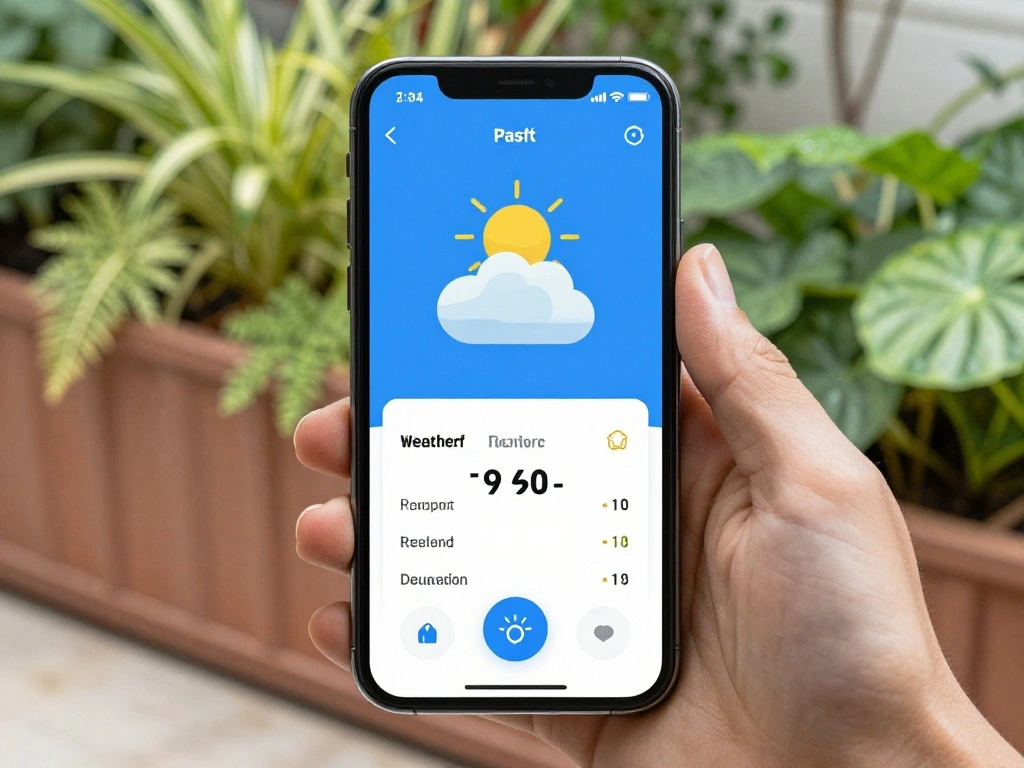
Weather can significantly affect your container garden’s watering needs. During hot or windy conditions, your plants may require more frequent watering.
- Check local weather forecasts to anticipate rain or heat waves.
- Adjust your watering schedule accordingly; increase watering during hot spells and reduce during rainy periods.
Warning: Don’t rely solely on a set schedule; always observe your plants’ needs. This matters because adapting to the weather helps maintain plant health.
Time estimate: 5-10 minutes
Step 7: Avoid Watering at Night
Watering at night can create a damp environment that promotes fungal diseases. It’s best to avoid this practice.
- Stick to morning or late afternoon watering times.
- If you must water at night, ensure the soil is well-drained to minimize standing water.
Warning: Consistent night watering can lead to root rot and other plant diseases. This matters because preventing diseases is key to maintaining a healthy garden.
Time estimate: 5 minutes
Step 8: Adjust for Different Plant Types
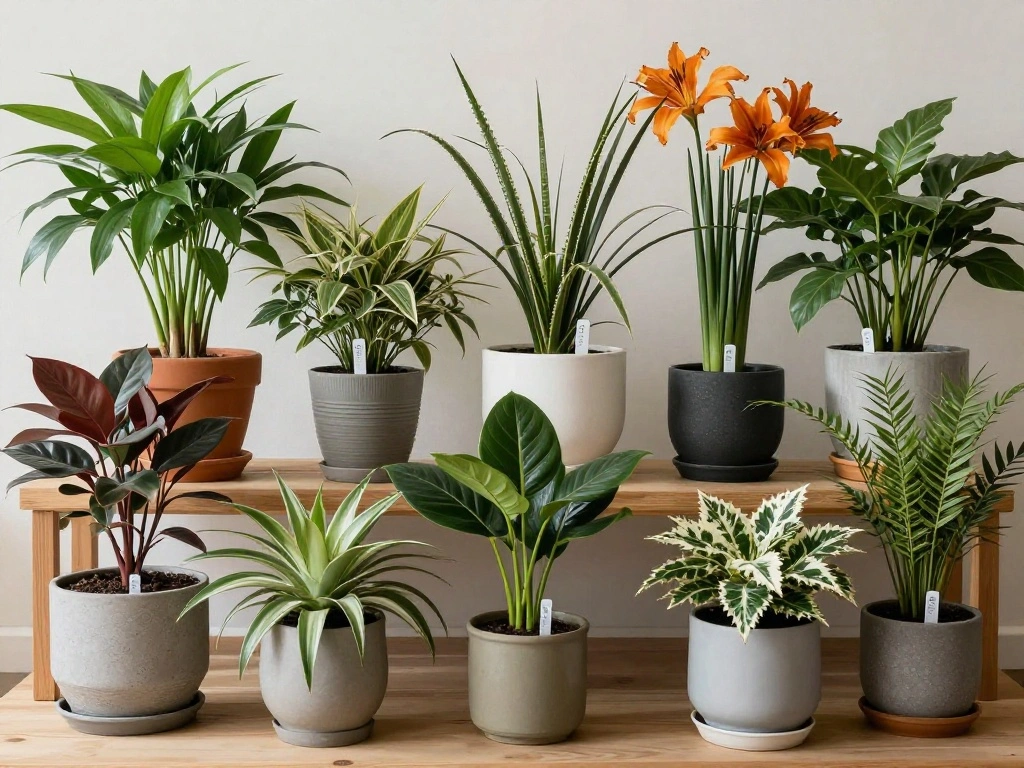
Different plants have different watering needs. Understanding these can enhance the health of your container garden.
- Research the specific water requirements for each plant type.
- Group plants with similar watering needs together for easier management.
Pro Tip: Use tags or labels for easier identification of plant types and their needs. This matters because tailored care leads to better growth.
Time estimate: 15 minutes
Step 9: Evaluate and Adjust Your Techniques
Regularly assess the effectiveness of your watering techniques. This helps identify any necessary adjustments.
- Observe plant health—are the leaves yellowing or drooping?
- Test soil moisture levels regularly to ensure consistency.
Warning: Ignoring signs of distress can lead to plant death. This matters because ongoing evaluation ensures your plants receive the care they need.
Time estimate: 10-15 minutes
Pro Tips
- Consistent Schedule: Water your plants at the same time each day to establish a routine.
- Use Rainwater: Collect rainwater in barrels; it’s often better for plants than tap water.
- Rotate Plants: Change the position of your containers to ensure even sunlight exposure.
- Group Containers: Cluster pots together to create a microclimate that retains moisture.
- Consider Self-Watering Containers: These can reduce the frequency of watering needed.
Common Mistakes to Avoid
Warning: Overwatering can lead to root rot. Always check soil moisture before watering.
Warning: Using cold water can shock plants. Use room temperature water instead.
Warning: Neglecting to adjust for seasonal changes can stress plants. Monitor conditions regularly.
Troubleshooting Section
Problem: Leaves are yellowing.
Solution: Check soil moisture; if overly wet, reduce watering and improve drainage.
Problem: Plants are wilting.
Solution: Check for dry soil; if dry, water deeply and thoroughly.
Problem: Mold or mildew on soil surface.
Solution: Reduce watering frequency and improve air circulation.
Problem: Root rot detected.
Solution: Remove affected plants, improve drainage, and adjust watering habits.
Variations/Alternative Methods
1. Drip Irrigation: Ideal for frequent watering with minimal waste. Great for larger container gardens.
2. Self-Watering Pots: Help maintain consistent moisture levels, reducing the need for daily watering.
3. Wicking System: Uses a wick to draw water from a reservoir to the soil, perfect for busy gardeners.
FAQs
What if I don’t have a moisture meter? Use the finger test to check soil moisture by inserting your finger into the soil.
How long should I water my plants? Water until you see it draining from the bottom of the pot, which usually takes a few minutes.
Is it safe to water in the evening? It’s better to avoid evening watering to prevent fungal diseases.
Conclusion
Congratulations! You are now equipped with the knowledge to water your container gardens effectively. By following these steps, you can create a thriving environment for your plants.
Your next steps could include exploring different plant varieties or learning about pest management. Remember, gardening is a journey filled with learning, so enjoy the process!