Are you tired of constantly checking your plants for water, only to find them wilting from thirst? Self-watering container gardens offer a practical solution to this common problem. By utilizing a simple reservoir system, these gardens ensure your plants receive a consistent supply of moisture without the need for daily watering.
In this guide, you will learn how to create your own self-watering container garden with ease. From selecting the right materials to assembling your system, we will walk you through each step. You’ll not only achieve a lush, thriving garden, but you’ll also save time and effort.
Throughout this article, you will discover how to assemble your containers, choose the best plants, and maintain your self-watering system. Whether you have a small balcony or a spacious backyard, you can create a beautiful garden that thrives with minimal intervention. This project is beginner friendly and will take approximately 2-3 hours to complete.
TL;DR Summary
- Create a self-watering system using containers and a reservoir.
- Choose the right plants for your garden.
- Ensure proper assembly for optimal moisture retention.
- Maintain your system for a thriving garden with minimal effort.
Prerequisites/Materials Needed
- Containers: 2-3 plastic or ceramic pots (5-10 gallons each)
- Reservoir: 1 large plastic container or bucket (5 gallons)
- Soil: Potting mix (enough to fill your containers)
- Wicking material: Cotton rope or fabric strips (2-3 feet each)
- Drill: with a drill bit (1/4 inch)
- Water: For initial watering
Skill Level & Time Estimate
Skill Level: beginner
Total time estimate: 2-3 hours
Here’s a quick breakdown:
– Gathering materials: 30 minutes
– Assembly: 1-2 hours
– Planting and watering: 30 minutes
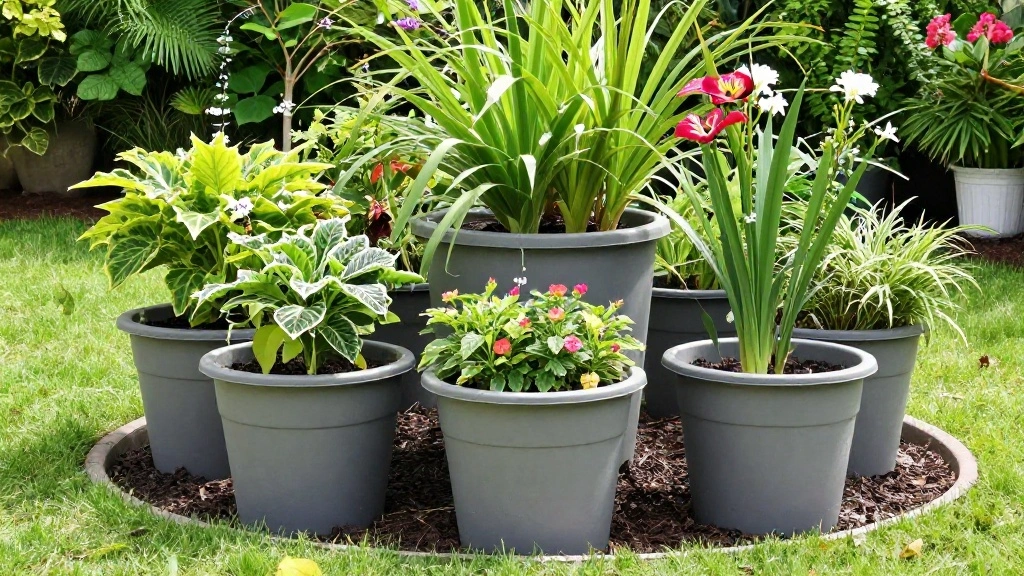
Step 1: Choose Your Containers
Start by selecting the right containers for your self-watering garden. The size and material of your containers play a crucial role in the success of your garden.
1. Choose containers that are at least 5 gallons in size to provide adequate space for root growth.
2. Opt for plastic or ceramic materials as they retain moisture better than metal.
3. Ensure your containers have drainage holes at the bottom to prevent waterlogging.
Pro Tip: Use dark-colored containers if you’re in a cooler climate, as they absorb heat and promote plant growth.
This step takes about 15-30 minutes to complete.
Step 2: Prepare the Reservoir
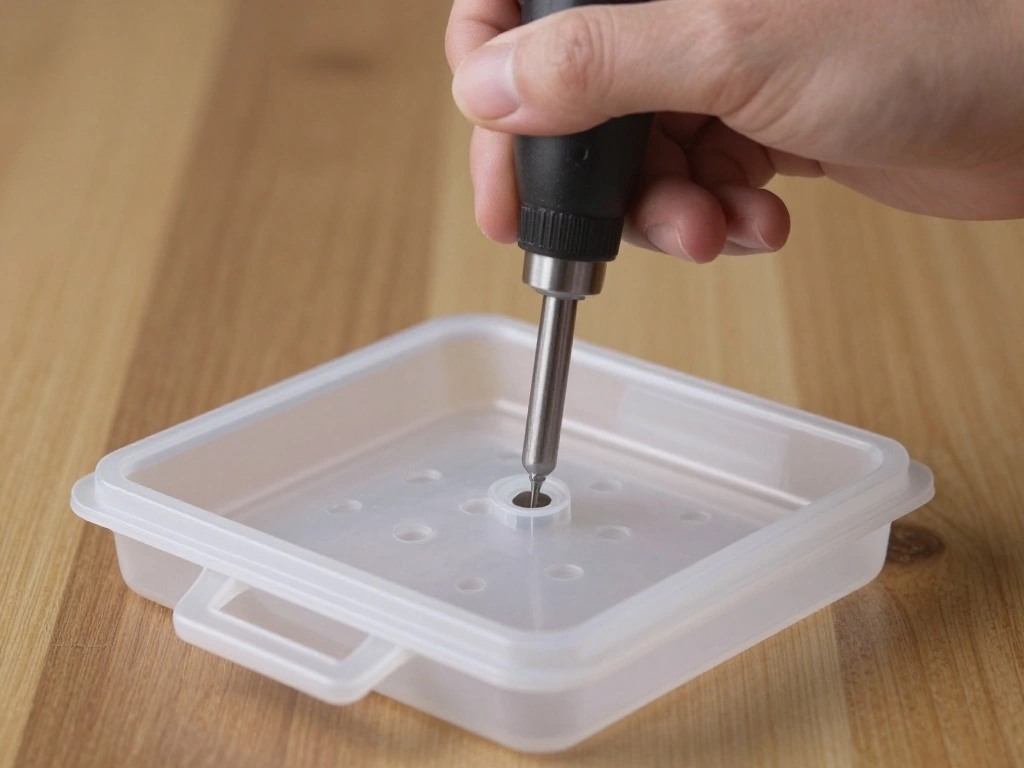
The reservoir is essential for your self-watering system, as it holds the water that will nourish your plants. Follow these steps to prepare it correctly:
1. Take your large plastic container or bucket and drill 1/4 inch holes in the bottom.
2. Ensure the holes are evenly spaced to allow for proper drainage into the soil.
3. Place the reservoir in a location that gets sunlight and is easily accessible for refilling.
Warning: Ensure the reservoir is stable and secure to prevent spillage.
This preparation step will take approximately 20-30 minutes.
Step 3: Create the Wicking System
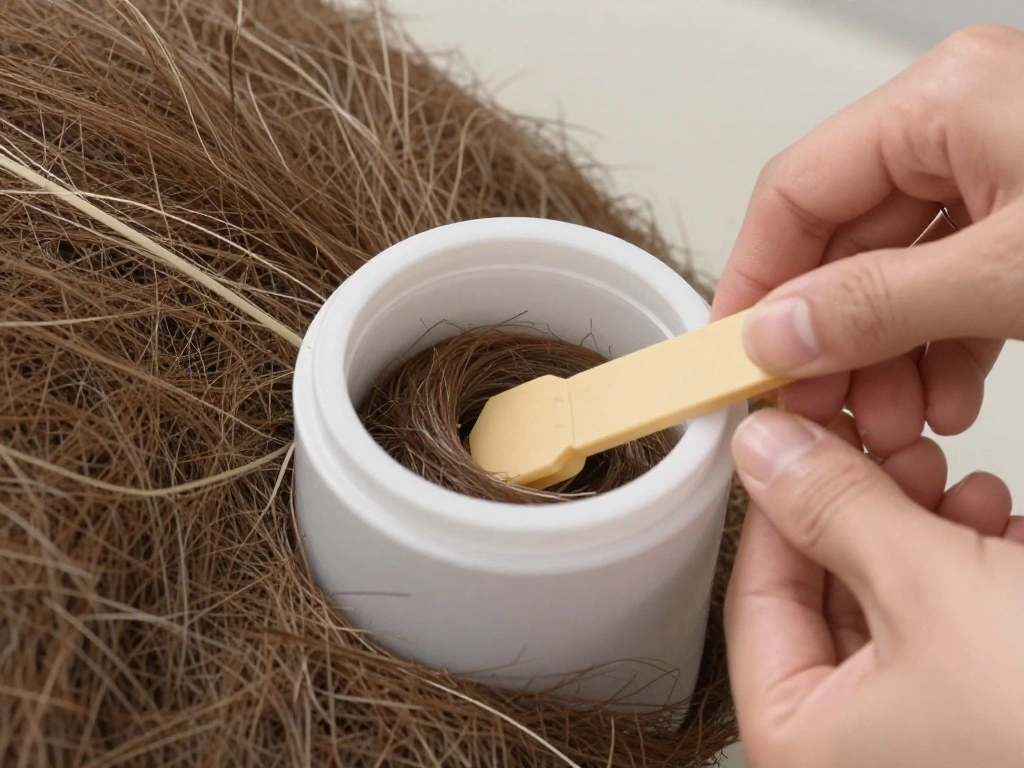
The wicking system is crucial for transferring water from the reservoir to the soil in your containers. Follow these steps to set it up:
1. Cut your cotton rope or fabric strips into 2-3 foot lengths.
2. Insert one end of each strip into the reservoir, ensuring it reaches the bottom.
3. Place the other end of the strip into the soil of your container, burying it a few inches deep.
Pro Tip: Use multiple wicking strips for larger containers to ensure even moisture distribution.
This step will take about 15-20 minutes.
Step 4: Fill Your Containers with Soil
Now it’s time to fill your containers with potting mix, providing a rich environment for your plants:
1. Fill each container with potting mix, leaving about 2-3 inches of space at the top.
2. Gently press down the soil to eliminate air pockets, ensuring stability for your plants.
3. Water the soil lightly to help it settle before planting.
Warning: Avoid overpacking the soil, as this restricts root growth.
This step takes around 20-30 minutes.
Step 5: Choose Your Plants
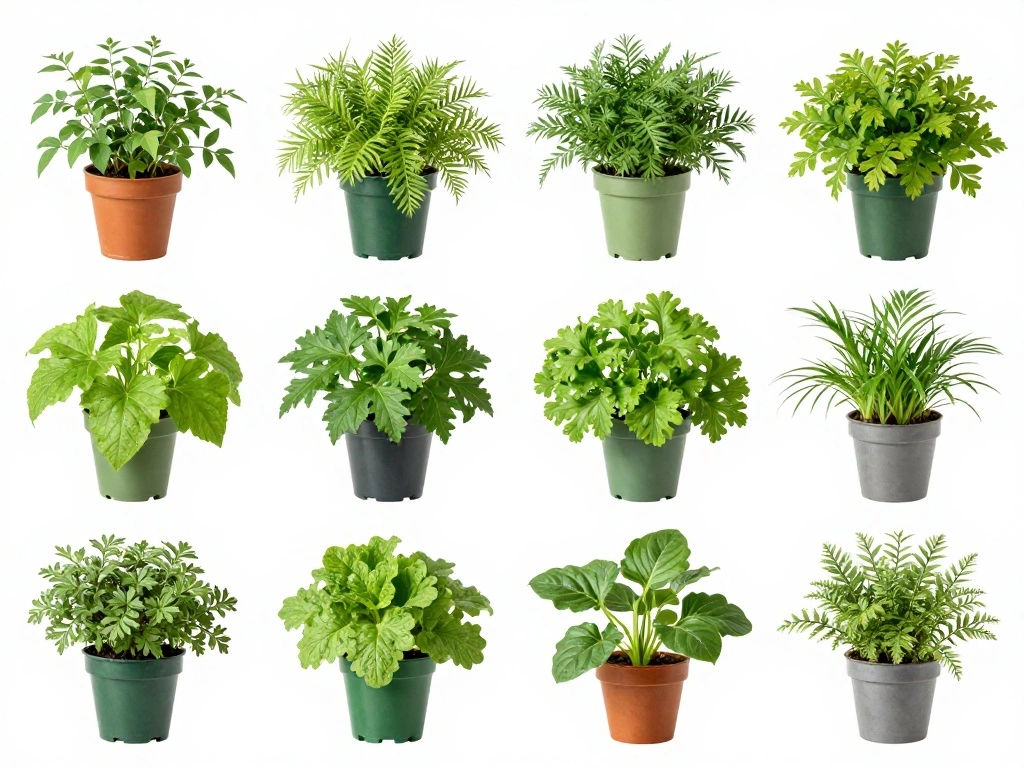
Selecting the right plants is essential for a successful self-watering garden. Consider these factors:
1. Choose plants that thrive in your climate and sunlight conditions.
2. Opt for herbs, vegetables, or flowers that are suited for container gardening.
3. Consider companion planting to maximize space and growth.
Pro Tip: Start with seedlings or young plants for easier establishment.
This step will take about 30 minutes.
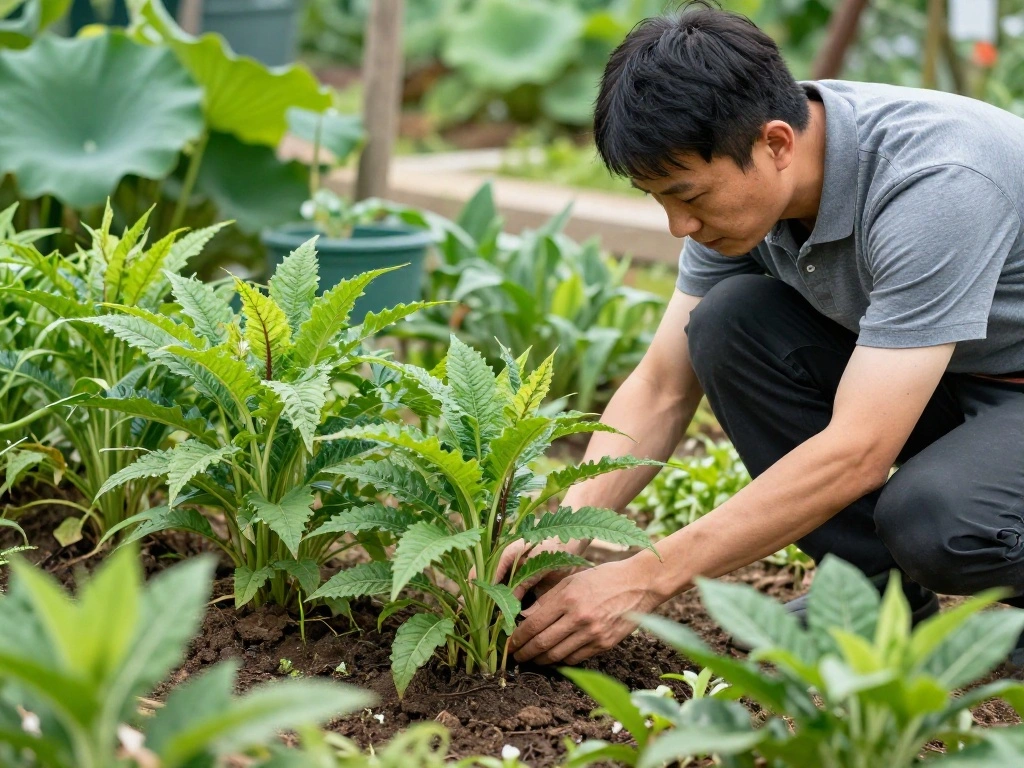
Step 6: Plant Your Selections

It’s time to plant your chosen selections in the prepared containers. Follow these steps:
1. Make a hole in the soil for each plant, ensuring it’s deep enough to cover the roots.
2. Gently remove the plants from their original pots and place them into the holes.
3. Cover the roots with soil and press down gently.
Warning: Avoid damaging the roots during transplanting, as this can hinder growth.
This planting step will take approximately 30 minutes.
Step 7: Water Initial Planting
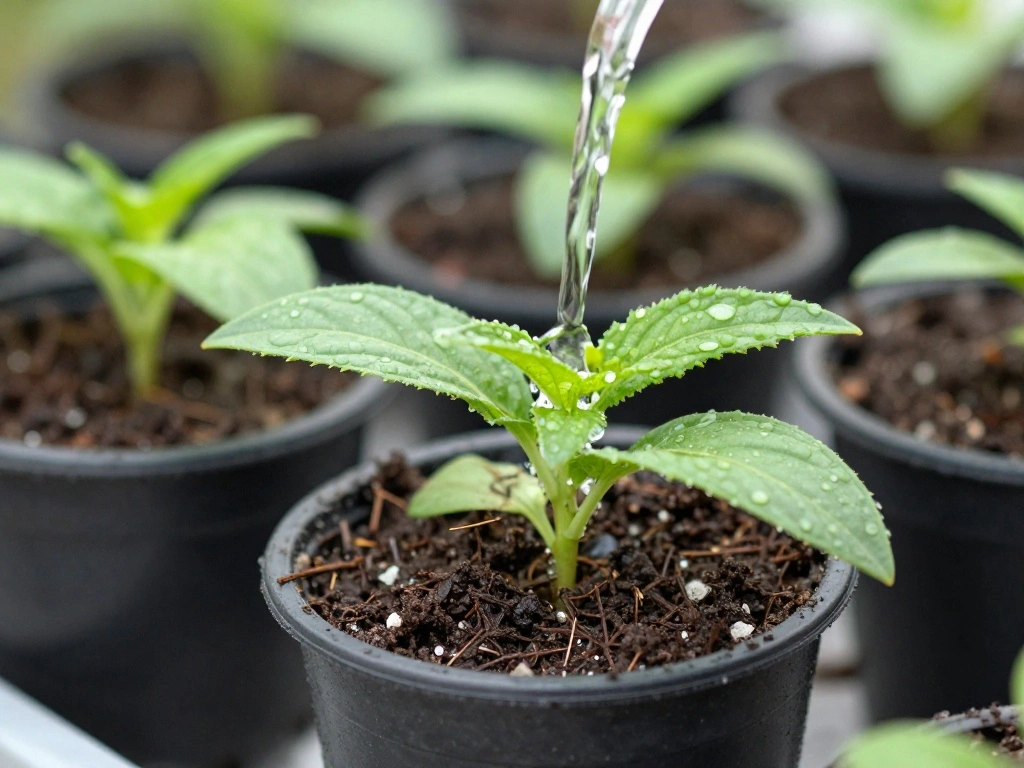
After planting, it’s crucial to give your garden the initial watering it needs to thrive:
1. Slowly water the soil until it is moist, ensuring the wicking system is activated.
2. Allow water to soak through the wicking material and into the soil.
3. Check for drainage through the reservoir holes to ensure proper flow.
Pro Tip: Use a gentle spray nozzle to avoid disturbing the soil.
This watering step takes about 15-20 minutes.
Step 8: Monitor and Maintain Your Garden
After setting up your self-watering garden, consistent monitoring is key for success:
1. Check the reservoir regularly to ensure it has enough water.
2. Observe your plants for signs of overwatering or underwatering.
3. Adjust your watering schedule as needed based on plant growth and weather conditions.
Warning: Avoid letting the reservoir run dry, as this can stress your plants.
This monitoring step will take about 10-15 minutes each week.
Step 9: Harvest and Enjoy
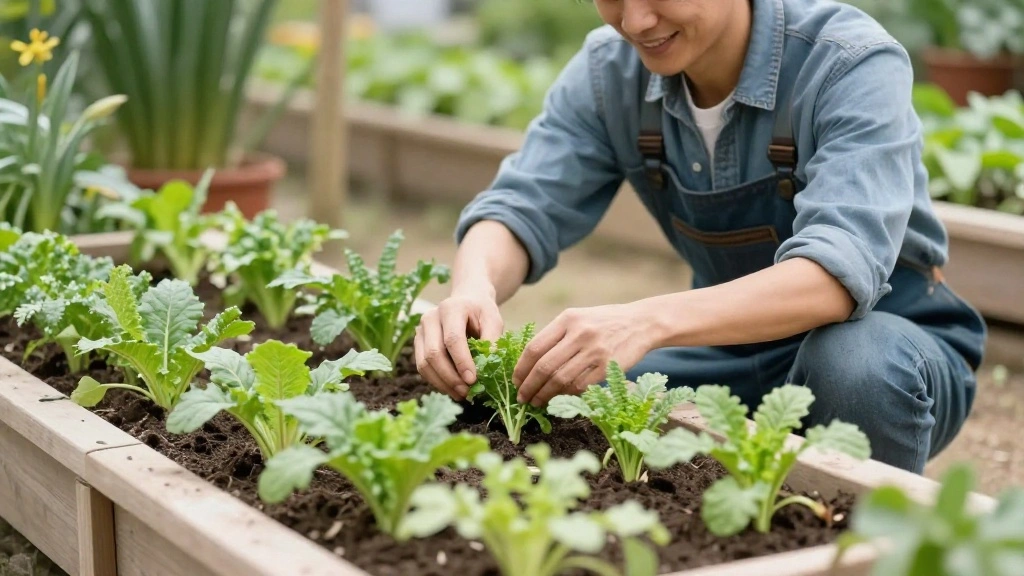
Once your plants start growing, it’s time to enjoy the fruits of your labor:
1. Harvest your plants regularly to encourage continuous growth.
2. Use fresh herbs and vegetables in your meals.
3. Share your bounty with friends and family!
Pro Tip: Regular harvesting stimulates growth, ensuring you get the most from your self-watering garden.
This step will vary depending on your plant’s growth rate.
Pro Tips
- Plant Selection: Choose companion plants that benefit each other in growth and pest resistance.
- Seasonal Adjustments: Change plants based on the season to maximize production.
- Container Rotation: Rotate your containers to ensure even sunlight exposure.
- Fertilization: Use organic fertilizers to boost plant health without harming the ecosystem.
- Pest Management: Regularly check for pests and use natural remedies to maintain plant health.
Common Mistakes to Avoid
Warning: Overwatering can lead to root rot. Always check the moisture level before adding water.
Warning: Using poor-quality soil can hinder plant growth. Invest in a good potting mix.
Warning: Neglecting to monitor the reservoir can lead to plant stress. Check weekly.
Troubleshooting Section
Problem: Plants are wilting despite watering.
Solution: Check the wicking system for blockages and ensure the reservoir has enough water.
Problem: Water is leaking from the reservoir.
Solution: Ensure the reservoir is level and all holes are properly drilled.
Problem: Soil is too dry.
Solution: Water from the top until moist, then check the wicking material.
Variations/Alternative Methods
Consider these variations for your self-watering gardens:
1. Use a modified bottle system where a water-filled bottle is inverted into the soil for smaller plants.
2. Try a vertical garden setup for limited space, maximizing plant growth.
3. Explore hydroponic systems for growing plants without soil, utilizing water and nutrients only.
FAQs
What if I don’t have a large bucket for the reservoir?
You can use any container that holds water, as long as it has drainage holes.
How long should I wait before harvesting?
It depends on the plants; check the seed packets for specific timelines.
Is it safe to grow edible plants in plastic containers?
Yes, as long as the plastic is food-grade and safe for plants.
Conclusion
Congratulations on creating your own self-watering container garden! You’ve taken an important step towards sustainable gardening that will save you time and effort.
Now that your garden is established, consider expanding it or trying different plants next season. Share your garden with friends, and inspire them to start their own!
Keep learning about gardening techniques and enjoy the process of nurturing your plants.