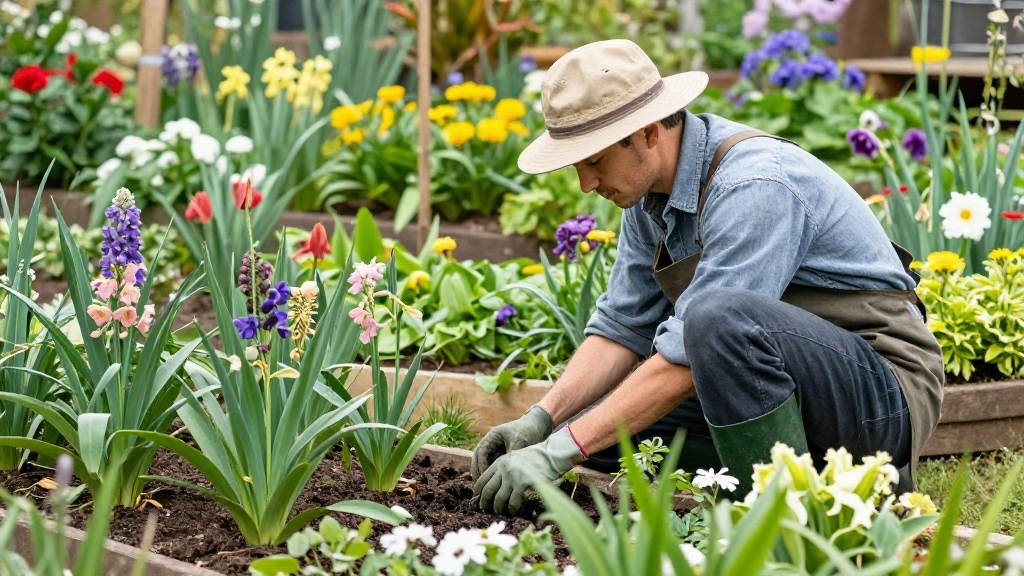
As the winter chill sets in, many gardeners worry about the fate of their raised garden beds. Without proper winterization, your plants, soil health, and even the structure of your garden beds can suffer significantly. This can lead to a disappointing start to your spring gardening, costing you time and effort that could have been avoided.
In this guide, you will learn effective strategies to protect your raised garden beds throughout the winter months. By the end of this article, you will have a clear plan to ensure your garden is healthy, thriving, and ready for planting come spring. This comprehensive guide is designed for beginner gardeners, so you’ll find the steps straightforward and easy to follow.
Expect to invest about 2-3 hours to complete the entire process. Prepare to roll up your sleeves and take action as we walk you through each step of winterizing your raised garden beds!
TL;DR Summary
- Winterizing your raised garden beds helps protect plants and soil health.
- Gather materials like mulch, cover crops, and compost.
- Follow steps to clean, amend, and cover your beds for winter.
- Implementing these strategies ensures a thriving garden come spring.
Prerequisites/Materials Needed
- Mulch (straw, leaves, or wood chips) – enough to cover the beds 2-3 inches thick
- Compost or well-rotted manure – 1-2 bags
- Cover crops seeds (optional) – 1 packet
- Garden tools (shovel, rake, trowel)
- Row covers or tarps (for extreme weather) – 1-2 pieces
- Watering can or hose
- Gloves and gardening clothes
Skill Level & Time Estimate
Skill Level: beginner
Total Time Estimate: 2-3 hours
Here’s a breakdown of time by major steps:
- Cleaning your garden beds: 30 minutes
- Soil amendment: 1 hour
- Mulching: 30 minutes
- Planting cover crops (optional): 1 hour
Step 1: Clean Out Your Raised Garden Beds
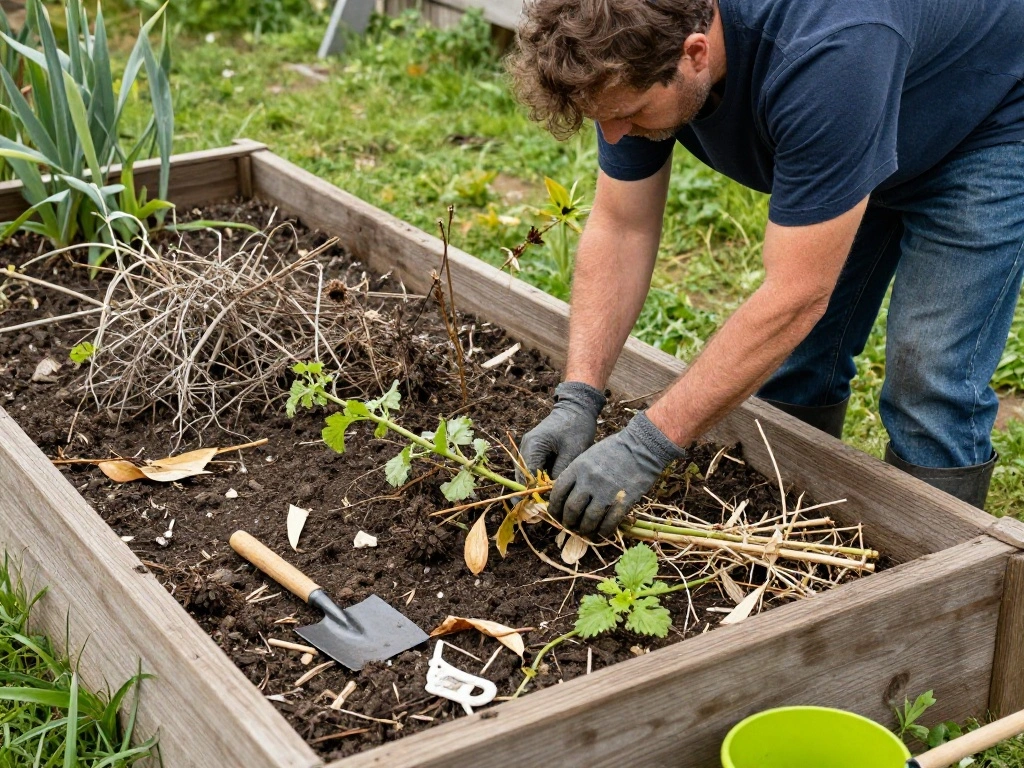
Begin by clearing out any remaining plant debris from your raised garden beds. This includes dead plants, weeds, and any leftover mulch. Cleaning the beds helps prevent pests and diseases from overwintering in your garden.
- Remove all plant material from the beds.
- Pull any weeds or unwanted plants.
- Dispose of the debris properly (do not compost diseased plants).
Pro Tip: Leave healthy, well-rotted plant material to decompose in the soil for added nutrients.
Why this matters: This step prevents diseases and pests from overwintering and ensures a clean slate for spring planting.
Time Estimate: 30 minutes
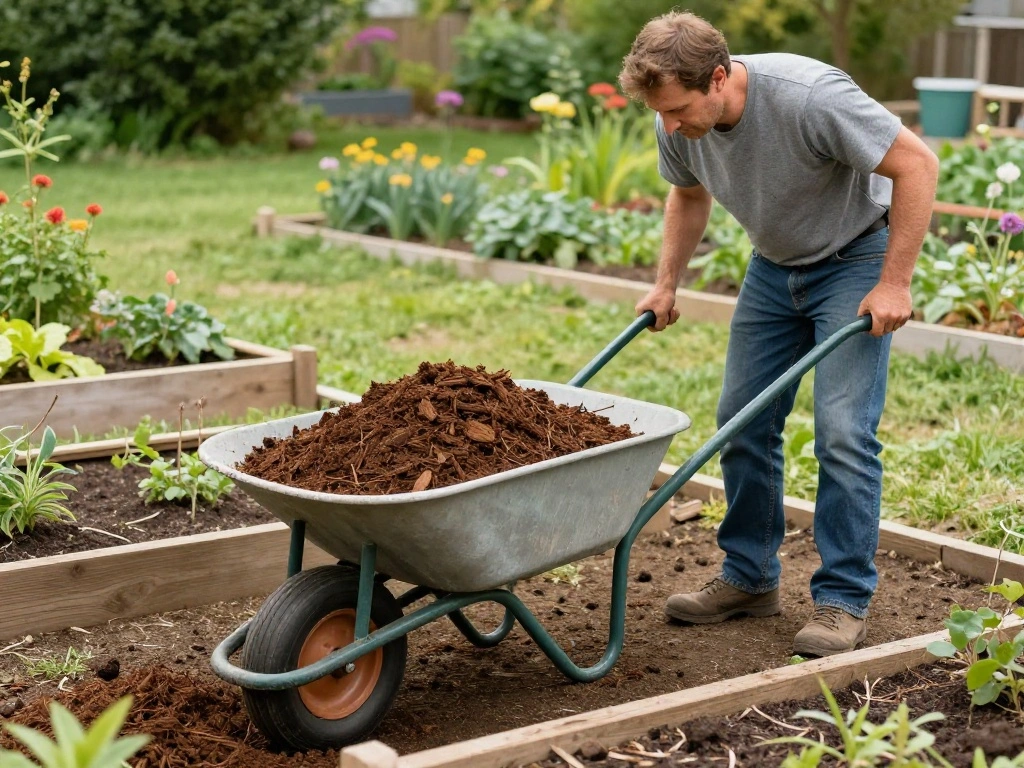
Step 2: Amend the Soil

After cleaning, it’s time to enrich the soil. Adding compost or well-rotted manure boosts nutrients and improves soil structure. This step is vital for soil health and will benefit your plants when spring arrives.
- Add a layer of compost or manure to the soil, spreading it evenly.
- Mix the compost into the existing soil using a trowel or shovel, ensuring it’s well incorporated.
Warning: Avoid over-amending with manure, as it can burn plants in spring if too fresh.
Why this matters: Amending the soil helps replenish nutrients that plants used during the growing season, setting the stage for a productive spring.
Time Estimate: 1 hour
Step 3: Mulch Your Garden Beds
Mulching is a crucial step in winterizing your garden beds. A layer of mulch protects the soil from extreme temperatures, reduces erosion, and suppresses weed growth. Choose materials like straw, leaves, or wood chips for effective insulation.
- Spread 2-3 inches of mulch evenly across the surface of the soil.
- Leave some space around plant bases to avoid rot.
Pro Tip: Use organic mulch to improve soil health as it decomposes.
Why this matters: Mulching retains moisture and provides insulation, helping to maintain consistent soil temperatures during winter.
Time Estimate: 30 minutes
Step 4: Plant Cover Crops (Optional)
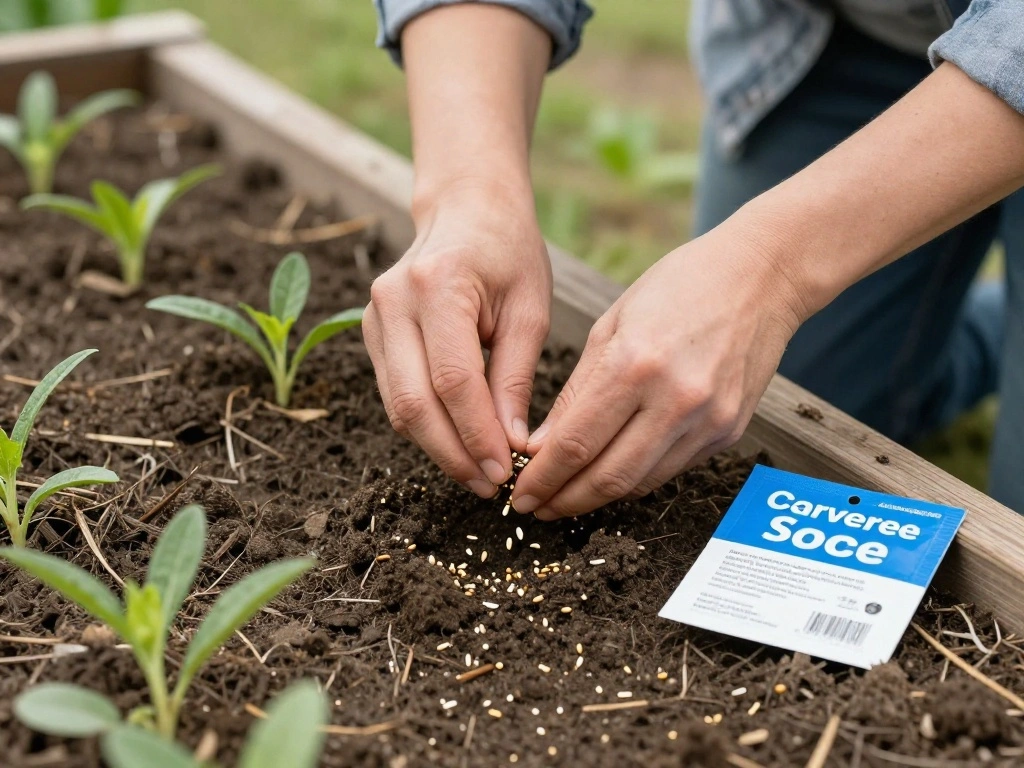
Cover crops are an excellent way to protect and enrich your soil during winter. These crops improve soil health by preventing erosion, enhancing nutrient content, and suppressing weeds. Choose crops like clover or vetch that are suited for your climate.
- Choose your cover crop seeds based on your region.
- Sow the seeds evenly across the prepared soil.
- Lightly rake the soil to cover the seeds.
Warning: Avoid planting cover crops if you plan to plant early spring vegetables in the same beds.
Why this matters: Cover crops fortify the soil, making it healthier for your next planting season.
Time Estimate: 1 hour
Step 5: Apply Row Covers or Tarps
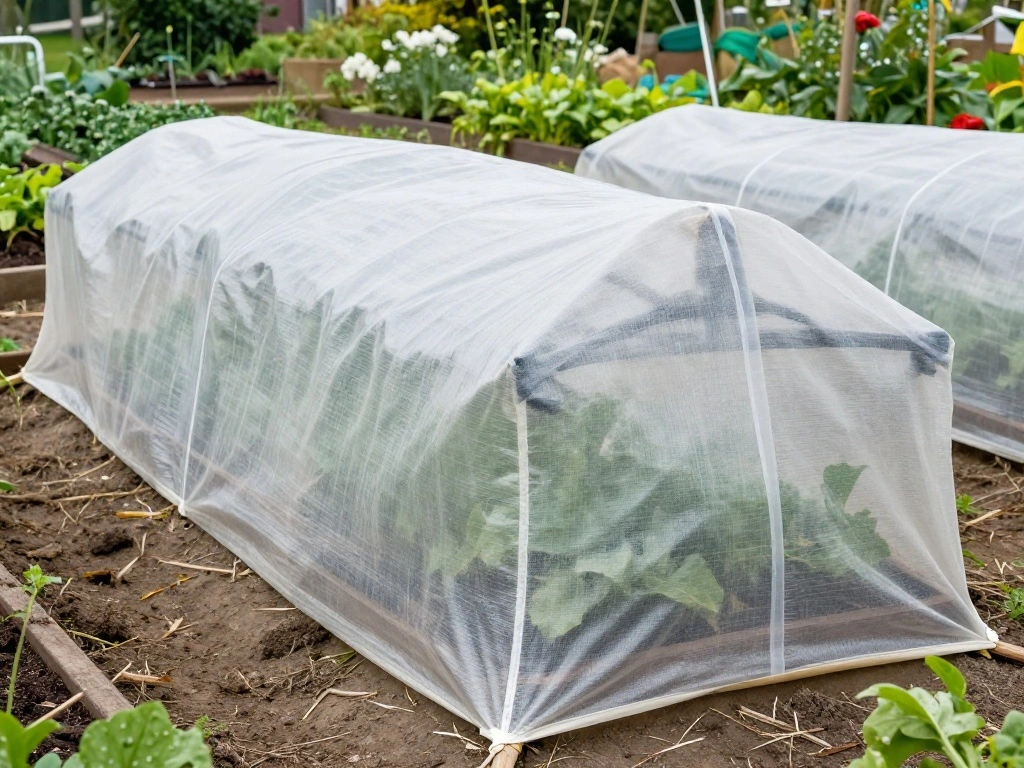
If your region experiences harsh winters, consider using row covers or tarps to provide additional protection. These covers help regulate temperature and moisture levels in your garden beds.
- Choose breathable fabric row covers or tarps that allow sunlight and moisture to penetrate.
- Secure the covers over your garden beds with clips or weights.
Pro Tip: Remove covers during milder winter days to allow plants to breathe.
Why this matters: Protecting your plants from extreme cold can prevent frost damage and promote healthier growth in spring.
Time Estimate: 30 minutes
Step 6: Water the Beds Thoroughly
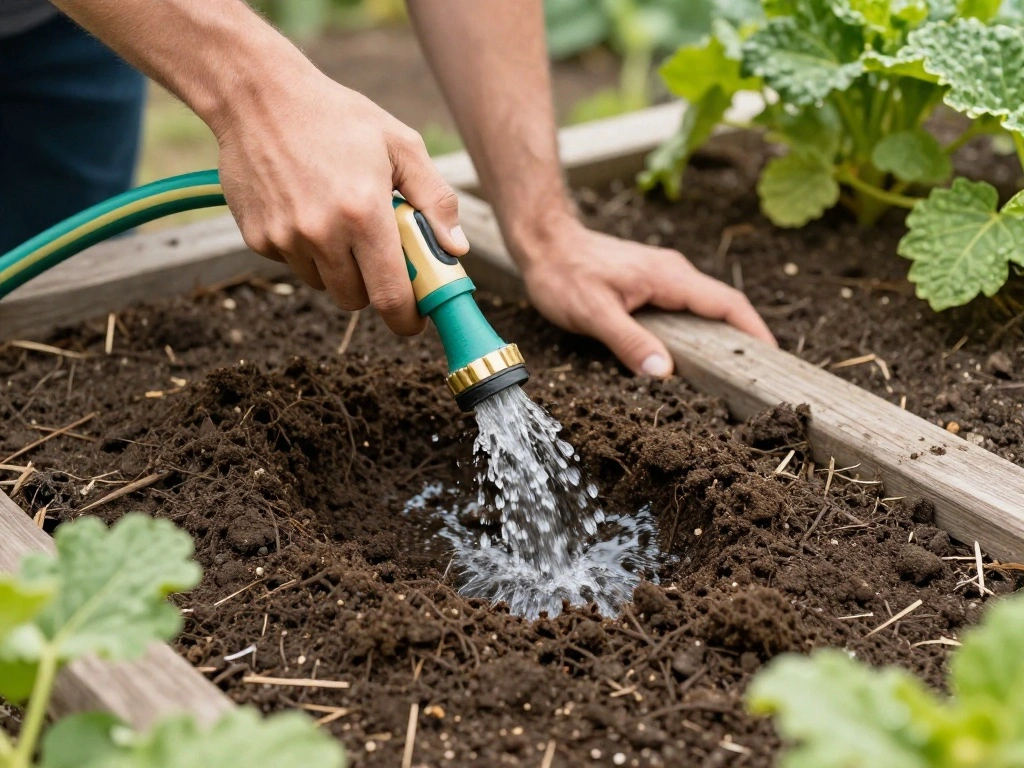
Before winter sets in, ensure your raised garden beds are adequately watered. Plants and soil need moisture to survive the winter months, especially if rainfall is scarce.
- Use a watering can or hose to thoroughly soak the soil.
- Ensure the water penetrates deep into the soil, not just the surface.
Warning: Avoid overwatering, as waterlogged soil can lead to root rot.
Why this matters: Proper hydration helps plants establish roots and prepares them for the cold weather ahead.
Time Estimate: 30 minutes
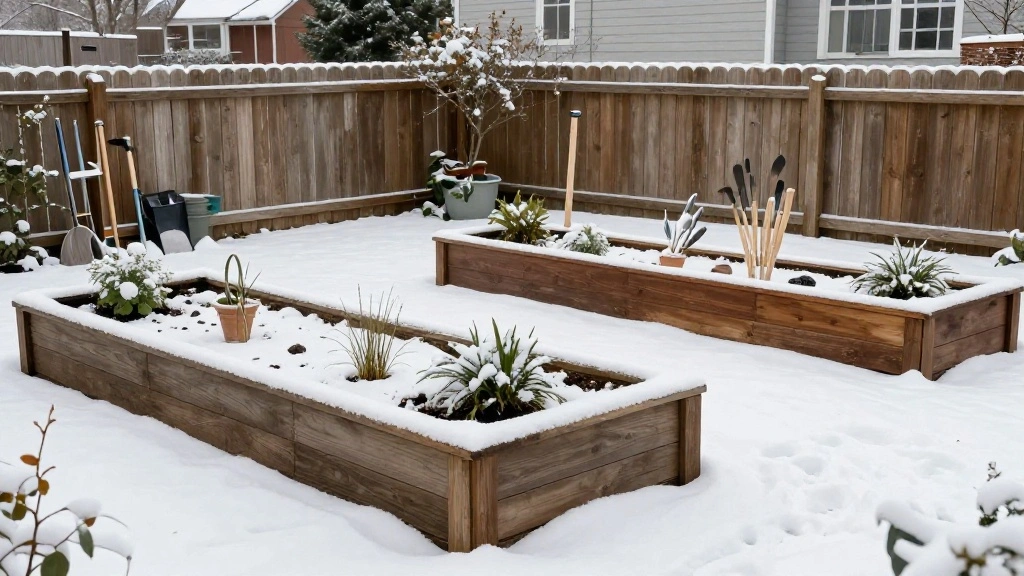
Step 7: Protect Structures from Snow and Ice
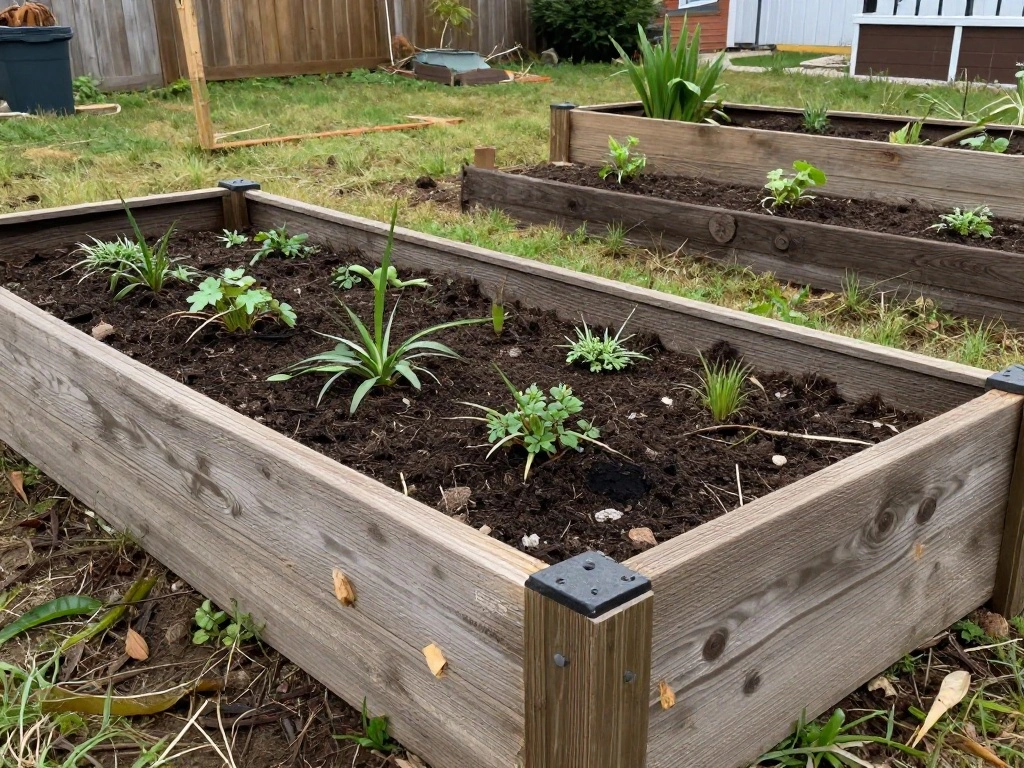
Snow and ice can damage your raised garden bed structures over time. Protect them by ensuring they are stable and secure against winter weather.
- Check the stability of the wood or material used in the beds.
- Repair any loose boards or areas that show wear.
- If necessary, brace the beds with additional supports to withstand snow weight.
Pro Tip: Consider using a tarp to cover the top of the beds if heavy snow is expected.
Why this matters: Securing your garden beds prevents damage and maintains their integrity for the next growing season.
Time Estimate: 30 minutes
Step 8: Monitor Your Garden Throughout Winter
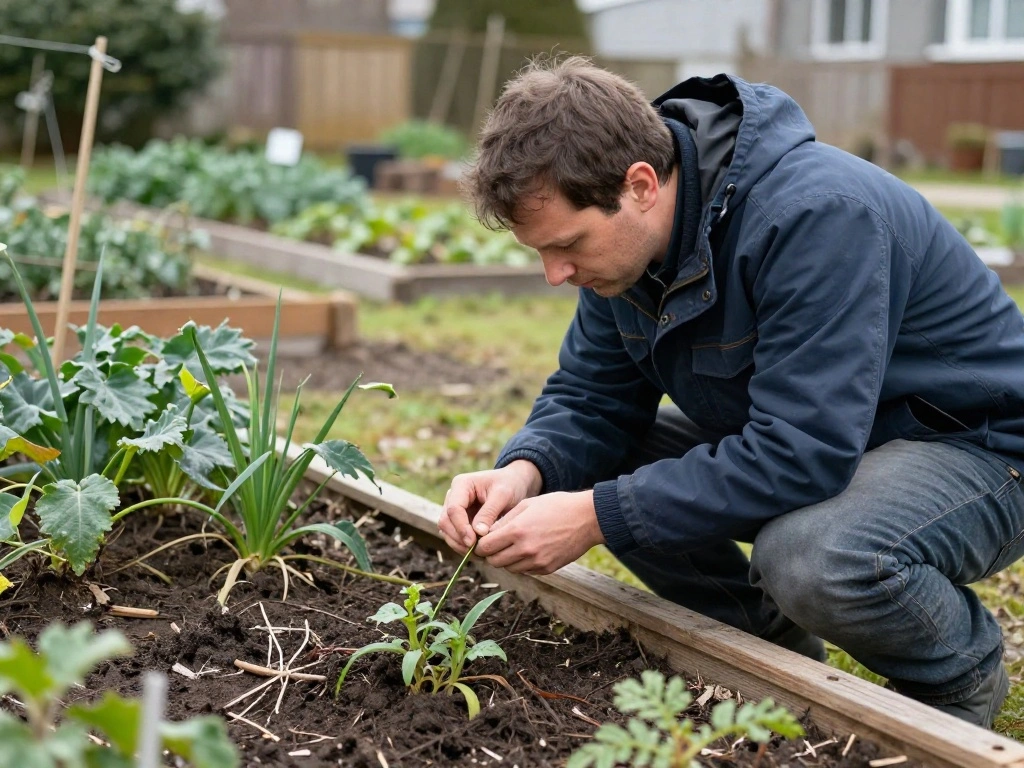
Even after winterizing, it’s essential to keep an eye on your garden beds. Monitoring helps you address any issues that arise due to weather changes or pests.
- Regularly check on your garden beds for signs of damage or pest activity.
- Adjust covers or tarps as needed for changing weather conditions.
Warning: Don’t neglect your garden; small issues can become bigger problems if left unattended.
Why this matters: Staying vigilant ensures your garden remains healthy and ready for spring planting.
Time Estimate: Ongoing (check every few weeks)
Step 9: Plan for Spring Planting

As winter progresses, start planning for your spring planting. Consider what crops you want to grow and prepare your seed orders or seedlings.
- Research and select the plants suitable for your climate.
- Create a planting schedule based on last frost dates.
Pro Tip: Start seedlings indoors to get a jump on your spring garden.
Why this matters: Planning ahead allows you to maximize your gardening efforts and enjoy a bountiful harvest come spring.
Time Estimate: 1 hour (for planning)
Pro Tips
- Tip for Soil Health: Rotate your crops each year to prevent soil depletion.
- Water Wisely: Always water in the morning to prevent frost damage to leaves.
- Keep Records: Maintain a gardening journal to track what works and what doesn’t.
- Use Natural Fertilizers: Incorporate bone meal or fish emulsion in the spring for an organic boost.
- Stay Informed: Follow local weather forecasts to adjust your winterizing techniques as needed.
Common Mistakes to Avoid
Warning: Not cleaning out old plant debris can lead to pest infestations in spring.
Warning: Over-amending with fresh manure can burn your plants.
Warning: Ignoring moisture levels can lead to soil drying out or becoming waterlogged.
Warning: Failing to monitor your beds can result in unnoticed damage during winter.
Warning: Using non-breathable covers can suffocate plants during warmer winter days.
Troubleshooting Section
Problem: Soil is too dry.
Solution: Water your beds thoroughly if the top inch of soil feels dry.
Problem: Pests are present under covers.
Solution: Remove covers, inspect, and treat affected areas.
Problem: Plants are showing signs of frost damage.
Solution: Increase insulation with additional mulch or covers.
Problem: Soil erosion.
Solution: Add mulch or cover crops to hold the soil in place.
Problem: Beds are sagging from snow weight.
Solution: Remove excessive snow accumulation and reinforce bed structure.
Variations/Alternative Methods
Option 1: Use a cold frame instead of row covers for better insulation.
Pros: Provides a more stable environment for plants.
Cons: More expensive and requires assembly.
Option 2: Implement a no-till approach by leaving the soil undisturbed.
Pros: Maintains soil structure and health.
Cons: Requires careful planning for crop rotations.
FAQs
What if I don’t have cover crops? You can still protect your soil with mulch or by leaving it fallow.
How long should I leave mulch on? Leave mulch throughout winter and remove it in spring when planting.
Is it safe to use chemicals for pest control? Avoid chemicals; opt for natural pest control methods instead.
What if I’m not sure about my region’s frost dates? Research local gardening resources or extension services for accurate information.
Can I winterize my garden in stages? Yes, you can complete each step at your own pace as long as it’s done before winter.
Conclusion
Congratulations! You have successfully winterized your raised garden beds, setting yourself up for a successful spring gardening season. By following these steps, you have ensured your plants and soil remain healthy, protected, and ready for new growth.
As you look forward to spring, consider starting a gardening journal to track your successes and areas for improvement. Explore local gardening communities for additional resources and support as you continue your gardening journey!