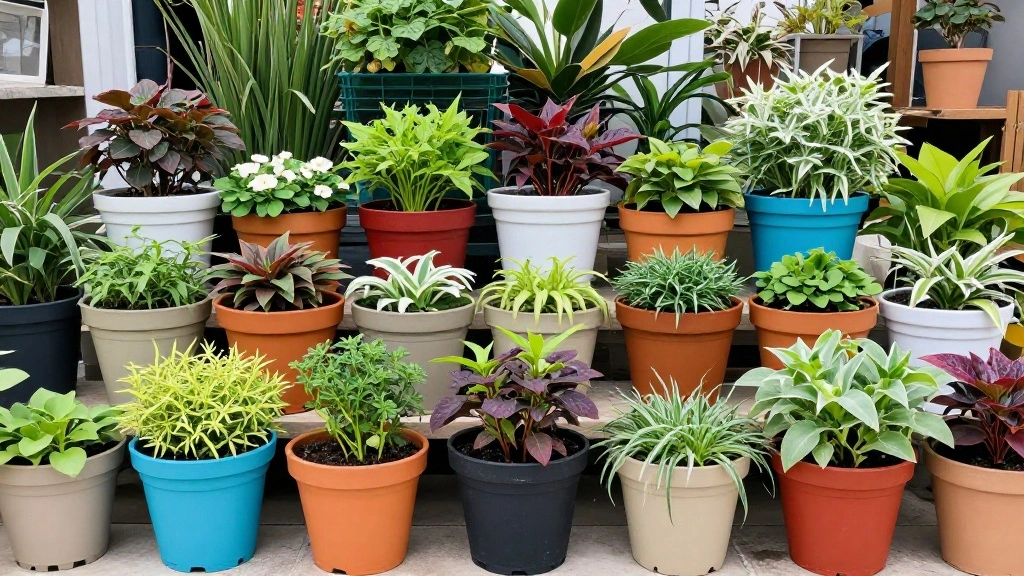
Do you long for a green space but fear you lack the yard for it? Container gardening is the perfect solution for those with limited space, allowing you to cultivate beautiful plants right on your balcony, porch, or even indoors! In just a few simple steps, you’ll be able to create your own thriving container garden, bringing life and color to your home.
This guide will walk you through the essentials of container gardening, from choosing the right pots to selecting the best plants for your environment. You’ll learn how to properly prepare your soil, arrange your plants for optimal growth, and care for your container garden throughout the seasons. This is a beginner-friendly project, so no prior gardening experience is required!
Estimated time: 1-2 hours to complete your container garden setup. Let’s get started and watch your green space flourish!
[Image Prompt: Show a well-lit outdoor space with an assortment of colorful containers filled with plants, highlighting the beauty of container gardening.]
TL;DR Summary
– Container gardening is ideal for small spaces.
– This guide provides 5 easy steps to set up your garden.
– You’ll learn about materials, planting, and maintenance.
– Estimated time to complete: 1-2 hours.
Prerequisites/Materials Needed
- Containers: 2-3 pots with drainage holes (size varies based on plants)
- Soil: Potting soil (1-2 bags)
- Plants: Choose 2-4 plants based on your preference (herbs, flowers, vegetables)
- Fertilizer: Slow-release fertilizer (1 package)
- Watering can: 1 medium-sized
- Gardening gloves: 1 pair
- Garden trowel: 1 small
Skill Level & Time Estimate
Skill Level: Beginner
Total estimated time: 1-2 hours
Breakdown:
– Gathering materials: 15-20 minutes
– Planting: 30-60 minutes
– Watering and setup: 15-20 minutes
Step 1: Choose Your Containers
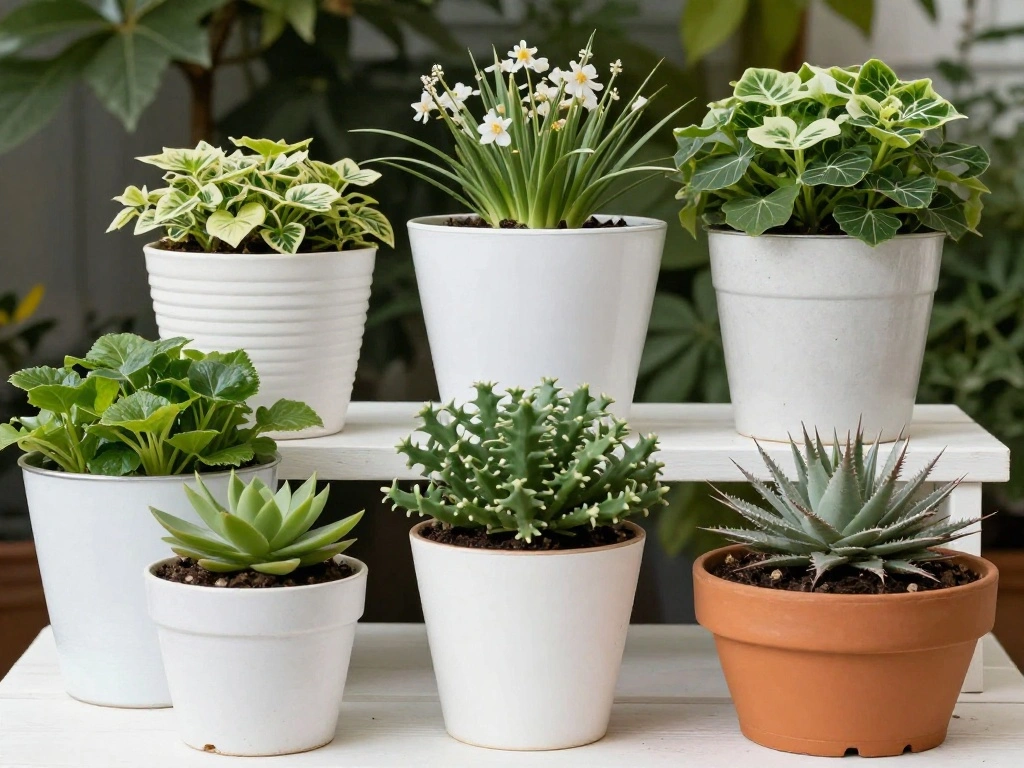
Start by selecting the right containers for your garden. Consider these factors:
- Size: Choose pots that are at least 6-12 inches deep, depending on the plants.
- Material: Terra cotta, plastic, or ceramic are great options; ensure they have drainage holes.
- Style: Pick containers that complement your outdoor or indoor decor.
Pro Tip: Group smaller pots together for a more dynamic look.
Why this matters: The right container will ensure your plants have enough space and drainage, promoting healthy growth.
Time estimate: 15-20 minutes.
[Image Prompt: Show a variety of containers, highlighting different sizes and materials suitable for container gardening.]
Step 2: Prepare Your Soil
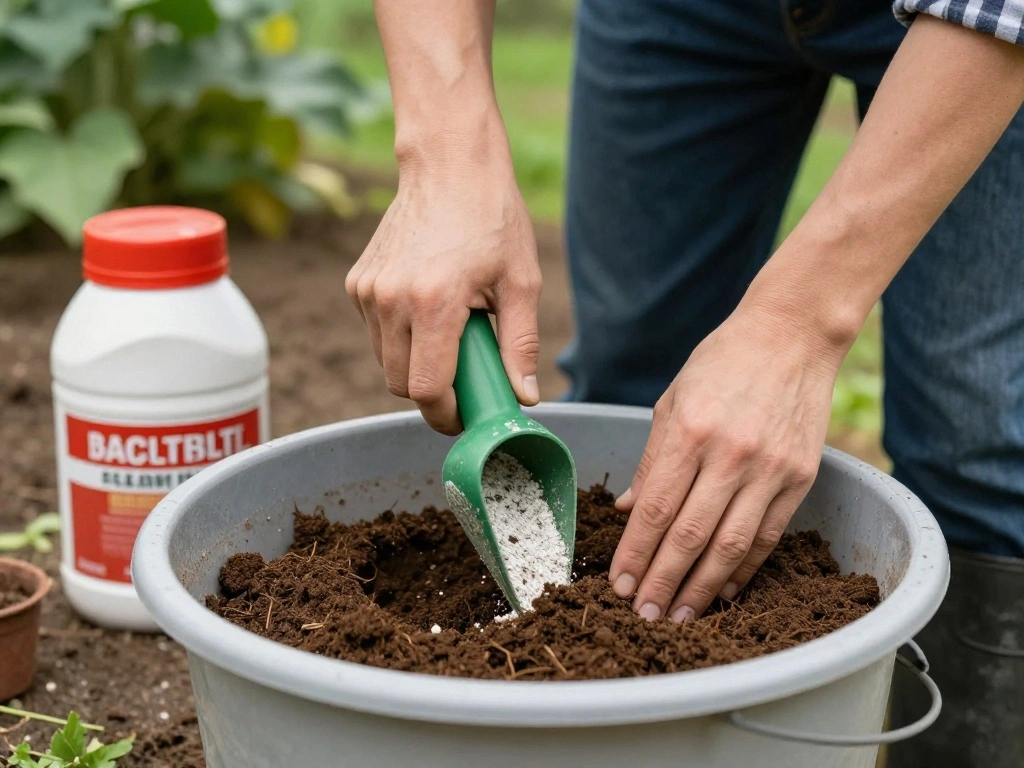
Preparing the soil is crucial for plant health. Follow these steps:
- Mix potting soil: Use a high-quality potting mix to provide necessary nutrients.
- Add fertilizer: Incorporate slow-release fertilizer into the soil according to package instructions.
- Moisten the mix: Lightly water the soil mix to make it easier to work with.
Warning: Avoid using garden soil as it can compact and hinder drainage in containers.
Why this matters: Proper soil preparation ensures your plants receive the nutrients they need while maintaining good drainage.
Time estimate: 20-30 minutes.
[Image Prompt: Show a gardener mixing potting soil and fertilizer in a bucket or container.]
Step 3: Select Your Plants
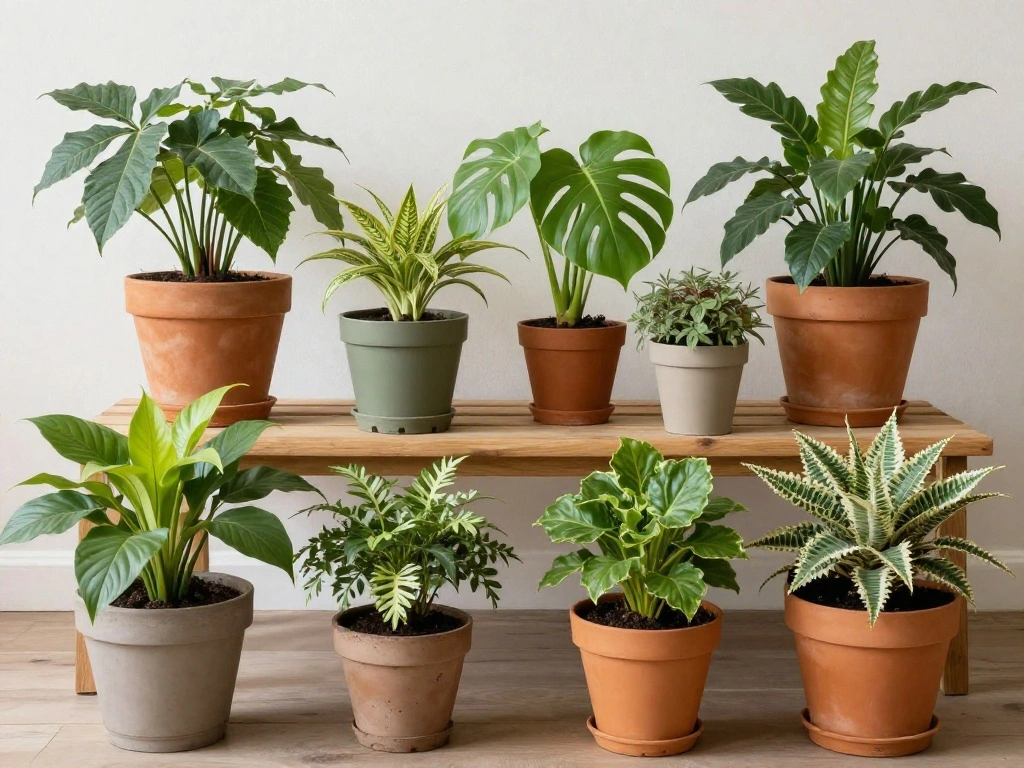
Choosing the right plants is essential for a successful container garden. Consider the following:
- Sunlight: Assess how much sunlight your chosen location receives (full sun, partial shade, etc.).
- Plant types: Select a mix of plants such as herbs, flowers, or vegetables that thrive in your climate.
- Size: Ensure the plants you choose fit well in the containers without overcrowding.
Pro Tip: Pair tall plants with trailing ones for visual interest.
Why this matters: The right plant selection will enhance the beauty of your container garden and ensure successful growth.
Time estimate: 20-30 minutes.
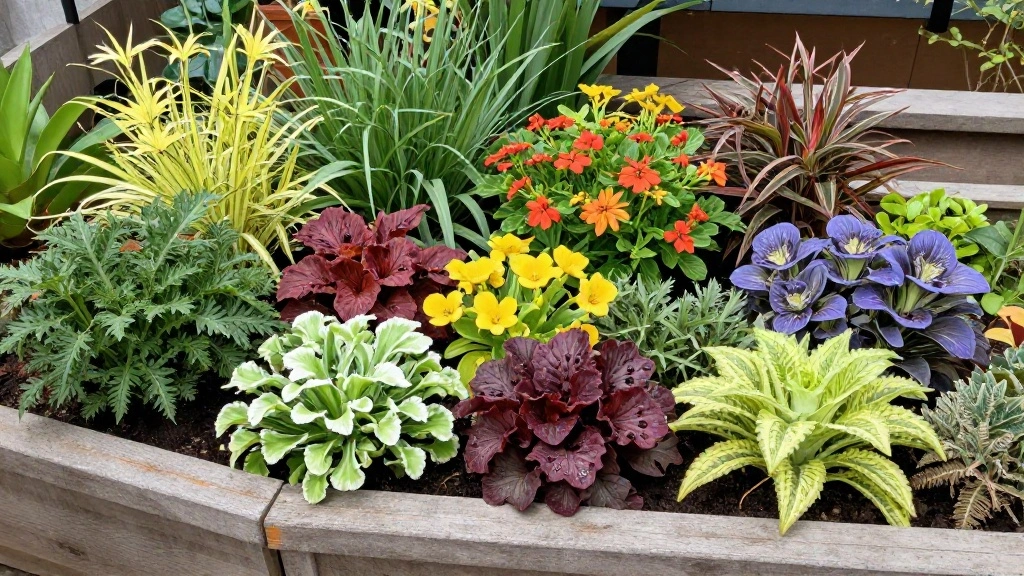
[Image Prompt: Show a variety of plants suitable for container gardening, highlighting their colors and sizes.]
Step 4: Plant Your Selections
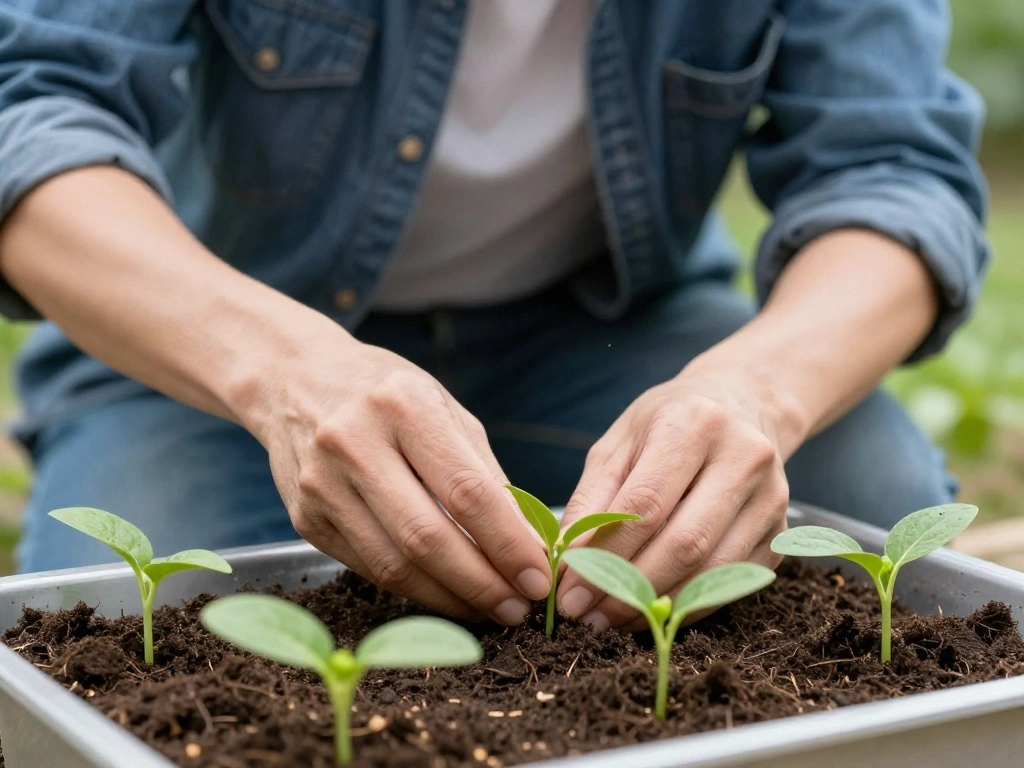
It’s time to plant! Follow these steps for best results:
- Fill containers: Add soil mixture to each container, leaving about an inch from the top.
- Make holes: Create small holes in the soil for each plant.
- Remove plants: Gently take plants from their nursery pots and place them in the holes.
- Cover roots: Backfill with soil, ensuring there are no air pockets.
Warning: Avoid burying plant stems; it can cause rot.
Why this matters: Proper planting technique helps plants establish roots quickly, leading to healthier growth.
Time estimate: 30-45 minutes.
[Image Prompt: Show a gardener carefully planting seedlings into a container filled with soil.]
Step 5: Water Thoroughly
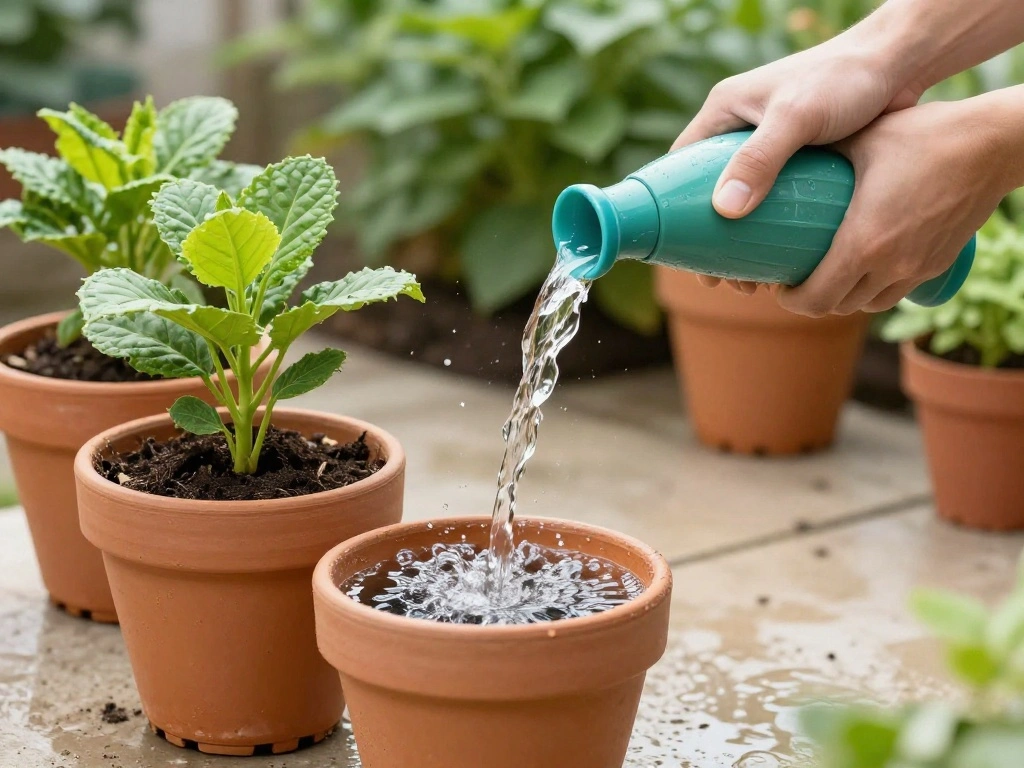
After planting, it’s essential to water your container garden well:
- Watering can: Use a watering can or hose with a spray nozzle.
- Moisten soil: Water the plants until the soil is evenly moist but not soggy.
- Observe drainage: Ensure excess water drains out of the bottom holes.
Pro Tip: Water in the morning for best results.
Why this matters: Adequate watering helps the plants settle in and reduces transplant shock.
Time estimate: 15-20 minutes.
[Image Prompt: Show a gardener watering newly planted pots, with water flowing from the drainage holes.]
Step 6: Position Your Containers
Now that your plants are in the soil, position your containers for optimal growth:
- Sunlight: Place containers in an area that matches the sunlight needs of your plants.
- Groupings: Arrange containers together to create a cohesive look.
- Accessibility: Ensure that the plants are easy to reach for watering and care.
Pro Tip: Rotate containers periodically for even growth.
Why this matters: The right positioning ensures your plants thrive and are easy to maintain.
Time estimate: 15-20 minutes.
[Image Prompt: Show a beautifully arranged group of containers in a sunny outdoor space.]
Step 7: Mulch for Moisture Retention

Adding mulch helps retain moisture and suppress weeds. Here’s how:
- Choose mulch: Use organic mulch like wood chips, straw, or coconut coir.
- Add layer: Spread a 1-2 inch layer of mulch on top of the soil in each container.
- Leave space: Ensure mulch does not touch plant stems to prevent rot.
Warning: Avoid using synthetic mulches; they can harm plants.
Why this matters: Mulch conserves moisture and reduces the need for frequent watering.
Time estimate: 15-20 minutes.
[Image Prompt: Show a gardener applying a layer of mulch on top of soil in a container garden.]
Step 8: Maintain Your Container Garden
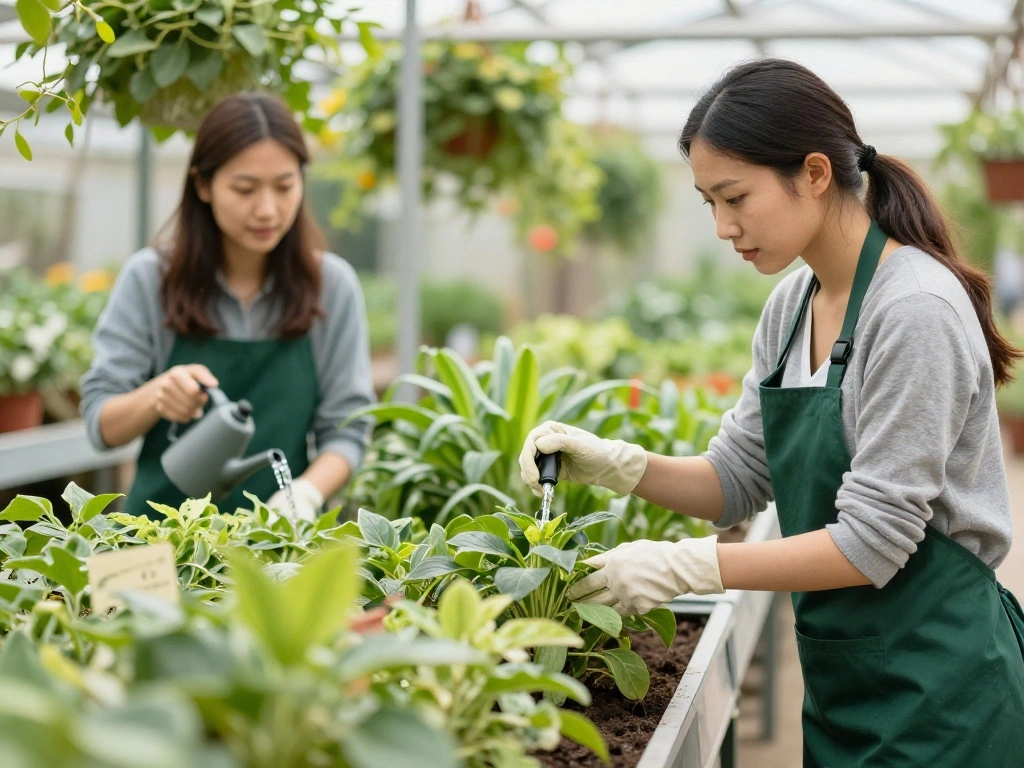
Maintaining your garden is crucial for its success. Follow these steps:
- Watering: Check soil moisture regularly and water when the top inch feels dry.
- Fertilizing: Reapply slow-release fertilizer every 4-6 weeks.
- Pruning: Remove any dead or yellowing leaves to promote new growth.
Pro Tip: Keep a gardening journal to track plant health and care routines.
Why this matters: Regular maintenance ensures your plants remain healthy and vibrant throughout the season.
Time estimate: Ongoing care, 10-15 minutes weekly.
[Image Prompt: Show a gardener inspecting and watering plants in their container garden.]
Step 9: Enjoy Your Garden!
The final step is to simply enjoy the fruits of your labor! Here’s how to maximize your experience:
- Observe: Take time to appreciate your plants and watch for growth.
- Harvest: If growing edible plants, harvest them as they ripen.
- Share: Show your garden to friends or share produce for a sense of community.
Pro Tip: Take photos to document your garden’s progress over time.
Why this matters: Taking the time to enjoy your garden boosts your gardening experience and encourages continued care.
Time estimate: Ongoing enjoyment, as time allows.
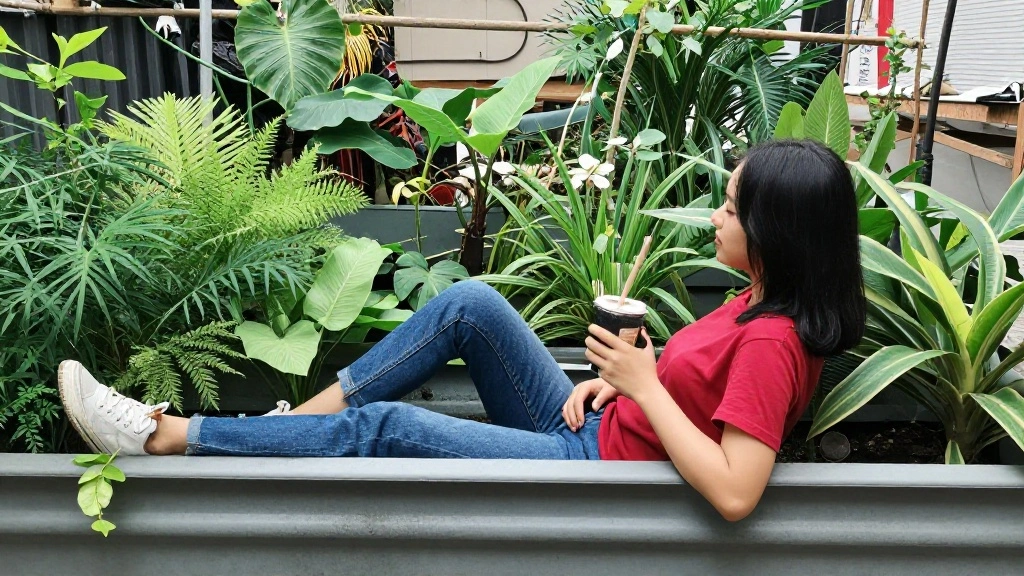
[Image Prompt: Show a person relaxing by their container garden, enjoying the beauty of the plants.]
Pro Tips
- Plant Selection: Consider companion planting to enhance growth and deter pests.
- Seasonal Changes: Rotate plants seasonally for continuous blooms and harvests.
- Watering Technique: Water early in the morning or late afternoon to minimize evaporation.
- Pest Control: Use natural remedies like neem oil to manage pests without chemicals.
- Plant Labels: Label your plants for easy identification and care management.
Common Mistakes to Avoid
Warning: Overwatering: This can lead to root rot. Always check soil moisture before watering.
Warning: Underestimating sunlight needs: Research your plants to ensure they get the light they need.
Warning: Not providing drainage: Always use pots with drainage holes to prevent waterlogging.
Troubleshooting Section
Problem: Plants are wilting.
Solution: Check for adequate water and sunlight. Adjust as necessary.
Problem: Leaves are turning yellow.
Solution: This may indicate overwatering or nutrient deficiency. Adjust watering and consider fertilizing.
Problem: Pests are eating the leaves.
Solution: Inspect plants regularly and use neem oil or insecticidal soap if necessary.
Variations/Alternative Methods
Consider these methods for your container garden:
Vertical Gardening: Use vertical planters to save space and add visual interest.
Hanging Baskets: Perfect for trailing plants and maximizing vertical space.
Herb Garden Kits: Pre-planned kits can simplify the process for beginners.
FAQs
What if I don’t have enough sunlight? Choose shade-tolerant plants or use grow lights indoors.
How long should I water my plants? Water until you see excess drainage, typically a few minutes.
Is it safe to grow vegetables in containers? Yes, as long as you use food-safe materials and soil.
Conclusion
Congratulations on creating your container garden! You’ve transformed your space into a vibrant oasis. Now that you know how to plant and maintain your garden, consider experimenting with new plants or styles next season. Share your journey with friends and family and inspire them to join you in this rewarding hobby. Enjoy the beauty and satisfaction that gardening brings!
[Image Prompt: Show a vibrant, completed container garden, showcasing a variety of plants and colors.]