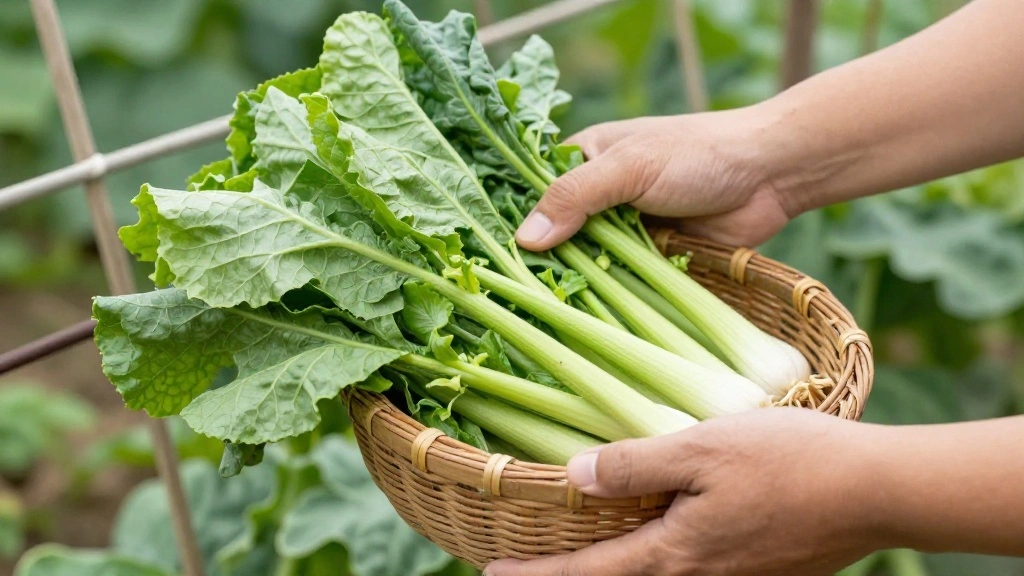
Are you struggling with limited gardening space but eager to grow climbing vegetables? Many beginners assume that you need a big backyard to cultivate these plants, but that’s not true! With DIY container trellises, you can maximize your vertical growing space, even on a small balcony or patio. This guide will show you how to create functional and attractive trellises that will support your vegetables and enhance your gardening experience.
In this article, you will learn how to build various types of trellises for climbing vegetables using easily accessible materials. You will discover creative ideas that not only support your plants but also add visual interest to your gardening space. By the end of this guide, you will have the skills to construct your own container trellis in just a few simple steps!
This project is beginner-friendly and can be accomplished in approximately 2-3 hours. Get ready to transform your small space into a thriving garden oasis!
TL;DR Summary
- Discover easy DIY container trellis ideas for climbing vegetables.
- Learn to create functional and attractive trellises.
- Complete the project in 2-3 hours with beginner-friendly steps.
- Enhance your vertical gardening space efficiently.
Prerequisites/Materials Needed
- Containers: 2-3 medium-sized pots (12-16 inches)
- Support Structure: Wooden stakes or bamboo poles (5-6 feet long)
- Twine or wire: 1 spool (for tying plants)
- Drill or hammer: 1 (for making holes)
- Soil: 2 bags of potting mix
- Seeds or seedlings: Climbing vegetables like peas, beans, or cucumbers
Skill Level & Time Estimate
Skill Level: Beginner
Total Time Estimate: 2-3 hours
Time Breakdown:
- Gather materials: 30 minutes
- Construct trellis: 1 hour
- Plant seeds/seedlings: 30 minutes
- Final setup and adjustments: 30 minutes
Step 1: Gather Your Materials
Start by collecting all the materials listed in the Prerequisites section. Having everything ready will make the process smoother. Follow these sub-steps:
- Choose your containers based on the available space and type of climbing vegetables.
- Ensure you have sturdy support structures like bamboo poles or wooden stakes.
- Check that you have enough soil and seeds or seedlings for planting.
Warning: Double-check the condition of your containers; they should have drainage holes to prevent waterlogging.
Pro Tip: Use recycled materials if you have them, like old buckets or wooden crates!
Time Estimate: 30 minutes
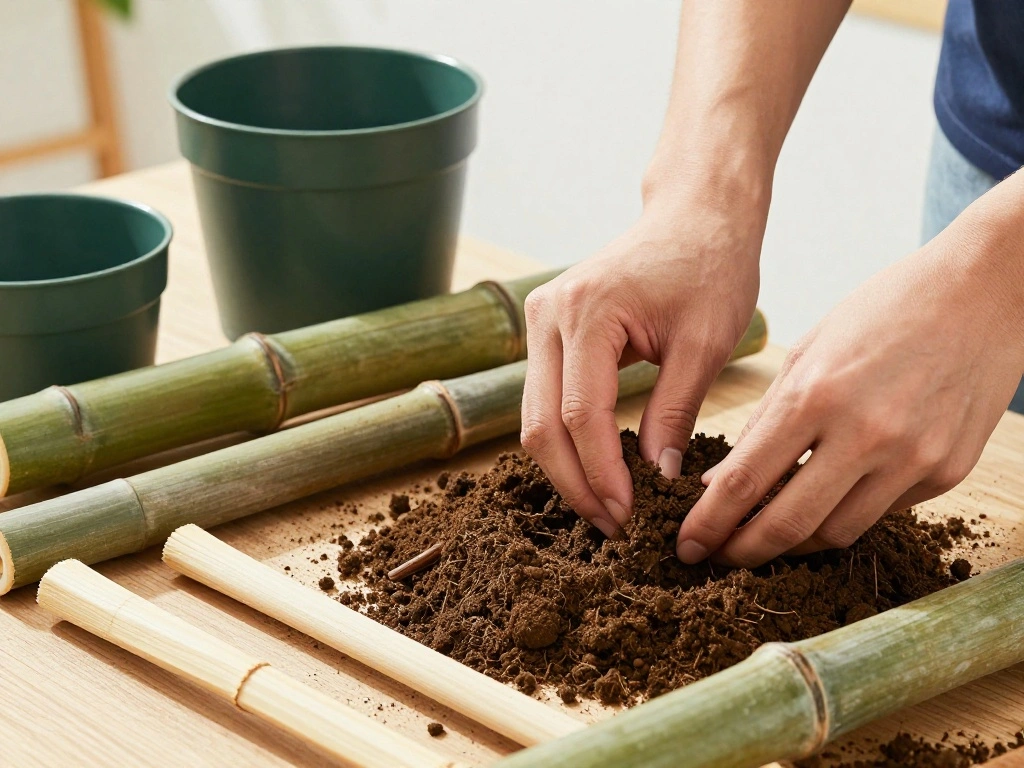
Step 2: Prepare Your Containers
Prepare your containers by filling them with potting mix. This step is crucial for providing the nutrients your climbing vegetables need to thrive. Follow these sub-steps:
- Fill each container with soil, leaving about 2 inches from the top.
- Gently pack the soil down to eliminate any air pockets.
- Water the soil thoroughly until it is moist but not soggy.
Pro Tip: Mix in compost or organic fertilizer to enhance soil fertility!
Warning: Avoid overpacking the soil; it should be loose enough for roots to expand.
Why this matters: Properly prepared containers ensure healthy plant growth.
Time Estimate: 30 minutes
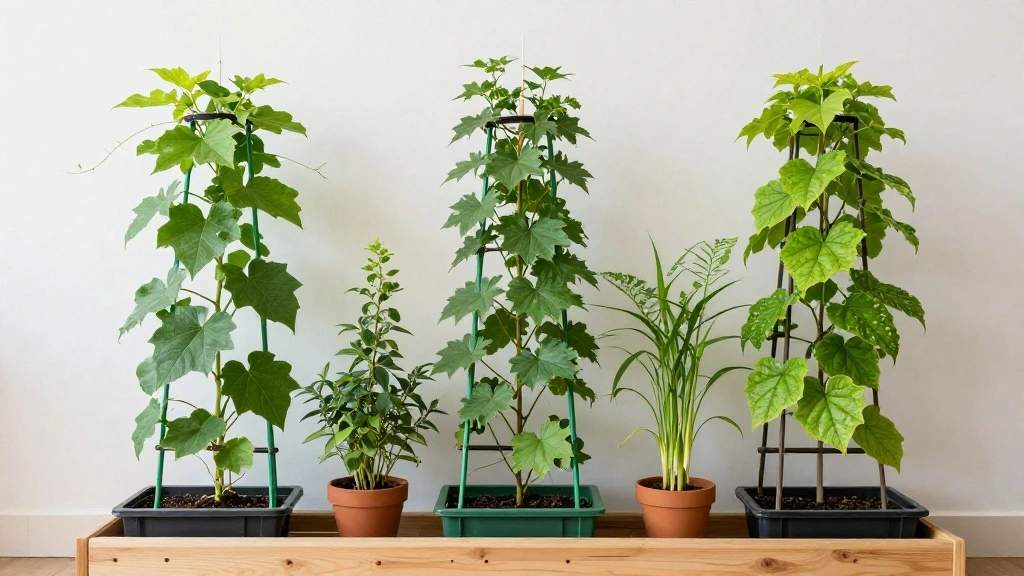
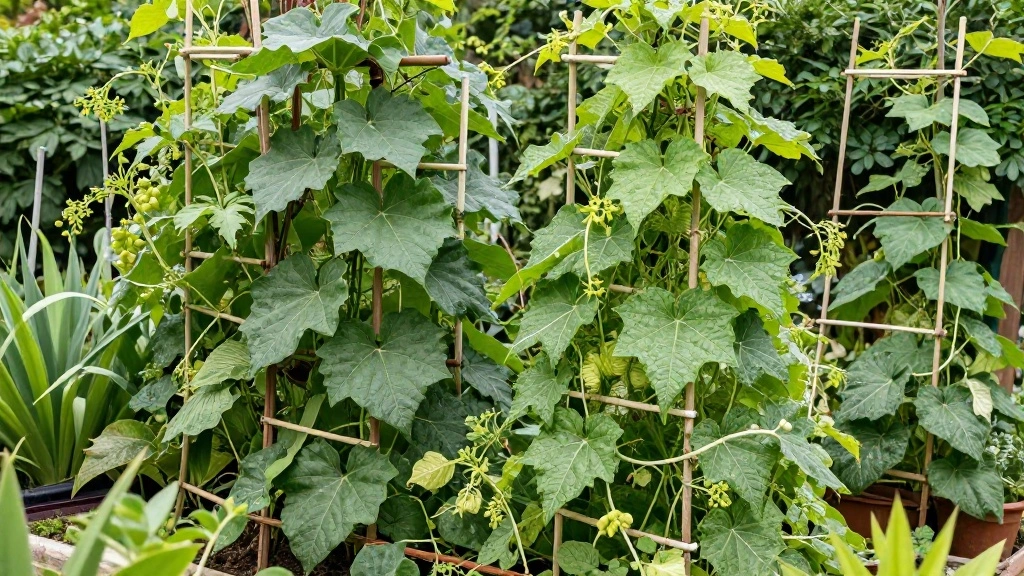
Step 3: Construct Your Trellis Framework

Now it’s time to create the trellis framework that will support your climbing vegetables. This structure is essential for the plants to grow upward. Follow these sub-steps:
- Insert two wooden stakes or bamboo poles into the soil at opposite ends of each container.
- Ensure they are securely anchored, about 6 inches deep.
- Connect the tops of the stakes with horizontal twine or wire, creating a support grid.
Pro Tip: Use a staple gun to attach the twine for better stability!
Warning: Make sure the stakes are tall enough to provide adequate support as the plants grow.
Why this matters: A sturdy framework allows plants to climb and receive more sunlight.
Time Estimate: 1 hour
Step 4: Plant Your Vegetables
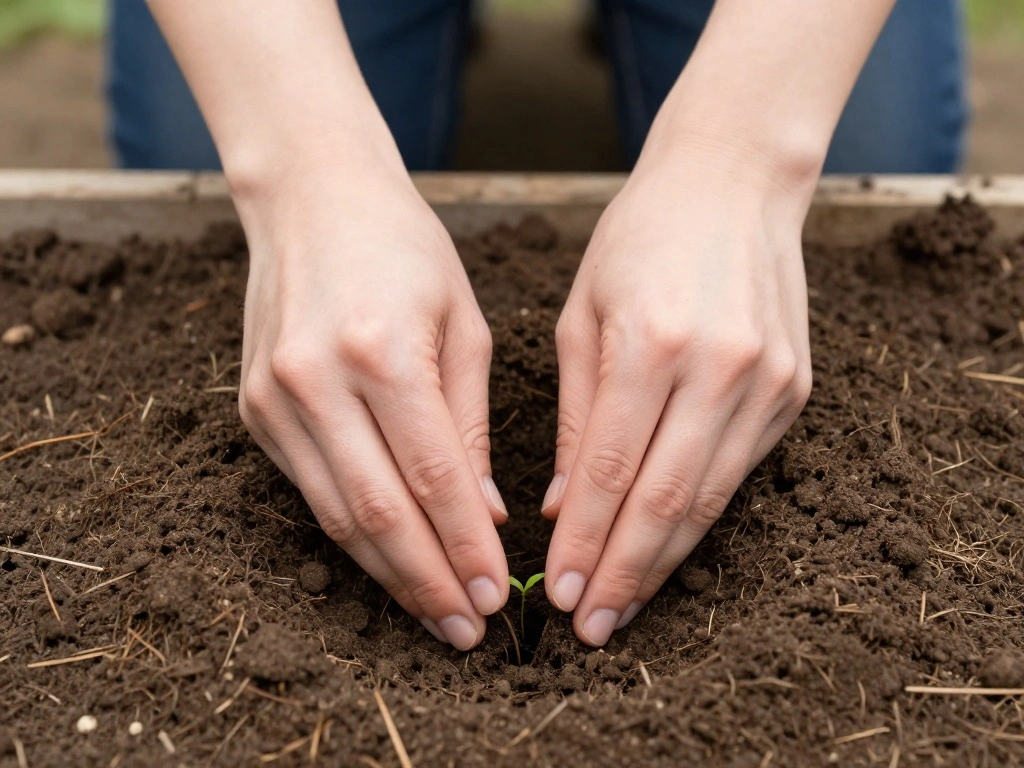
With your trellis in place, it’s time to plant your climbing vegetables. This step is vital for ensuring that your plants can easily attach to the trellis as they grow. Follow these sub-steps:
- Make small holes in the soil according to the seed packet recommendations.
- Place 2-3 seeds or a seedling in each hole, depending on the type of vegetable.
- Cover the seeds lightly with soil and water gently.
Pro Tip: Space your plants according to their growth habits for optimal air circulation!
Warning: Avoid overcrowding the plants; they need space to grow and thrive.
Why this matters: Proper planting ensures healthy, vigorous growth and makes maintenance easier.
Time Estimate: 30 minutes
Step 5: Water and Care for Your Plants
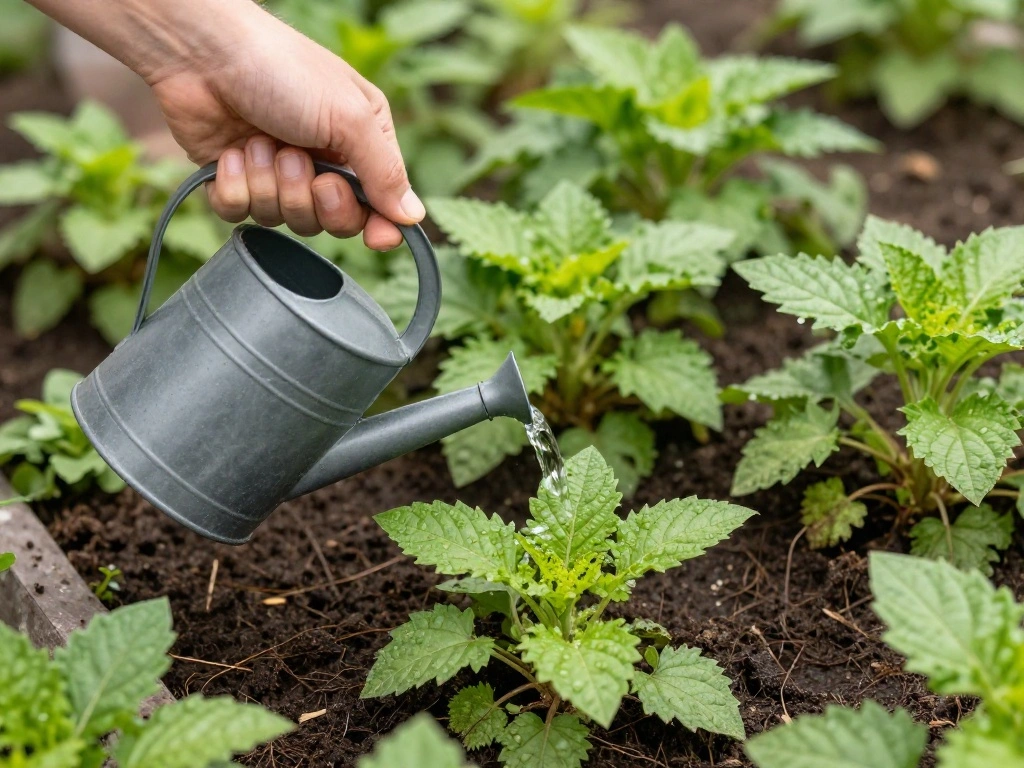
Once your vegetables are planted, it’s crucial to establish a regular watering schedule and care routine. This step ensures your plants remain healthy and productive. Follow these sub-steps:
- Water the plants every 2-3 days or as needed, ensuring the soil remains consistently moist.
- Check for weeds and remove them to prevent competition for nutrients.
- Fertilize your plants every 4-6 weeks with organic fertilizer.
Pro Tip: Consider using a drip irrigation system for efficient watering!
Warning: Don’t overwater; it can lead to root rot. Always check the soil moisture first.
Why this matters: Consistent care promotes healthy, bountiful vegetable growth.
Time Estimate: 30 minutes
Step 6: Harvest and Enjoy Your Vegetables
After nurturing your climbing vegetables, the final step is to enjoy the fruits of your labor! Follow these sub-steps for successful harvesting:
- Monitor the growth of your vegetables to determine the best time to harvest.
- Use clean, sharp scissors or pruning shears to cut the vegetables from the plant.
- Store your harvest in a cool, dry place or use immediately in your meals.
Pro Tip: Regular harvesting encourages plants to produce more fruit!
Warning: Be gentle while harvesting to avoid damaging the plant.
Why this matters: Prompt harvesting improves flavor and encourages continued growth.
Time Estimate: 30 minutes
Pro Tips
- Tip for Trellis Height: Adjust the height of your trellis based on the specific climbing vegetable you are planting to ensure it has enough support.
- Tip for Plant Selection: Choose fast-growing varieties of climbing vegetables to maximize your harvest during the growing season.
- Tip for Pest Control: Use companion planting to deter pests naturally and promote plant health.
- Tip for Seasonal Care: Prepare your trellis for the next planting season by cleaning and repairing any damaged parts.
- Tip for Aesthetic Appeal: Decorate your trellis with twinkling lights or fabric to create an inviting garden atmosphere.
Common Mistakes to Avoid
Warning: Planting Too Close Together: This leads to overcrowding. Ensure you follow spacing guidelines to allow for growth.
Warning: Ignoring Drainage: Without proper drainage, plants may suffer from root rot. Always use containers with holes.
Warning: Forgetting Support: Not providing adequate support can result in damaged plants. Ensure your trellis is sturdy from the start.
Troubleshooting Section
Problem: My plants aren’t climbing the trellis.
Solution: Ensure the plants are close enough to the trellis and gently guide them towards it.
Problem: Leaves are turning yellow.
Solution: This could indicate overwatering or nutrient deficiency. Check soil moisture and consider fertilizing.
Problem: Pests are damaging my plants.
Solution: Use organic pest deterrents or introduce beneficial insects to control pests naturally.
Problem: My trellis is wobbling.
Solution: Reinforce it by adding more stakes or securing it to a sturdy structure.
Problem: Plants are wilting.
Solution: Check for water needs; they may need more frequent watering.
Variations/Alternative Methods
Consider these alternative methods for your container trellises:
- Vertical Garden Trellis: Use a vertical frame to support multiple plants in one container. Great for maximizing space!
- Wire Fencing Trellis: Use sections of wire fencing to create a sturdy, versatile trellis that can be moved as needed.
- DIY Pallet Trellis: Repurpose wooden pallets to create a rustic trellis that can support heavier climbing vegetables.
FAQs
What if I don’t have large containers? You can use smaller pots, but ensure they are deep enough to support the root system of your climbing vegetables.
How long should I wait before harvesting? This varies by vegetable but generally 60-90 days after planting for most climbing varieties.
Is it safe to use recycled materials? Yes, as long as they are clean and free of harmful chemicals.
What if my trellis falls over? Reinforce it by adding more stakes and ensuring it is securely anchored in the soil.
Can I grow climbing vegetables indoors? Yes, as long as they receive adequate light and support!
Conclusion
Congratulations on creating your very own DIY container trellis for climbing vegetables! You have taken an important step toward maximizing your gardening potential, even in limited spaces. Enjoy the fresh produce that comes from your efforts, and take pride in your accomplishments.
As you continue your gardening journey, consider expanding your plant selection or trying different trellis designs. Each season offers new opportunities for creativity and growth. Happy gardening!