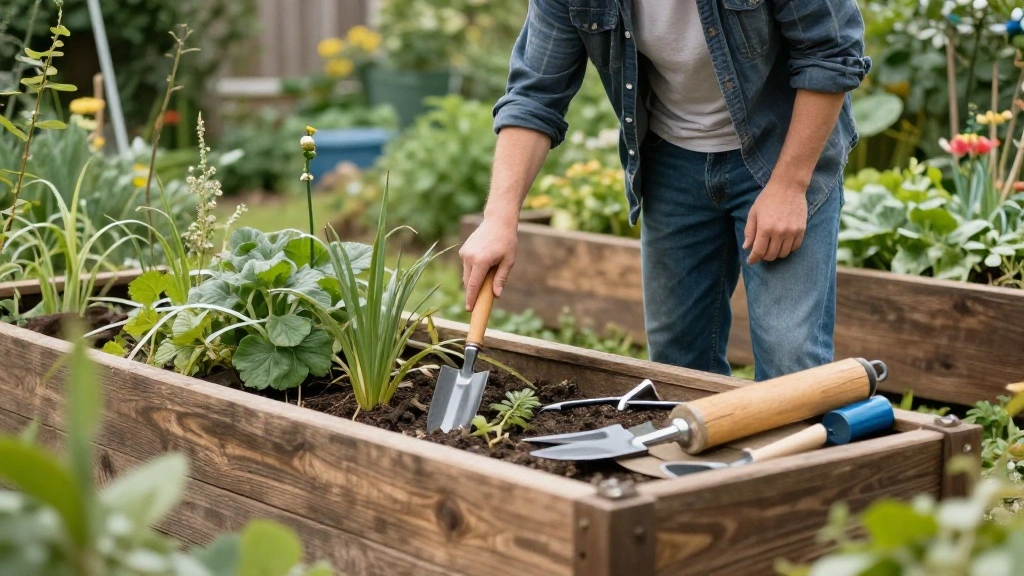
Are you tired of struggling with poor soil quality, weeds, and pest-infested gardens? Building a raised garden bed is the perfect solution to transform your gardening experience. Not only does it allow you to control the soil quality, but it also provides better drainage and reduces the amount of bending you have to do while gardening. In this guide, you will learn how to build your own raised garden bed from scratch, enabling you to grow your favorite vegetables and flowers with ease.
By the end of this article, you will have a beautiful, functional raised garden bed that enhances your garden space. You will specifically learn about the materials needed, how to measure and cut the wood, assemble the bed, and fill it with soil. This guide is designed for beginners, so don’t worry if you have little to no experience in woodworking or gardening. Expect to invest about 2-3 hours to complete this project.
Let’s get started on your gardening journey and create a space where your plants can thrive!
TL;DR Summary
- Build a raised garden bed to improve soil quality and reduce weeds.
- Gather materials including wood, screws, and soil.
- Follow six simple steps to cut, assemble, and fill your garden bed.
- Enjoy a flourishing garden with less effort!
Prerequisites/Materials Needed
- Wood: 4 pieces of 2″x6″ boards (8 feet long) for frame
- Screws: 2.5-inch exterior wood screws (about 20-30 screws)
- Soil: 1 cubic yard of quality garden soil
- Tools: Drill, saw (hand saw or circular saw), measuring tape, level, and safety goggles
Skill Level & Time Estimate
Skill Level: beginner
Total time estimate: 2-3 hours
Breaking it down:
- Gathering materials: 30 minutes
- Measuring and cutting wood: 1 hour
- Assembling the frame: 30 minutes
- Filling with soil: 30 minutes
Step 1: Measure Your Space
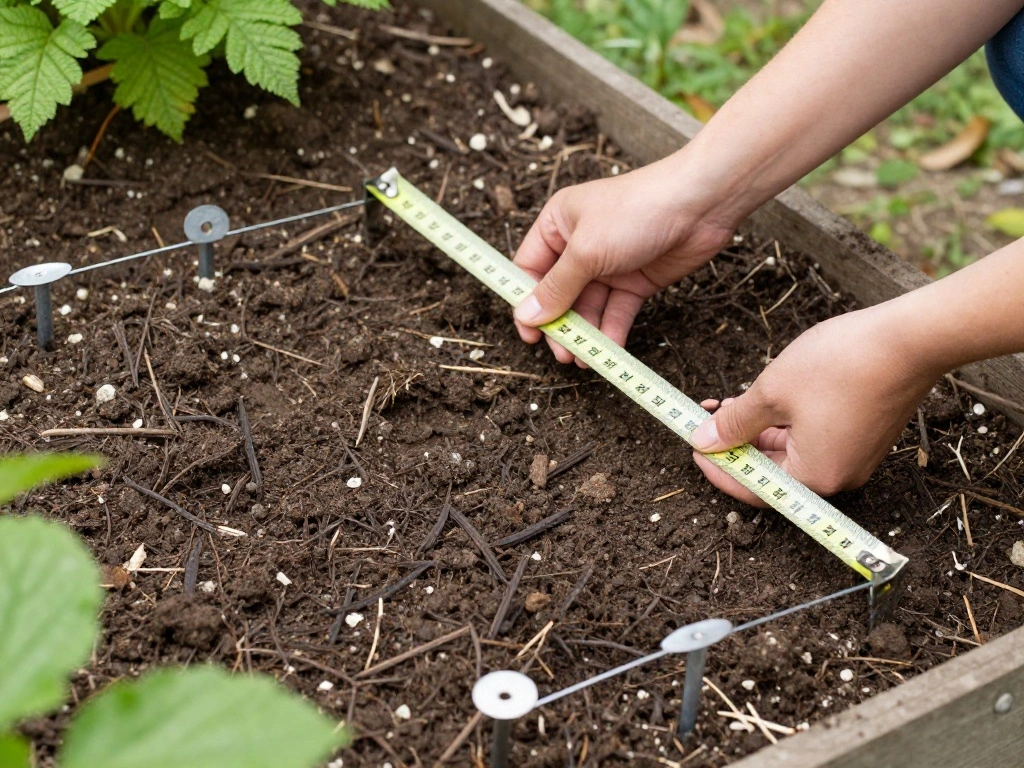
Start by selecting a suitable location for your raised garden bed. A sunny spot is ideal for most vegetables and flowers. Follow these steps:
- Use your measuring tape to determine the area where you want to place the bed.
- Mark the corners of your desired bed size with stakes or spray paint.
- Ensure the area is level and clear of debris.
Pro Tip: If possible, choose a location close to a water source for easy irrigation. Warning: Avoid placing your bed under tree canopies, as roots may compete with your plants for nutrients.
Time estimate: 15 minutes
Step 2: Cut the Wood
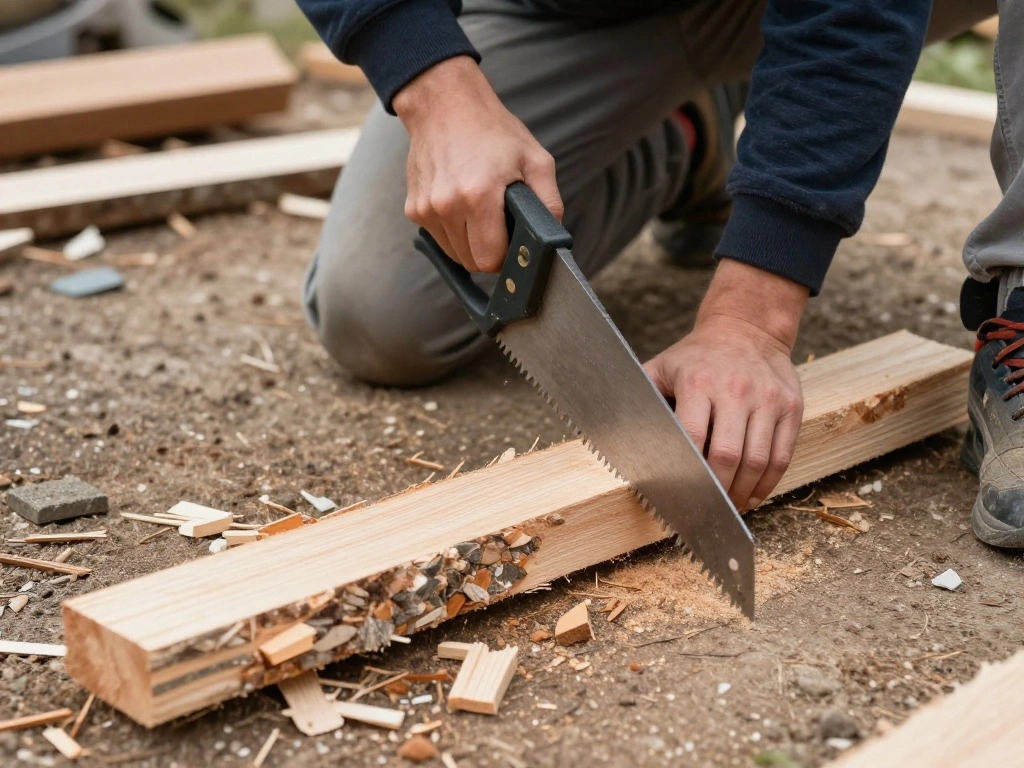
Once you’ve measured and marked your space, it’s time to cut the wood to size. Here’s how:
- Using the saw, cut each 2″x6″ board into two 4-foot sections (you’ll need 4 of these).
- For the corners, cut 4 pieces of the same board to 2 feet in length.
- Double-check your measurements after cutting to ensure accuracy.
Pro Tip: Use a miter box for clean, straight cuts. Warning: Always wear safety goggles when using power tools.
Time estimate: 30 minutes
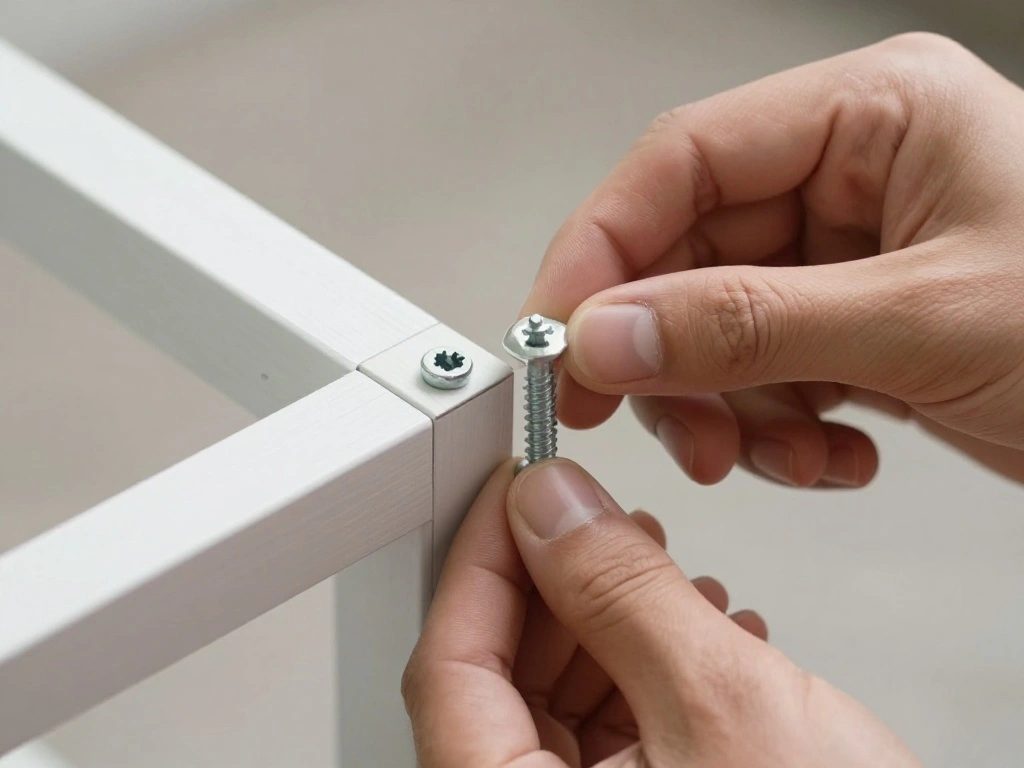
Step 3: Assemble the Frame
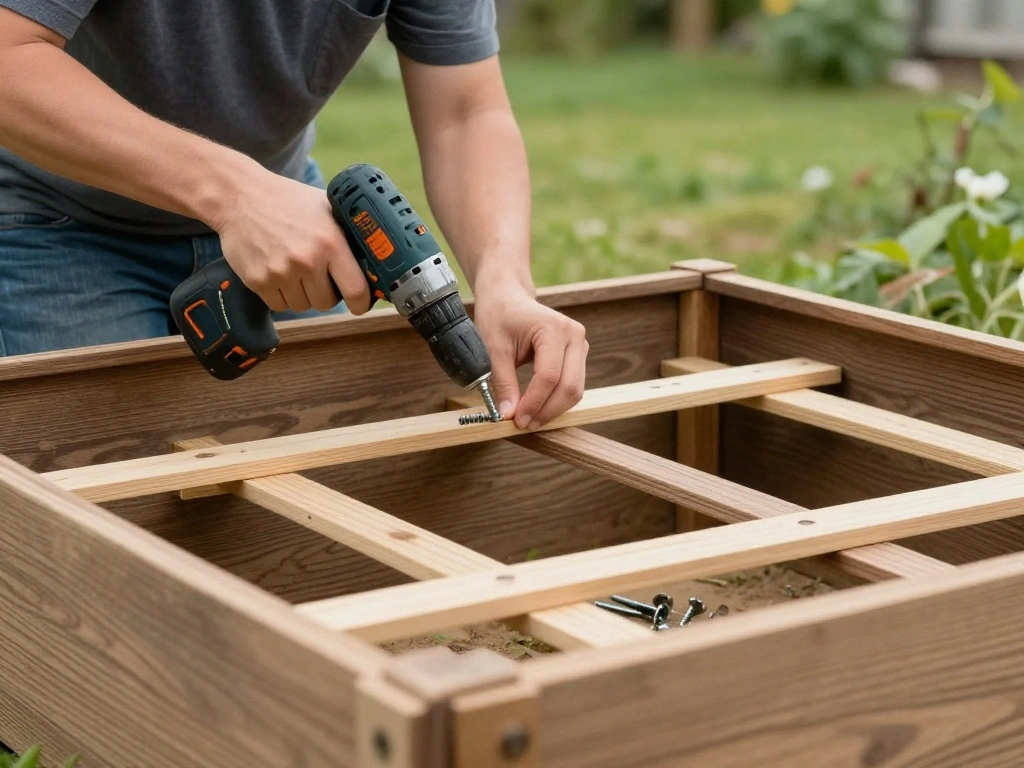
Now that your wood pieces are cut, it’s time to assemble the frame of your raised garden bed:
- Lay out two of the 4-foot pieces parallel to each other.
- Attach a 2-foot piece perpendicular to one end using wood screws to create a rectangular frame.
- Repeat the process with the other two 4-foot pieces and the remaining 2-foot pieces to form the second rectangle.
Pro Tip: Use a level to make sure the corners are square and the frame is even. Warning: Ensure all screws are tightened properly to prevent the frame from collapsing.
Time estimate: 30 minutes
Step 4: Secure the Frame
To ensure your raised garden bed is sturdy, follow these steps:
- Position the two rectangular frames on top of each other to create height.
- Secure the frames together by screwing through the top frame into the bottom frame at each corner.
- Check that the structure is stable and adjust if necessary.
Pro Tip: You can add corner brackets for extra support. Warning: Do not over-tighten screws as it may split the wood.
Time estimate: 30 minutes
Step 5: Position the Bed
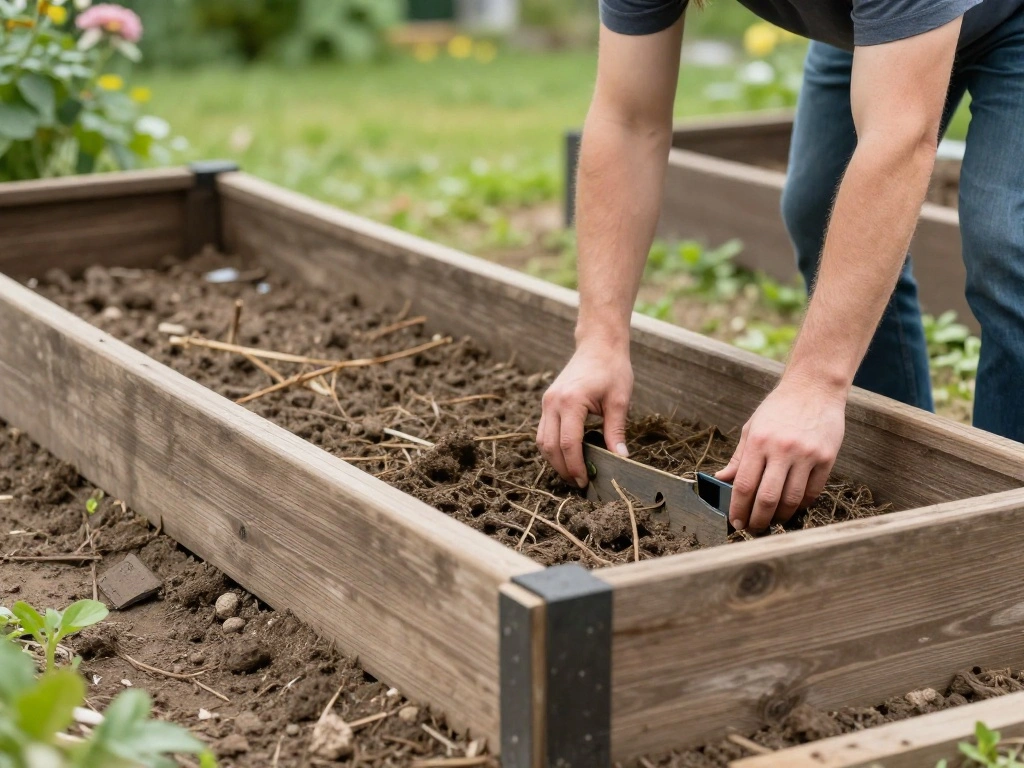
Once the frame is secure, it’s time to place your raised garden bed in the chosen location:
- Carefully lift the frame and place it in the marked area.
- Use a level to ensure the bed is even; adjust if necessary.
- If the ground isn’t level, dig out soil from the high side to create a flat surface.
Pro Tip: If needed, you can also use landscape fabric underneath to suppress weeds. Warning: Avoid dragging the bed after it’s filled with soil, as it may damage the structure.
Time estimate: 20 minutes
Step 6: Fill with Soil
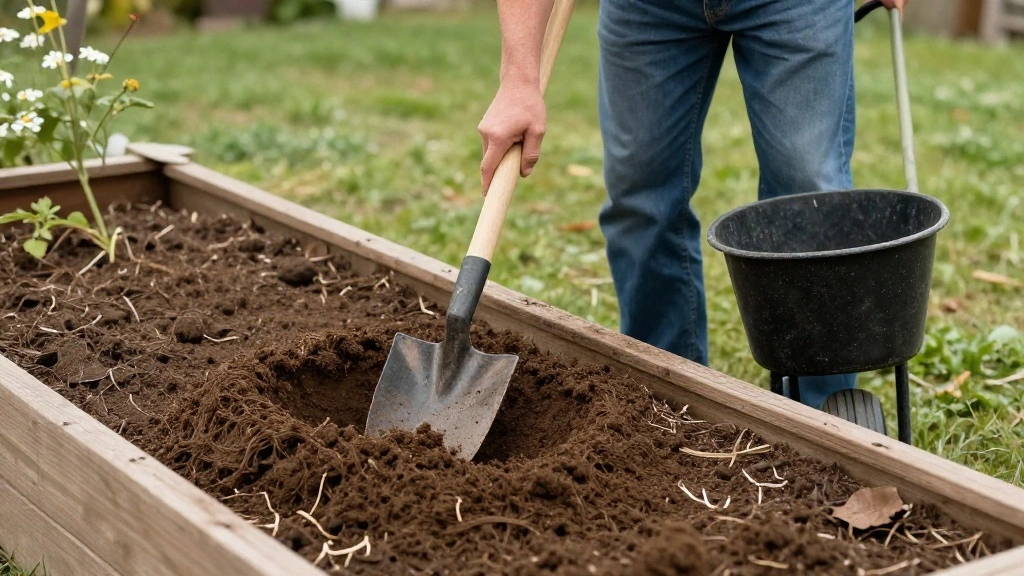
Finally, it’s time to fill your raised garden bed with soil:
- Start by adding a layer of coarse materials like small rocks or straw at the bottom for drainage.
- Fill the rest of the bed with quality garden soil, leaving about an inch from the top.
- Level the soil with a rake or your hands to create an even surface.
Pro Tip: Mix in compost for added nutrients. Warning: Ensure the soil is moist but not too wet before planting.
Time estimate: 30 minutes
Pro Tips
- Tip 1: Choose rot-resistant wood like cedar or redwood for durability.
- Tip 2: Consider adding a trellis for climbing plants.
- Tip 3: Plant companion plants to enhance growth and deter pests.
- Tip 4: Use mulch on top of soil to retain moisture.
- Tip 5: Regularly check for pests and diseases.
Common Mistakes to Avoid
Warning: Not measuring correctly can lead to an unbalanced or improperly sized garden bed. To avoid this, always double-check your measurements before cutting.
Warning: Using untreated wood can lead to rot and chemical leaching. Always opt for treated or naturally rot-resistant wood.
Warning: Over-filling the bed can lead to soil erosion. Leave at least an inch from the top when filling with soil.
Warning: Forgetting to check for levelness can cause water to pool. Always check the level before filling with soil.
Warning: Ignoring drainage can lead to root rot. Always add a layer of coarse material at the bottom.
Troubleshooting Section
Problem: The garden bed is unstable.
Solution: Check all screws for tightness. Ensure the ground is level before placing the bed.
Problem: Soil is washing away after rain.
Solution: Add a border of mulch or stones around the edges to prevent erosion.
Problem: Plants are wilting.
Solution: Ensure you are watering adequately and that the soil has proper drainage.
Problem: Weeds are growing too quickly.
Solution: Add mulch on top of the soil to suppress weed growth.
Problem: Soil is compacted.
Solution: Mix in compost or aerate the soil to improve texture.
Variations/Alternative Methods
1. Using Different Materials: Instead of wood, consider using bricks or concrete blocks for a more permanent structure. This option lasts longer but may require more effort to install.
2. Vertical Gardening: If space is limited, create a vertical garden by using stacked planters or wall-mounted systems. This method is great for herbs and small plants.
3. Container Gardening: For those with very little space, consider using large containers or pots. This allows for flexibility and easy mobility.
FAQs
What if I don’t have enough space for a large bed?
You can build a smaller raised bed or use containers to fit your available space.
How long should I let the soil settle before planting?
Allow at least a week for the soil to settle. This ensures proper drainage and avoids compacted soil.
Is it safe to use treated wood?
Yes, modern treatments are safe for gardening, but you can opt for untreated wood if concerned.
What if I can’t lift heavy soil bags?
Consider asking a friend for help or using a wheelbarrow to transport soil easily.
Can I grow anything in a raised bed?
Yes, raised beds are versatile and can accommodate various plants, from vegetables to flowers.
Conclusion
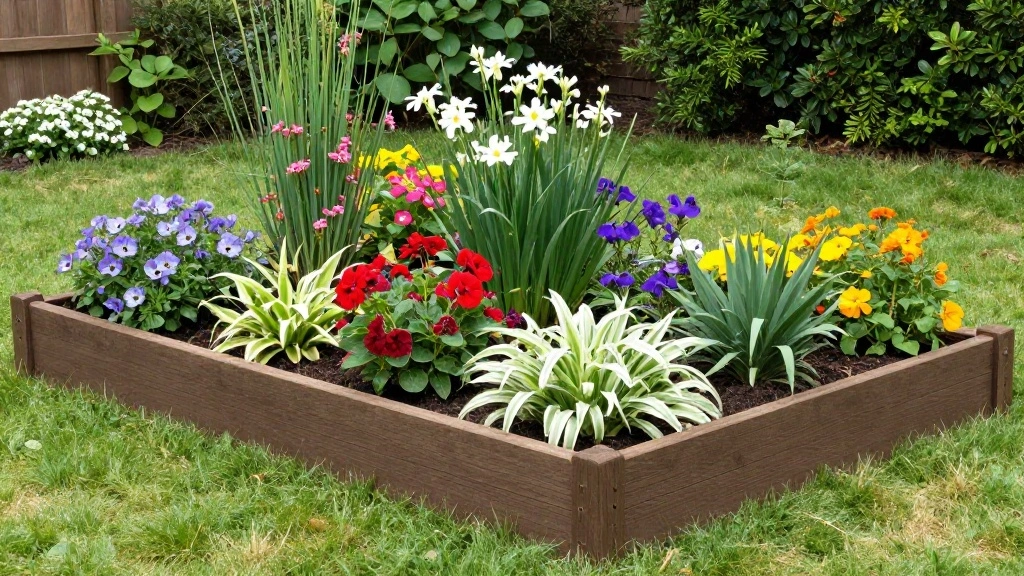
Congratulations! You have successfully built your own raised garden bed and are now ready to plant. Enjoy the satisfaction of growing your own food or flowers right in your backyard. As a next step, consider researching which plants will thrive best in your new garden bed. You can also explore companion planting to maximize your garden’s potential.
Remember, gardening is a continuous learning experience, so don’t hesitate to experiment. Happy gardening!