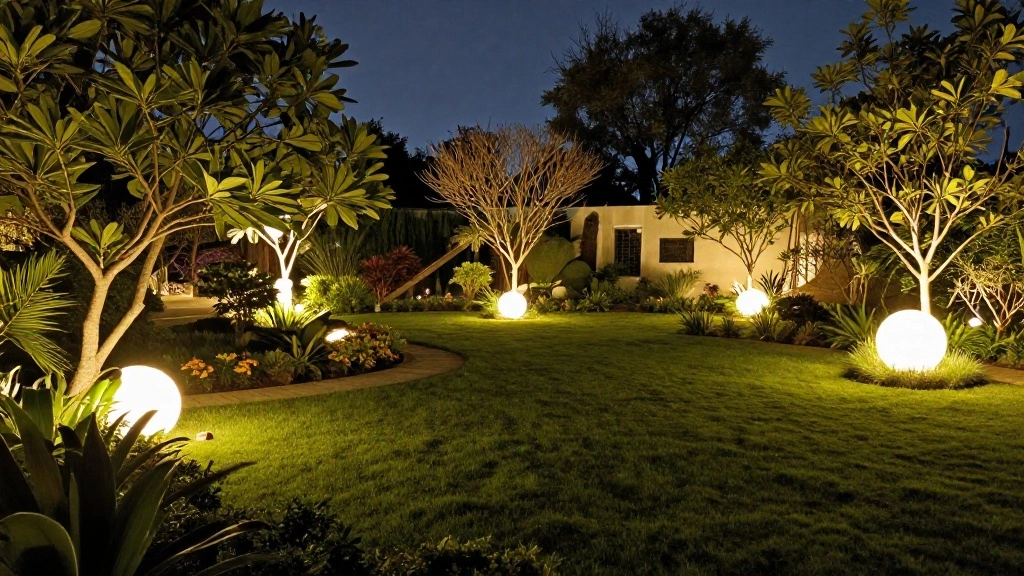
Are you tired of your garden looking flat and uninspired at night? Many homeowners overlook the power of proper lighting, missing the chance to transform their outdoor spaces into magical landscapes. Without the right uplighting, your garden’s best features can fade into darkness, leaving them unnoticed by guests and detracting from your home’s beauty.
This guide will help you highlight your garden’s focal points using uplights, enhancing your outdoor experience dramatically. By the end of this guide, you’ll know how to strategically place uplights to showcase key features like trees, sculptures, and flower beds, creating depth and interest.
You will specifically learn about planning, selecting the right uplights, installation, and maintenance. This guide is designed for individuals with an intermediate skill level and will take approximately 2-3 hours to complete, depending on the complexity of your garden. Let’s dive in and make your garden shine!
TL;DR Summary
- Learn how to use uplights to enhance your garden’s beauty.
- Understand the key techniques for positioning uplights effectively.
- Explore common mistakes to avoid.
- Get expert tips for maintaining your uplighting setup.
Prerequisites/Materials Needed
- Uplights (4-6 depending on garden size)
- Outdoor extension cords (if needed)
- Power source (outlet or solar power)
- Ground stakes or mounting brackets
- Measuring tape
- Shovel (for burying cords)
- Gloves and safety goggles
Skill Level & Time Estimate
Skill Level: intermediate
Total time estimate: 2-3 hours
Breakdown:
Planning (30 minutes)
Choosing uplights (30 minutes)
Installation (1-1.5 hours)
Testing and adjustments (30 minutes)
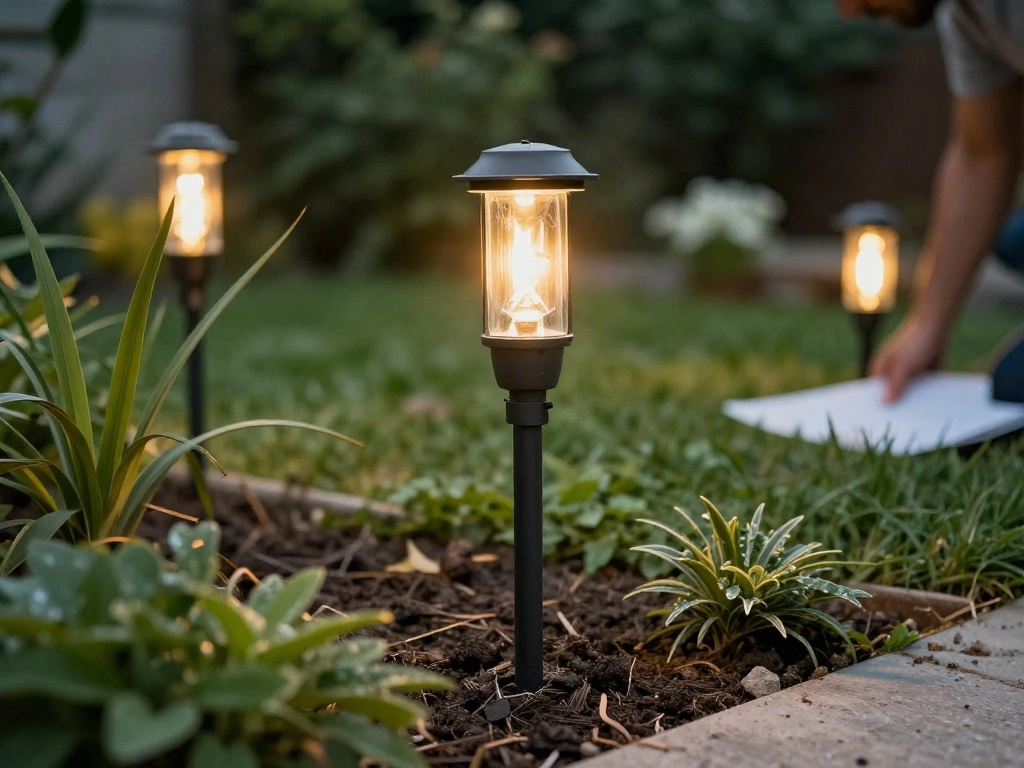
Step 1: Plan Your Layout
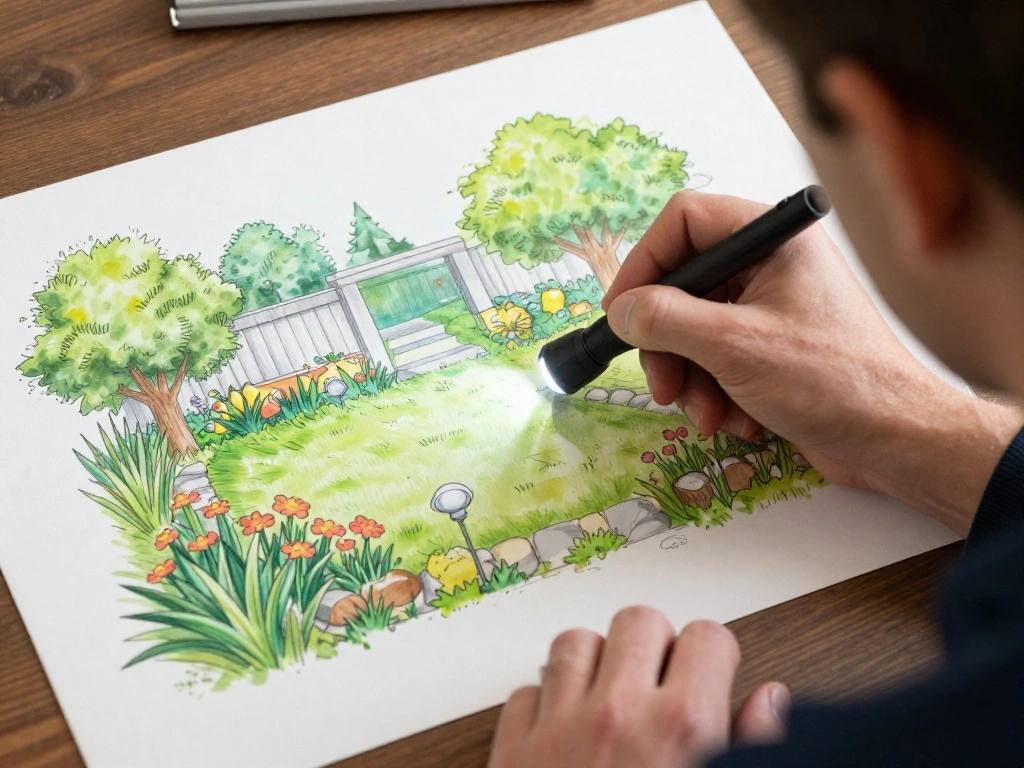
Start by planning where you want to place your uplights. Follow these steps:
- Walk through your garden during dusk to identify focal points.
- Take notes on the areas that need highlighting.
- Sketch a simple layout of your garden, marking potential uplight locations.
Pro Tip: Use a flashlight to simulate uplighting and visualize how different placements will look. Warning: Avoid placing uplights too close to plants to prevent damage from heat. This step should take about 30 minutes.
Step 2: Choose the Right Uplights
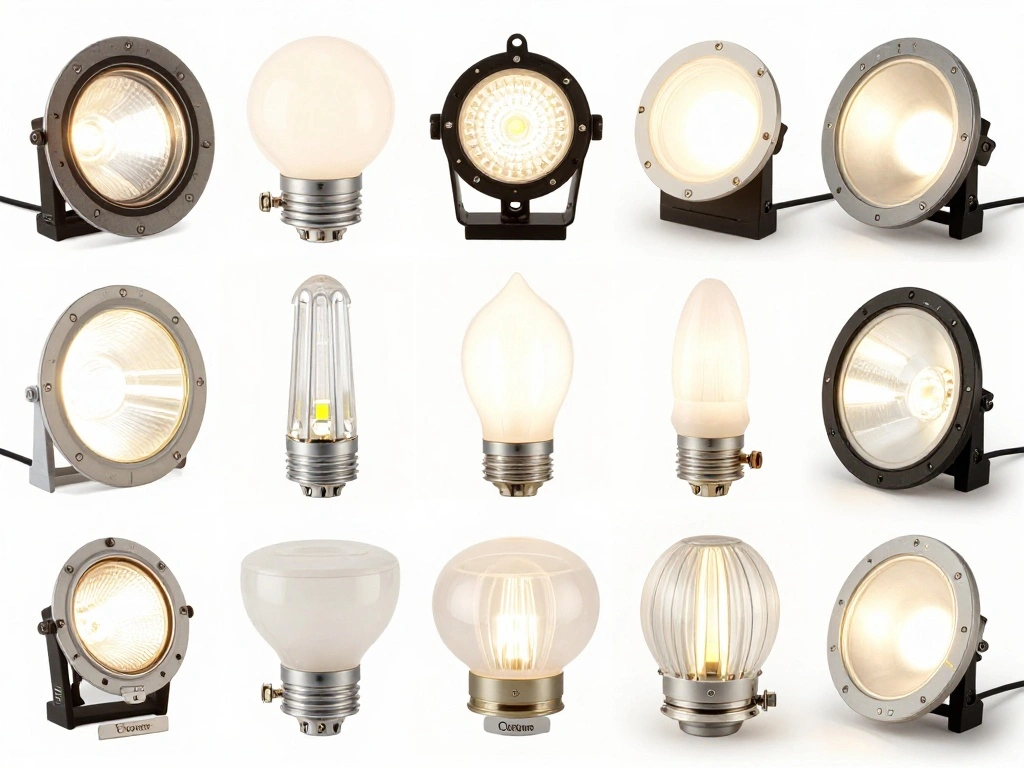
Selecting the appropriate uplights is crucial. Consider these factors:
- Choose between LED or halogen uplights based on brightness and energy efficiency.
- Decide on a color temperature; warm white (2700K) is ideal for a cozy feel.
- Look for weather-resistant models suitable for outdoor use.
Pro Tip: Look for lights with adjustable beams to customize your effect. This selection process may take around 30 minutes.
Step 3: Prepare for Installation
Before installation, ensure everything is set up correctly:
- Gather all required materials listed earlier.
- Clear the areas where uplights will be placed of debris and obstructions.
- Measure distances to ensure proper spacing between lights for an even glow.
Pro Tip: Use a shovel to dig shallow trenches for cords to keep them hidden. This preparation step should take about 30 minutes.
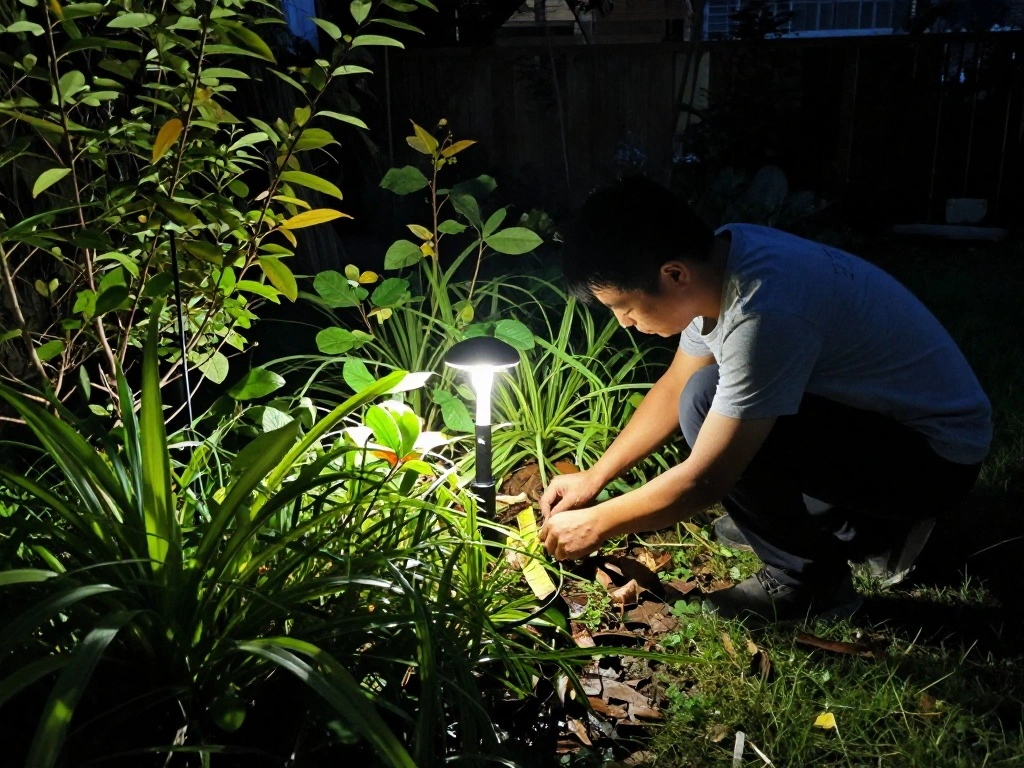
Step 4: Install the Uplights
Now it’s time to install the uplights:
- Position the uplights according to your layout.
- Secure them with ground stakes or mounting brackets.
- If using cords, bury them in the trenches created earlier.
Warning: Ensure all connections are waterproof to prevent electrical issues. This installation phase might take approximately 1-1.5 hours.
Step 5: Test the Lights
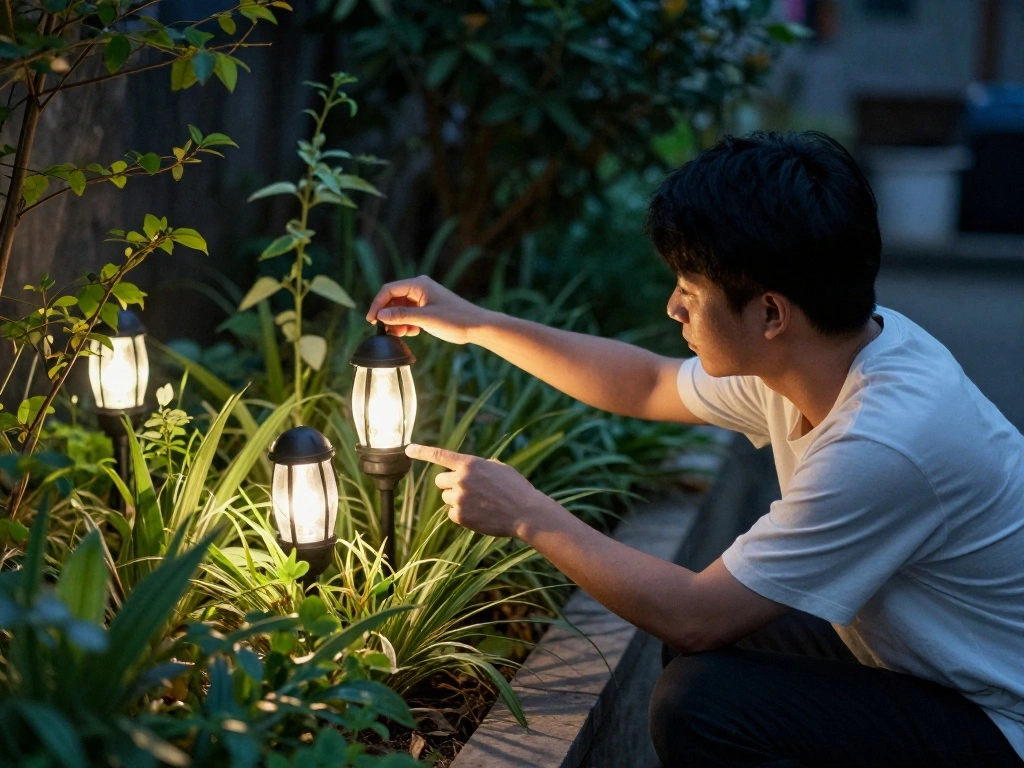
After installation, it’s important to test your uplights:
- Turn on the power to the uplights.
- Observe how the lights interact with the garden features.
- Make adjustments to the angles or positions as needed.
Pro Tip: Take notes on any adjustments for future reference or additional installations. This testing step should take about 30 minutes.
Step 6: Maintain Your Uplights
Proper maintenance ensures your uplights work effectively:
- Regularly check for dirt buildup on the fixtures.
- Clean the lenses with a soft cloth as needed.
- Inspect electrical connections for any signs of wear.
Pro Tip: Schedule a seasonal checkup to keep everything in optimal condition. This maintenance step should take about 30 minutes.
Pro Tips
- Light Color Variation: Use colored filters for a dramatic effect on specific plants or features.
- Layering Light: Combine uplights with path lights for a full-spectrum lighting experience.
- Adjustable Timers: Set uplights on timers to automatically turn on and off at desired times.
- Spotlight Techniques: Use a narrower beam for dramatic effects on specific focal points.
- Seasonal Adjustments: Change uplight placements based on seasonal plant growth for optimal visibility.
Common Mistakes to Avoid
Warning:
- Over-lighting: Using too many lights can wash out your garden. Aim for a balanced approach.
- Improper Placement: Avoid placing lights directly at eye level, which can cause glare.
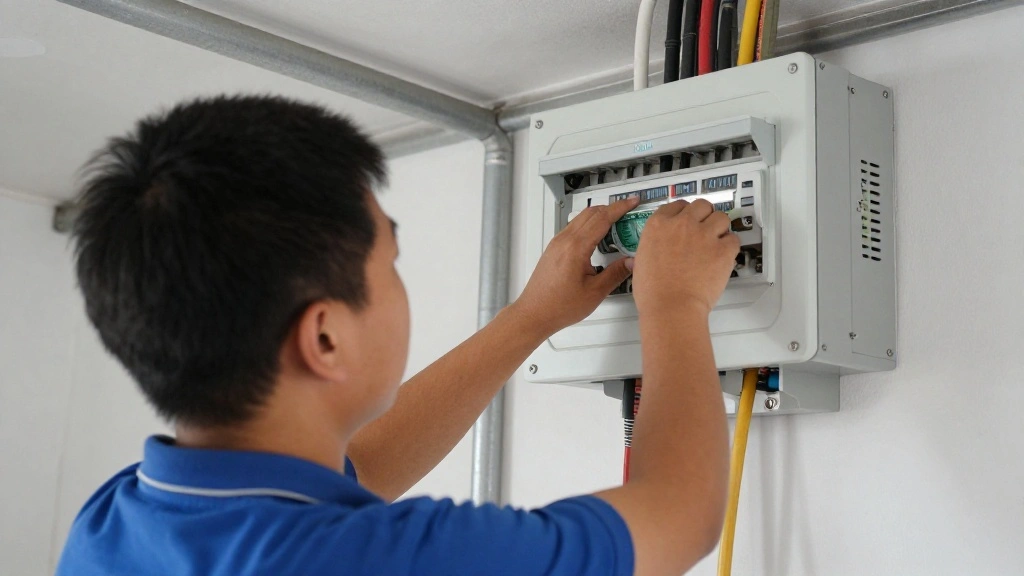
- Neglecting Safety: Ensure all electrical connections are secure and waterproof to prevent hazards.
Troubleshooting Section
Problem: Lights won’t turn on.
Solution: 1. Check the power source. 2. Inspect connections for damage. 3. Replace any blown fuses.
Problem: Uneven lighting.
Solution: 1. Adjust the angle of the uplights. 2. Relocate lights closer to the focal points.
Problem: Lights flickering.
Solution: 1. Inspect the cord for damage. 2. Ensure a secure connection to the power source.
Problem: Lights are too bright.
Solution: 1. Use a dimmer switch if available. 2. Adjust the bulb wattage.
Problem: Cords are visible.
Solution: 1. Bury cords deeper. 2. Use decorative cover solutions.
Variations/Alternative Methods
- Solar Uplights: Great for energy efficiency and easy installation without cords. Best for gardens with ample sunlight.
- Smart Uplights: Integrate with smart home systems for remote control options. Ideal for tech-savvy homeowners.
- In-ground Lights: Provide a more subtle effect and are less obtrusive, suitable for modern garden designs.
FAQs
- What if I don’t have access to an outdoor outlet? Consider using solar-powered uplights that charge during the day.
- How long should I leave the uplights on? Aim for dusk until dawn for maximum effect.
- Is it safe to install uplights myself? Yes, as long as you follow safety guidelines for electrical installations.
- Can I use uplights for indoor plants? Yes, but ensure they are designed for indoor use.
- What if my uplights are too bright? Use dimmer switches or lower wattage bulbs to adjust brightness.
Conclusion

Congratulations! You’ve successfully learned how to use uplights to enhance your garden’s beauty. By following these steps, you can create an enchanting atmosphere that highlights your garden’s best features, making it a welcoming space for family and friends.
Your next steps might include experimenting with different light colors or adding additional lighting elements like path lights or wall sconces. For further inspiration, consider exploring local garden showcases or online resources about outdoor lighting design. Keep shining!