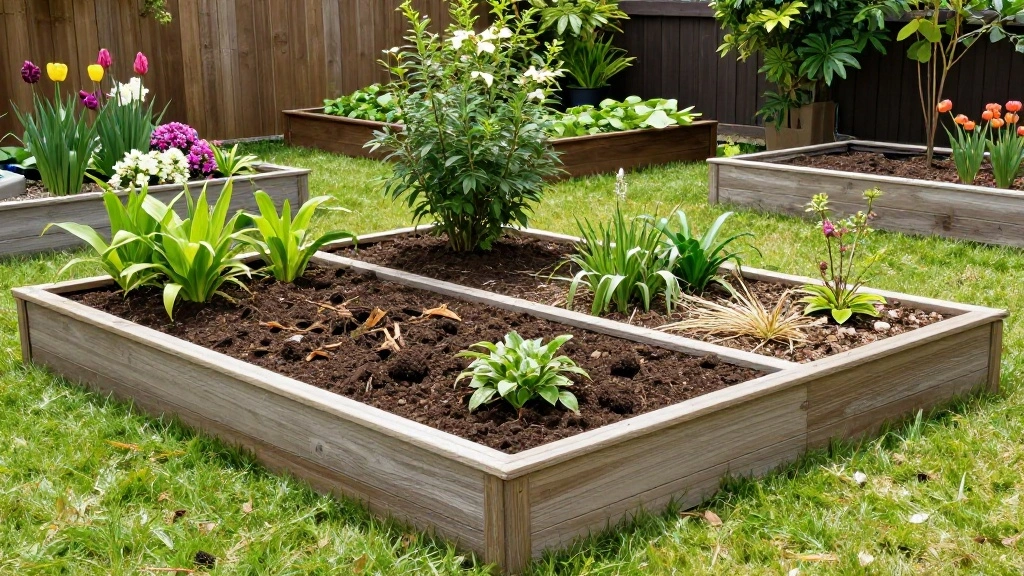
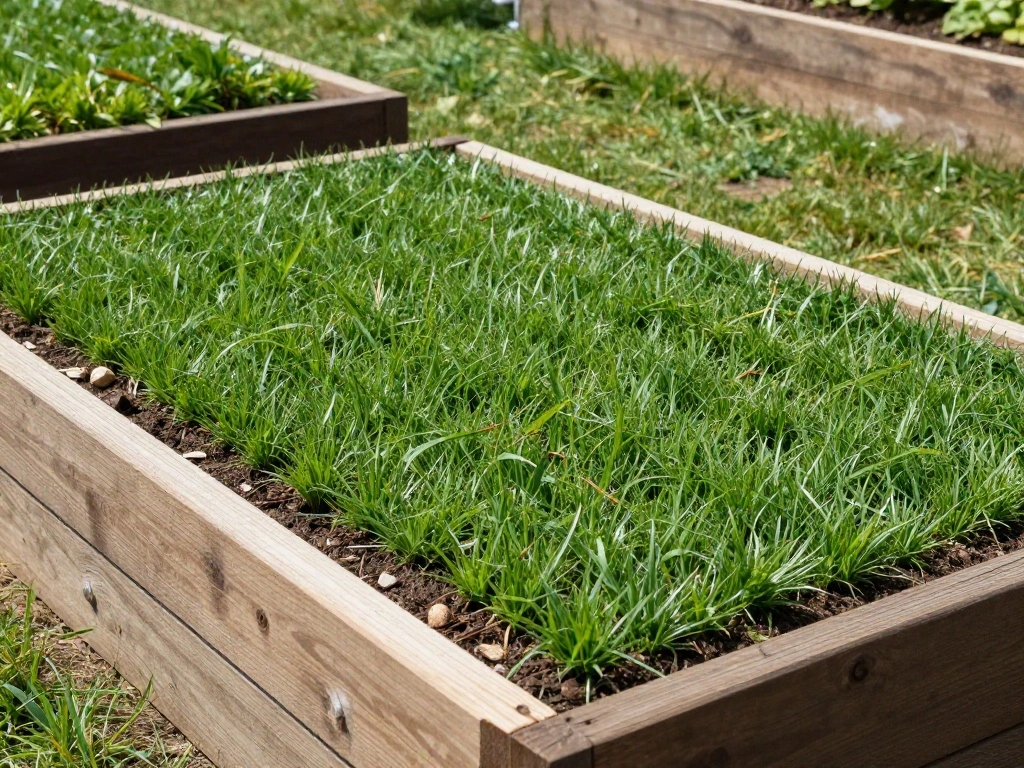
When it comes to gardening, the foundation of your raised garden bed is crucial. Without the right filling method, you may face issues like poor drainage, nutrient depletion, and ineffective water retention. These problems can lead to unhealthy plants and disappointing yields. The urgency lies in ensuring that your raised garden bed is properly filled to foster a thriving garden.
In this guide, you’ll learn to fill your raised garden bed using the Hugelkultur and layering method. By following these steps, you will create a nutrient-rich, self-sustaining environment that encourages robust plant growth. Imagine a flourishing garden without constant maintenance!
This guide covers everything from selecting materials to layering them correctly, providing you with the knowledge you need to create a healthy ecosystem for your plants. The skill level required is intermediate, and you can expect to spend approximately 2-3 hours on the entire process. Ready to dig in? Let’s get started!
TL;DR Summary
- Learn the Hugelkultur and layering method for optimal raised bed filling.
- Gather materials like logs, branches, and compost.
- Follow specific steps to create layers that promote drainage and nutrient retention.
- Enjoy a flourishing garden with minimal upkeep.
Recommended Products

HEAVY DUTY GALVANIZED STEEL: Made from galvanized steel panels designed for outdoor gardening use. This metal raised garden bed provides a sturdy structure that helps resist rust and everyday weather exposure for vegetables, herbs, and flowers in backyard gardens.

What You Get: we have included Galvanized raised garden bed kit with detailed assembly instructions, rubber edge strips, safety gloves , wrench tools and with galvanized nuts and bolts in the box .These essential tools elevate your overall planting and gardening adventure
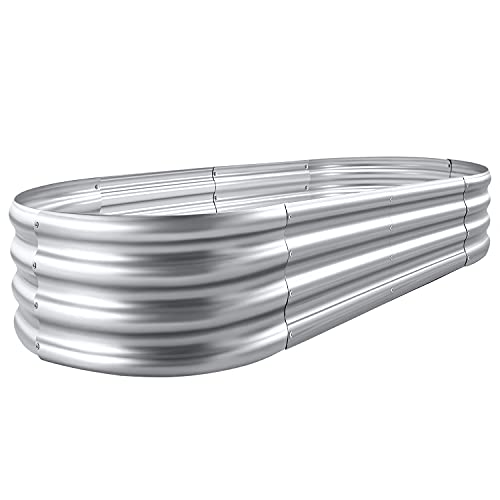
Each raised metal garden bed size: 4×2×1ft ,7.14Cu
Prerequisites/Materials Needed
- Logs: 2-3 large logs (about 3-4 feet long)
- Branches: Several smaller branches (various sizes)
- Green material: Grass clippings or kitchen scraps
- Dried leaves: 1-2 bags
- Compost: 2-3 bags of well-rotted compost
- Soil: 1-2 bags of quality garden soil
- Water: Access to water for moistening materials
Recommended Products

Upgraded Bendable Material: Crafted from premium upgraded iron wire, these curly willow branches for vases feature flexible yet firm structure. Ideal willow branches, stems for vase and branches for decoration, they are bendable, windproof and suitable for all seasons.Safe for homes with pets, built to last for long-term home decor use

The leaves of these fall artificial greenery stems are made of high-quality plastic, making them resistant to deformation and giving them a sturdy shape. They bring a vibrant spring feel and are not only waterproof but also durable.

【Planting & Privacy】This raised garden bed combines growing space and privacy, creating a cozy outdoor corner for veggies or vines. Ideal for patios, yards, or anywhere extra coverage is needed
Skill Level & Time Estimate
Skill Level: intermediate
Total time estimate: 2-3 hours
Breakdown of time:
- Gather materials: 30 minutes
- Layering the base: 1 hour
- Final touches and cleanup: 1 hour
Recommended Products

100% Organic & Peat-Free: Our compost mix is 100% organic & peat-free. Peat is one of Mother Nature’s most important stores of carbon. Instead of imported peat, the base of our soils is made from upcycled plant matter or wood fines from the United States!

Break Down Kitchen Scraps:Transform fruit peels, vegetable scraps, coffee grounds, and other kitchen waste into natural compost directly inside your garden bed

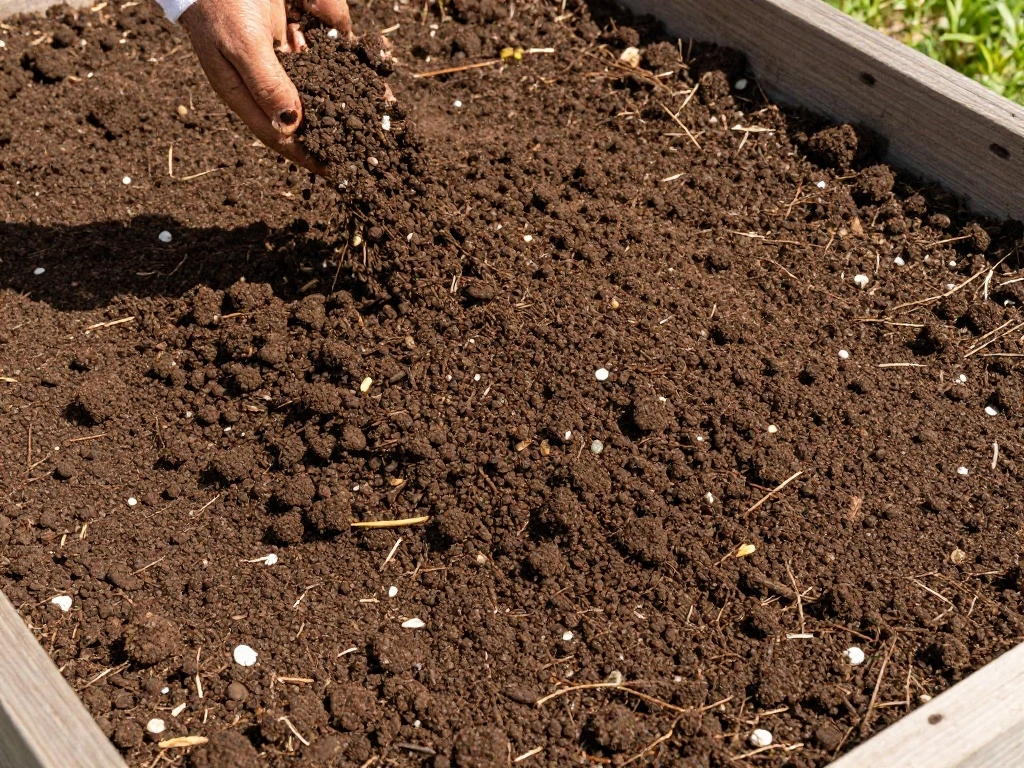
Step 1: Gather Your Materials
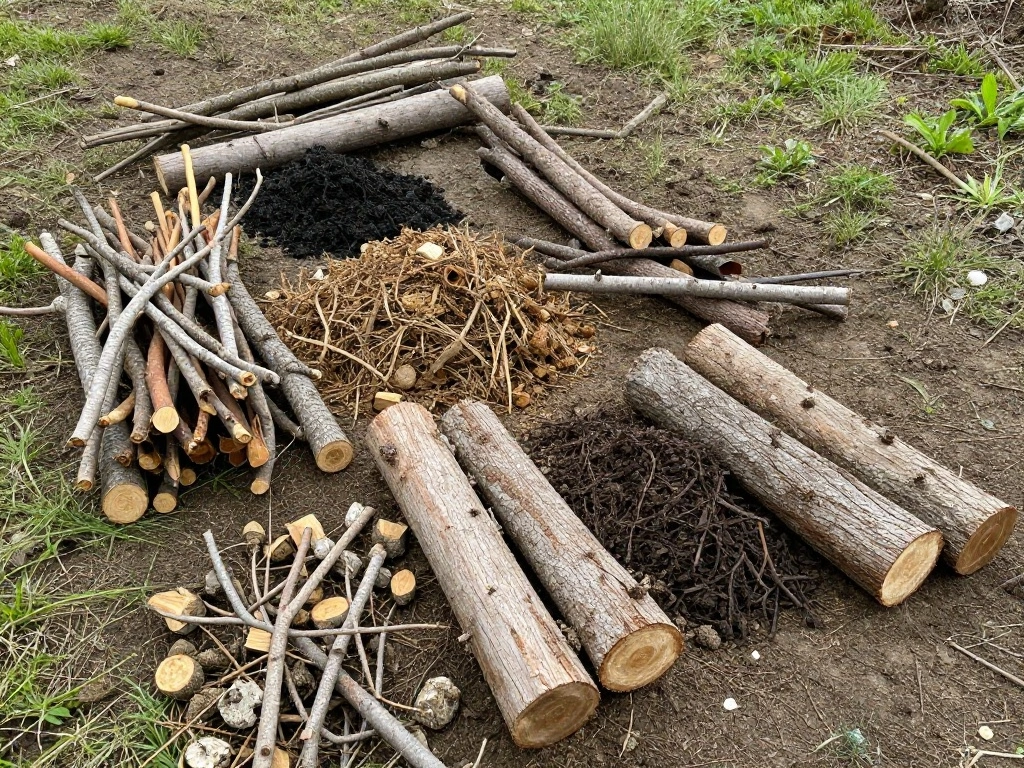
Start by collecting all the necessary materials for your raised bed. This step is critical as it sets the foundation for the Hugelkultur method. Follow these sub-steps:
- Locate large logs (2-3) that will serve as the primary structure.
- Gather smaller branches and twigs to fill in gaps.
- Collect green materials such as grass clippings and kitchen scraps.
- Acquire dried leaves and compost to enrich the layers.
- Have quality garden soil on hand for the top layer.
Pro Tip: Make sure to use organic materials free from chemicals to promote a healthy garden environment.
Why this matters: The right combination of materials is essential for moisture retention and nutrient supply. This step takes approximately 30 minutes.
Step 2: Create the Base Layer with Logs
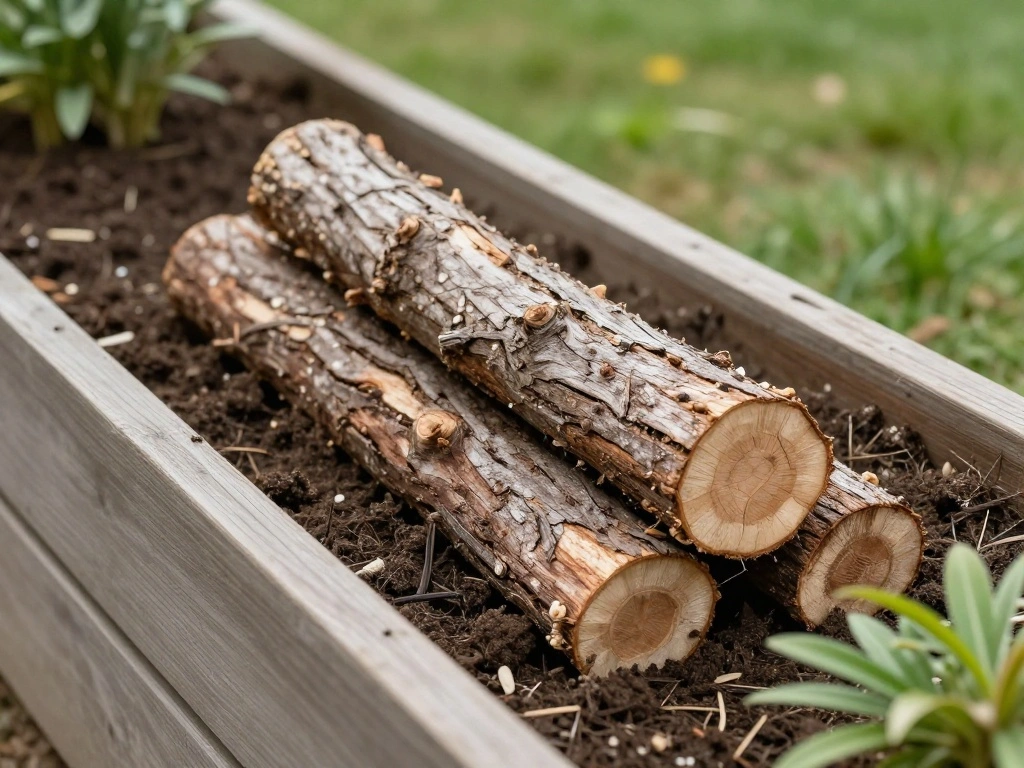
Now it’s time to lay the foundation. The logs will form the base layer of your bed. Follow these steps:
- Place the largest logs at the bottom of the raised bed, ensuring they are stable.
- Layer smaller logs and branches on top, filling any gaps.
- Arrange them to create a slightly uneven surface for better drainage.
Warning: Ensure logs are untreated and free from chemicals to avoid harming your plants.
Why this matters: The logs will decompose over time, providing nutrients and improving soil structure. This step should take about 30 minutes.
Recommended Products


Nutrient-Rich Organic Compost for Healthy Soil: Support stronger plant growth with this premium organic compost made from dairy cow manure. This all purpose soil amendment helps replenish essential nutrients often depleted after harvests, making it ideal for vegetable gardens, fruit trees, flowers, lawns and container plants.

[SPACE-SAVING DESIGN]: Our compact composting bin measures 11*4.3*4.3 inches, making it perfect for small garden spaces and raised beds. This PVC composter fits seamlessly into flower pots without taking up valuable garden room, allowing you to create nutrient-rich compost even with limited outdoor space.
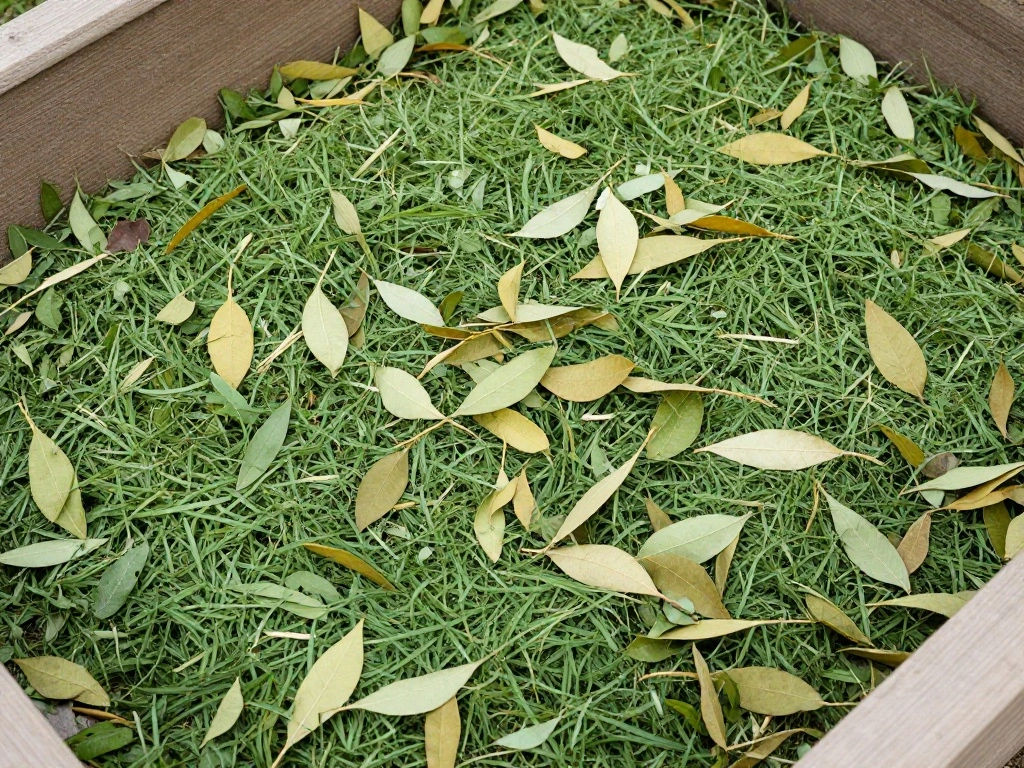
Step 3: Add a Layer of Green Materials
Next, add a layer of green materials to enhance nitrogen content. This step is vital for promoting healthy plant growth. Here’s how to do it:
- Spread a layer of green materials, such as grass clippings or kitchen scraps, on top of the log base.
- Ensure the layer is about 2-3 inches thick for optimal decomposition.
- Water the green layer lightly to help with the breakdown process.
Pro Tip: Mix different types of green materials for a balanced nutrient profile.
Why this matters: Green materials will decompose, releasing nitrogen and nutrients that are essential for your plants. Allocate approximately 20 minutes for this step.
Recommended Products
Convenient Size and Packaging: Compostable Trash Bags|13 Gallon,50 Bags Per Roll.These bags are a must-have for a variety of scenarios. For the green-fingered home gardener, they're a breeze for collecting kitchen scraps like vegetable peels, coffee grounds, and fruit cores. You can keep one under the sink or by the back door for effortless waste collection. They're also great for yard waste such as fallen leaves and grass clippings, helping you turn them into nutrient-rich soil for your garden beds.

Organic compost starter speeds up the composting process and is ideal for outdoor compost piles

Large Capacity 2-Pack – Efficient Composting Solution: Upgrade your composting system with this 2PCS 127L (34 Gallon) compost bin outdoor set, designed for high-volume waste processing. Perfect as a large outdoor compost bin or bin composter, it handles kitchen scraps, leaves, and yard waste with ease—ideal for gardeners who want faster, more efficient compost production
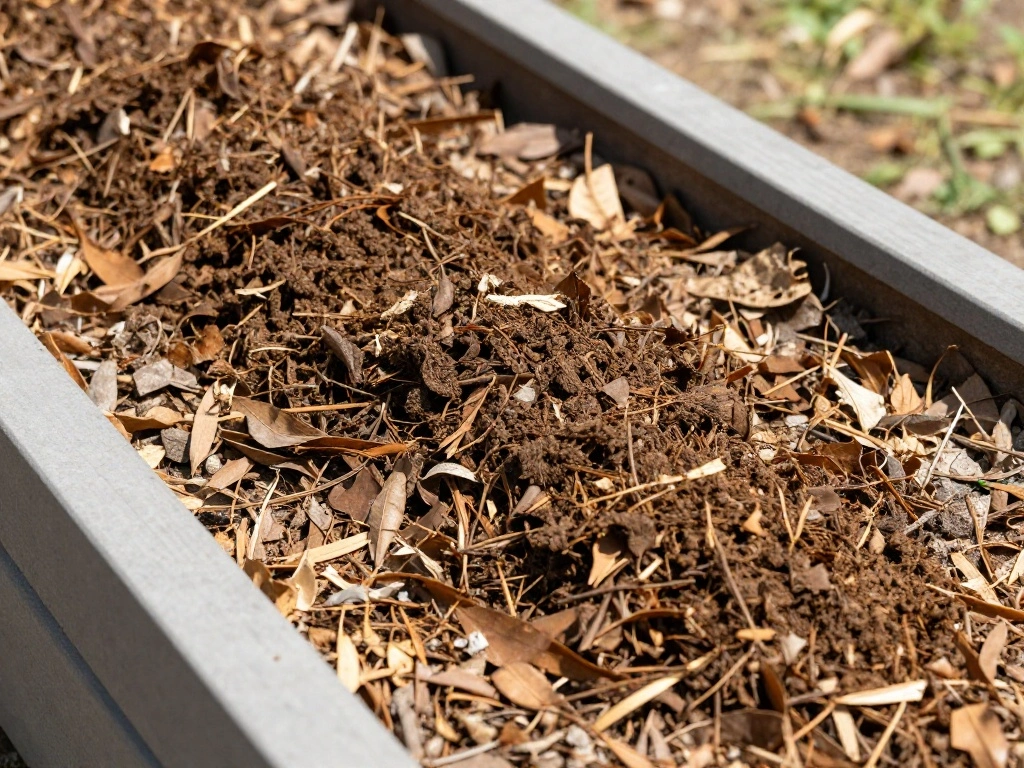
Step 4: Incorporate Dried Leaves
Adding dried leaves helps with moisture retention and introduces beneficial microbes. Follow these steps:
- Collect dried leaves and spread them evenly over the green layer.
- Ensure this layer is about 2-4 inches thick to create an effective barrier.
- Water the dried leaves lightly to help them settle and begin breaking down.
Warning: Avoid using leaves from walnut trees as they can be toxic to many plants.
Why this matters: Dried leaves provide carbon, which is essential for a balanced ecosystem in your raised bed. This layer should take around 15 minutes to complete.
Step 5: Add Compost for Nutrients
Now it’s time to enrich your bed with compost. Compost adds vital nutrients and improves soil structure. Here’s how to do it:
- Scoop compost into a wheelbarrow or bucket for easier transport.
- Spread a 2-3 inch layer of compost over the dried leaves.
- Use a rake to evenly distribute the compost across the bed.
Pro Tip: Try to use well-rotted compost for the best results, as it will be more nutrient-rich.
Why this matters: This layer will provide essential nutrients to your plants as they grow. Expect to spend about 30 minutes on this step.
Step 6: Top Off with Garden Soil
The final layer is quality garden soil, which serves as the planting medium. Follow these steps:
- Pour garden soil on top of the compost layer.
- Spread the soil evenly to create a flat surface for planting.
- Water the soil lightly to help it settle.
Warning: Ensure the soil is free from weeds and pests to avoid future problems.
Why this matters: The top layer is where your plants will grow, and having high-quality soil is crucial for their success. This step will take approximately 20 minutes.
Recommended Products

【53 GALLON DUAL CHAMBER DESIGN】Designed with two separate composting chambers, this large outdoor compost bin allows one side to process while the other side is ready for...
Step 7: Level and Compact the Soil
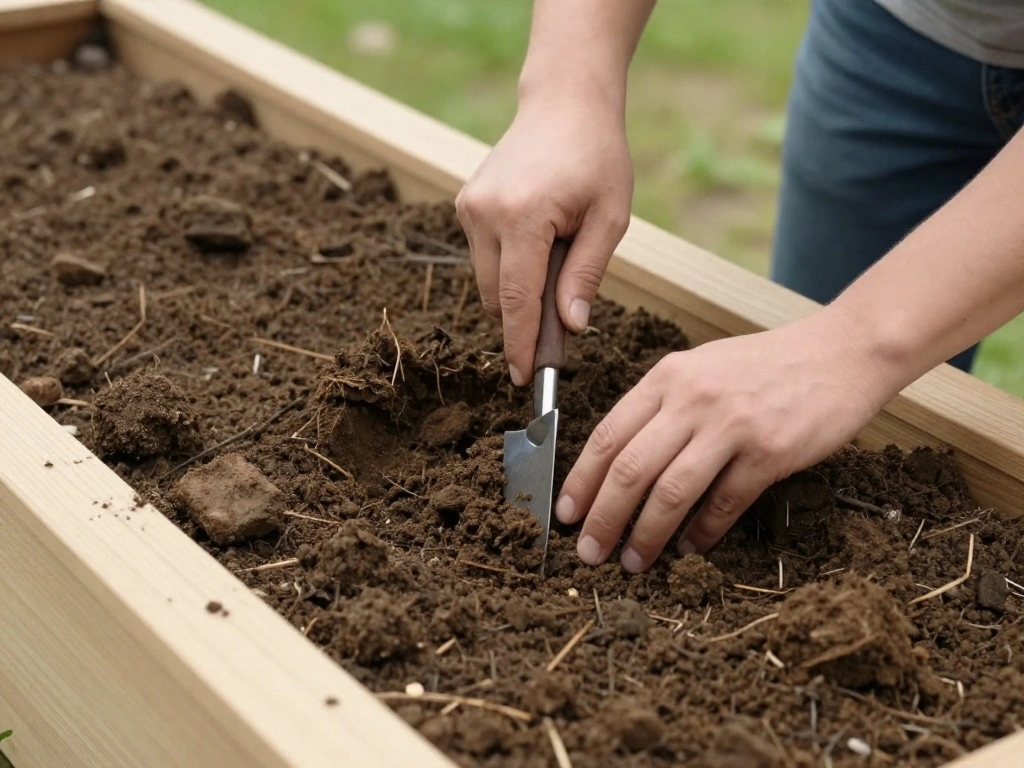
After adding the soil, it’s essential to level and compact it for stability. Follow these steps:
- Use a rake to smooth out the surface of the soil.
- Gently press down on the soil with your hands or feet to compact it slightly.
- Check for any low spots and add more soil as needed to create an even surface.
Pro Tip: Avoid over-compacting the soil, as this can hinder root growth.
Why this matters: Proper leveling ensures even watering and prevents pooling, which can lead to root rot. This step will take about 15 minutes.
Step 8: Plant Your Seeds or Seedlings
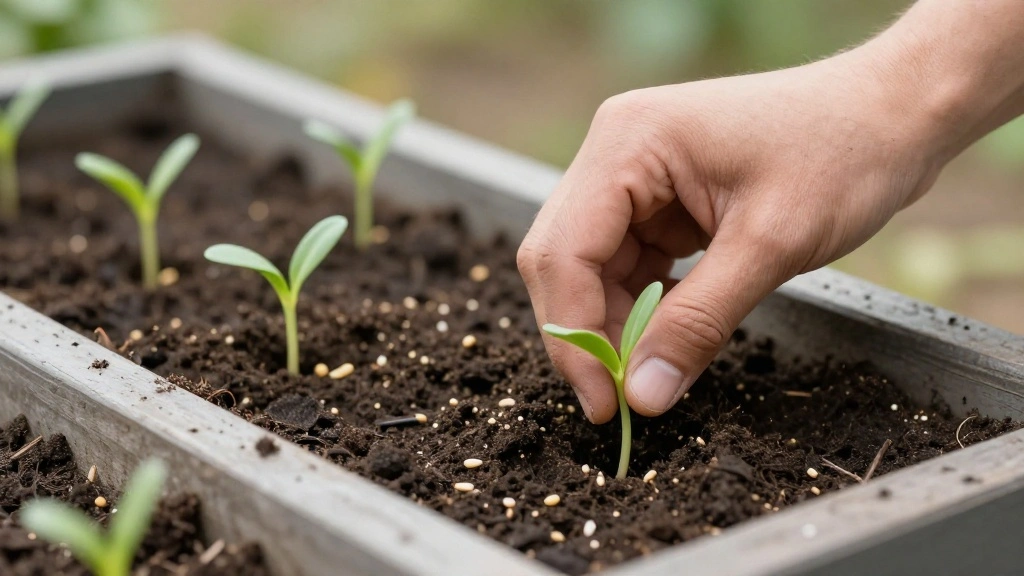
Finally, it’s time to plant! Choose your plants based on your gardening goals. Here’s how to do it:
- Check the planting depth and spacing for your chosen seeds or seedlings.
- Make holes in the soil according to the instructions for your plants.
- Place the seeds or seedlings gently into the holes and cover them with soil.
Warning: Be careful not to bury the seedlings too deep, as this can hinder their growth.
Why this matters: Proper planting ensures that your plants have the best chance to thrive in their new environment. Allocate about 30 minutes for this final step.
Pro Tips
- Layering Order: Always start with the largest materials at the bottom and finish with the finest soil on top.
- Moisture Monitoring: Check the moisture levels regularly and water when needed, especially during dry spells.
- Companion Planting: Consider planting compatible plants together to improve growth and pest resistance.
- Seasonal Care: Add new compost or mulch regularly to maintain nutrient levels and protect the soil.
- Soil Testing: Test your soil pH and nutrient levels periodically to make necessary adjustments.
Common Mistakes to Avoid
Warning: Avoid these common mistakes to ensure success:
- Not using enough organic material: This can lead to nutrient deficiencies. Ensure you have ample green and brown materials.
- Over-compacting the soil: This restricts root growth. Always compact gently.
- Ignoring moisture levels: Inadequate watering can harm plant growth. Regularly check the soil moisture.
- Using treated wood for logs: Chemicals can leach into the soil. Always choose untreated wood.
Troubleshooting Section
Problem: Poor drainage in the raised bed.
Solution: Ensure there are adequate gaps between the logs and check for compaction.
Problem: Plants are wilting or yellowing.
Solution: Check moisture levels; adjust watering as needed.
Problem: Pests in the garden bed.
Solution: Use natural deterrents like neem oil or introduce beneficial insects.
Problem: Soil is sinking too much after planting.
Solution: Add more organic material or compost to fill gaps.
Problem: Weeds growing in the bed.
Solution: Regularly remove weeds and consider adding mulch to suppress growth.
Variations/Alternative Methods
- Square Foot Gardening: Focuses on intensive planting in smaller spaces, ideal for limited areas.
- No-Dig Method: Avoids turning soil, ideal for maintaining soil structure but requires more initial planning.
- Container Gardening: Best for those with space limitations; provides flexibility but requires more frequent watering.
FAQs
- What if I don’t have logs? Use large branches or stones as the base layer instead.
- How long should I wait before planting? Wait at least a few weeks to allow materials to settle and begin decomposing.
- Is it safe to use kitchen scraps? Yes, as long as they are vegetable-based and free from oils or dairy.
- What if my plants are still struggling? Check for pests and diseases, and consider adding more compost.
- Can I use treated wood? No, treated wood can leach chemicals into the soil.
Conclusion
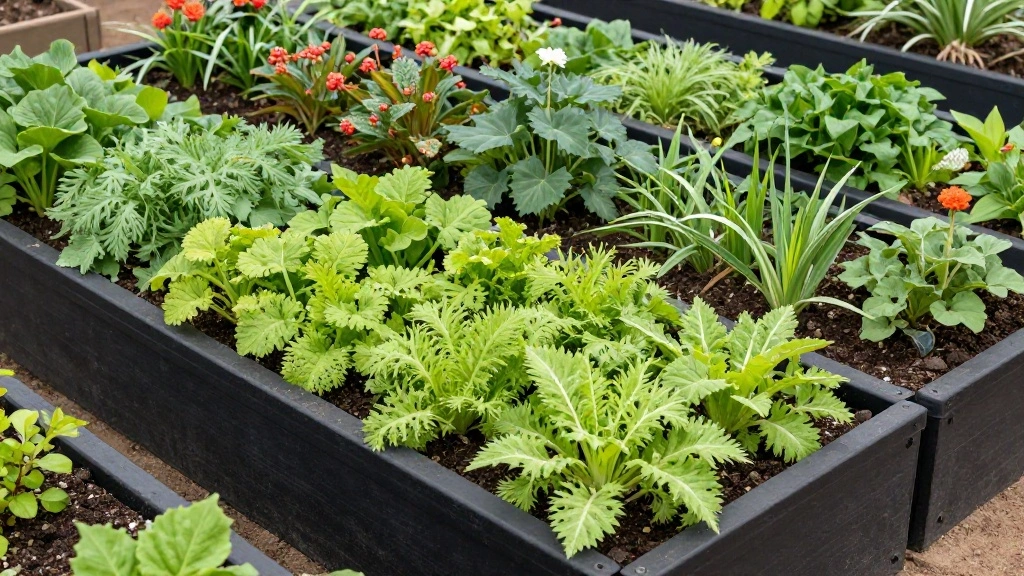
Congratulations! You’ve successfully filled your raised garden bed using the Hugelkultur and layering method. This approach not only creates a sustainable environment for your plants but also enriches the soil over time.
As you care for your garden, consider documenting your plants’ growth and experimenting with different crops. Explore additional resources on gardening techniques to expand your skills. Enjoy the beauty and bounty of your new raised garden!