
Are you tired of fumbling for light switches in the dark? Smart outdoor lights can transform your home into a beautifully lit space while enhancing security and convenience. However, if you’ve recently purchased smart lights and are unsure how to connect them to your voice assistant, don’t worry! This guide will walk you through the necessary steps to seamlessly connect your smart outdoor lights to either Alexa or Google Home.
By following this guide, you will successfully set up your smart outdoor lights to be controlled with simple voice commands. Imagine saying, “Alexa, turn on the porch lights” or “Hey Google, dim the garden lights,” and having it done instantly! This guide is tailored for beginners and will take an estimated 30 minutes to complete.
You will learn how to prepare your smart lights, connect them to your Wi-Fi, and link them with your preferred voice assistant. Let’s get started on this exciting journey towards a smarter home!
TL;DR Summary
– Connect your smart outdoor lights to Alexa or Google Home in just 10 easy steps.
– Gather all necessary materials before starting.
– Follow each step carefully to ensure a successful setup.
– Enjoy hands-free control of your outdoor lighting!
Recommended Products

【Long Wi-Fi Range and IP64】Long Wi-Fi range up to 300 feet with IP64 weather resistance. Waterproof cover is attached to protect it from dirt when not in use. Supports up to 15A/1875W.

【Apple HomeKit Support】This Apple HomeKit compatible outdoor plug fully integrates into your Apple ecosystem, just ask Siri to turn on/off the lights in your home. (Apple HomeKit remote control requires an additional networked Apple device at home such as a HomePod or Apple TV.)

Individual Control of 2 IN 1 Outlets: 2 AC outlets are working and controlled independently.15A/1875W Max for each. Waterproof cover is attached to protect it from dirt when not in use. Long Wi-Fi range up to 300 feet with IP64 weather resistance. Group your Kasa Smart light bulbs, plugs and switches for seamless control. Ideal for controlling all your devices simultaneously with a single tap.
Prerequisites/Materials Needed
- Smart outdoor lights (2-4 units, depending on your setup)
- Wi-Fi network (2.4GHz recommended)
- Smartphone with the appropriate app (Alexa or Google Home)
- Smart home account (Amazon or Google)
- Internet connection
- Basic tools (if installation is required)
Recommended Products

【Designed Exclusively for Dimmable Lights】Enjoy your smart home outside with this weather-resistant smart dimmer. Remotely adjust the brightness of your outdoor dimmable lights with the Kasa app or use voice commands via Alexa or Google Assistant for hands-free control. [Lights must be dimmable in order to use dimmer function. 4 Amp maximum]

【RGB/ Cool/ Warm White and Lighting Modes】Enjoy full control over color with 16 million options and tunable white light (Cool/ Warm White), allowing you to personalize your outdoor environment to match any mood or setting. Choose from three lighting modes: Motion for safety and efficiency, Luminance for automatic dusk-to-dawn lighting, and Continuous for constant illumination.
Skill Level & Time Estimate
Skill Level: beginner
Total estimated time: 30 minutes
Breakdown:
– Preparation: 5 minutes
– Connecting smart lights: 15 minutes
– Linking to Alexa or Google Home: 10 minutes
Recommended Products
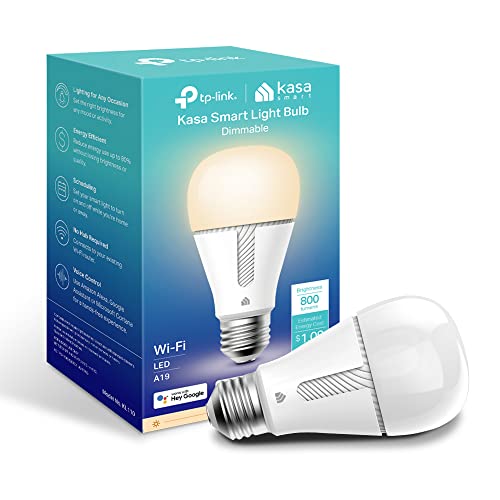
Dimmable Kasa Smart’s dimmable light bulb has a dimming range from 1 percent to 100 percent; Set the right brightness for any mood or activity; Turn your bulb to full brightness to get your Kids up in the morning or dim it enough for them to fall asleep at night
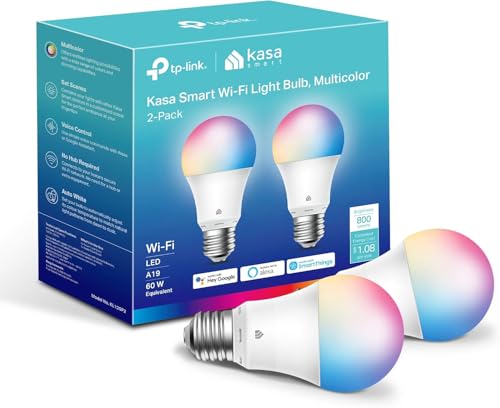
Multicolor & Auto White: Dimmable 16 million colors and warm to cool whites(2500K-6500K). Set your bulb to automatically adjust its color temperature to match natural light patterns from dawn to dusk. Explore endless lighting possibilities to create your favorite light effects for everything from a dinner party to a late-night study session. Great for holiday decorations.

Before You Buy – Fit & Compatibility: Fits 5" or 6" recessed cans. BR30 bulb measures 3.74" diameter × 5.04" height. NOT for BR40 or PAR30. Please measure your can before purchasing. Do NOT use with dimmable fixtures that have a dimmer switch (may cause flickering). Supports 2.4G Wi-Fi only.
Step 1: Unbox Your Smart Outdoor Lights
Start by carefully unboxing your smart outdoor lights. Ensure you have all components and accessories included. Follow these sub-steps:
- Remove the lights from their packaging.
- Check for the user manual and any additional components.
- Inspect the lights for any visible damage.
Pro Tip: Keep the user manual close; it may contain specific setup instructions for your model.
Why this matters: Ensuring you have all parts is crucial for a smooth installation process.
Estimated time: 5 minutes.
Recommended Products

Smart App Control: You can easily control the outdoor patio lights anytime anywhere via XMcosy App. Set favorite brightness, blinking lighting and schedule the light to auto on or off on your routine

High Brightness: With 1350 lumens (100W Equivalent), these smart bulbs bring out brighter white and colorful lights for larger spaces. Perfect for any occasion because the smart bulbs can also be dimmed via apps and a voice Assistant whenever you want a darker light to relax. Please dim the light with apps or a voice assistant, and don’t dim it with dimmer switches.

IP65 Outdoor & Wet Rated: GE Cync outdoor patio string lights feature all-weather construction to help ensure they stand up to the elements year-round
Step 2: Install the Smart Lights (if needed)
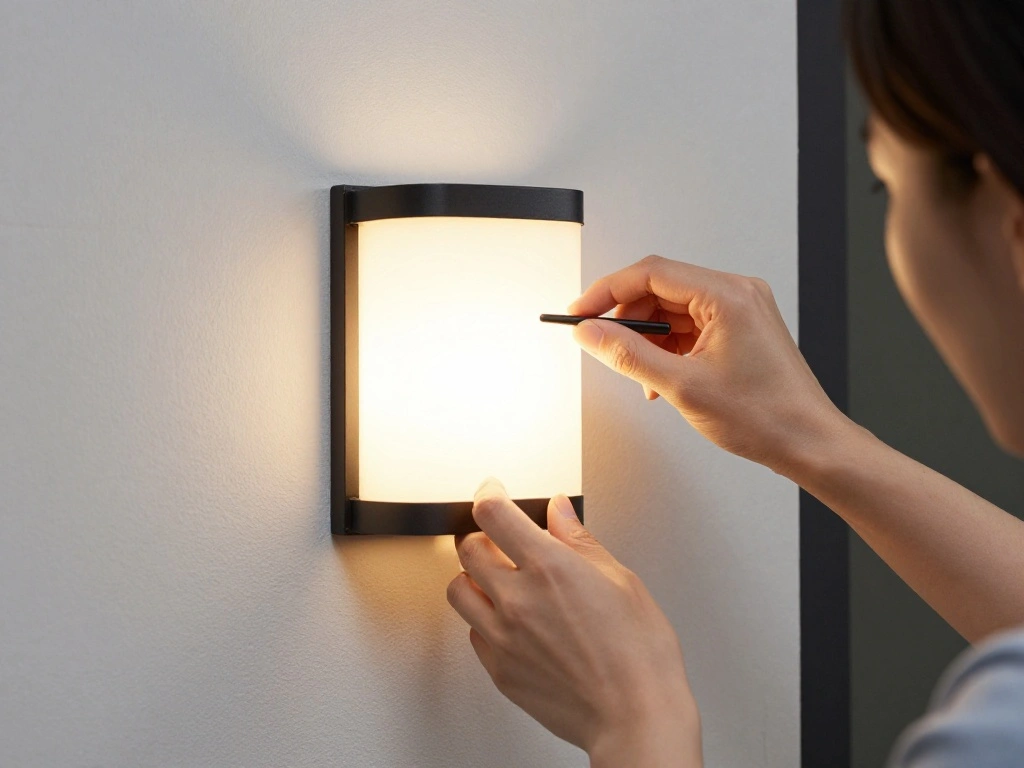
If your smart outdoor lights require installation, follow these steps:
- Choose the desired location for your lights.
- Secure the lights according to the manufacturer’s instructions.
- Connect the lights to a power source.
Warning: Ensure the lights are rated for outdoor use and follow safety precautions during installation.
Why this matters: Proper installation is necessary for functionality and safety.
Estimated time: 10 minutes.
Recommended Products
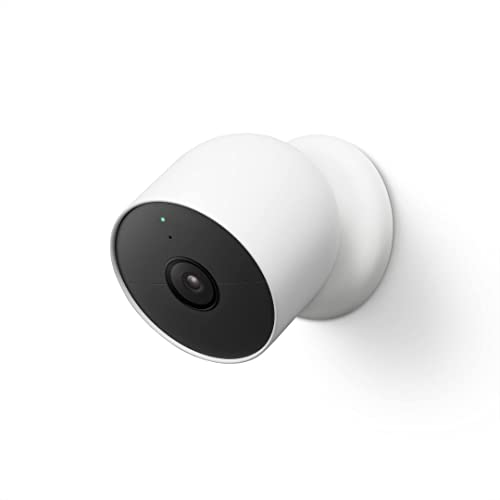
Nest Cam has built-in intelligence and can tell the difference between a person, animal, and vehicle and send alerts directly through the Google Home app[1], no subscription required.Controller Type:Google Assistant.Connectivity protocol:Bluetooth;Wi-Fi.Power source type:Battery Powered.Operating Temperature : –4°F to 104°F (–20°C to 40°C).
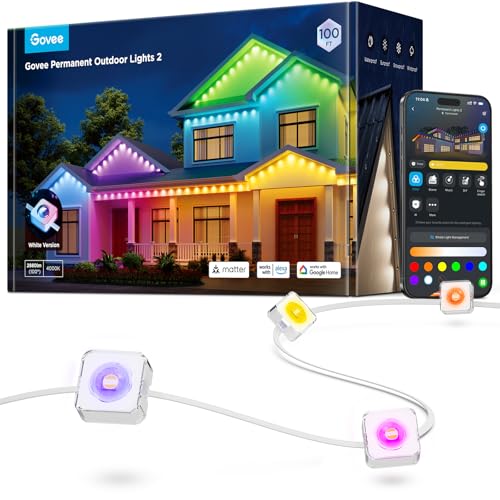
Year-Round RGBIC Lighting: No more hassle of hanging every year, Govee Permanent Outdoor Lights 2 can be installed just once and used for year-round enjoyment. Perfect for roof, backyard and patio with 16 million colors and 100 scene modes

【Smart Control Features】Easily manage your smart lawn lights through three convenient methods: a mobile app, voice commands, or a remote control. This flexibility allows you to control the lighting from any location, ensuring a smart and effortless outdoor lighting experience.
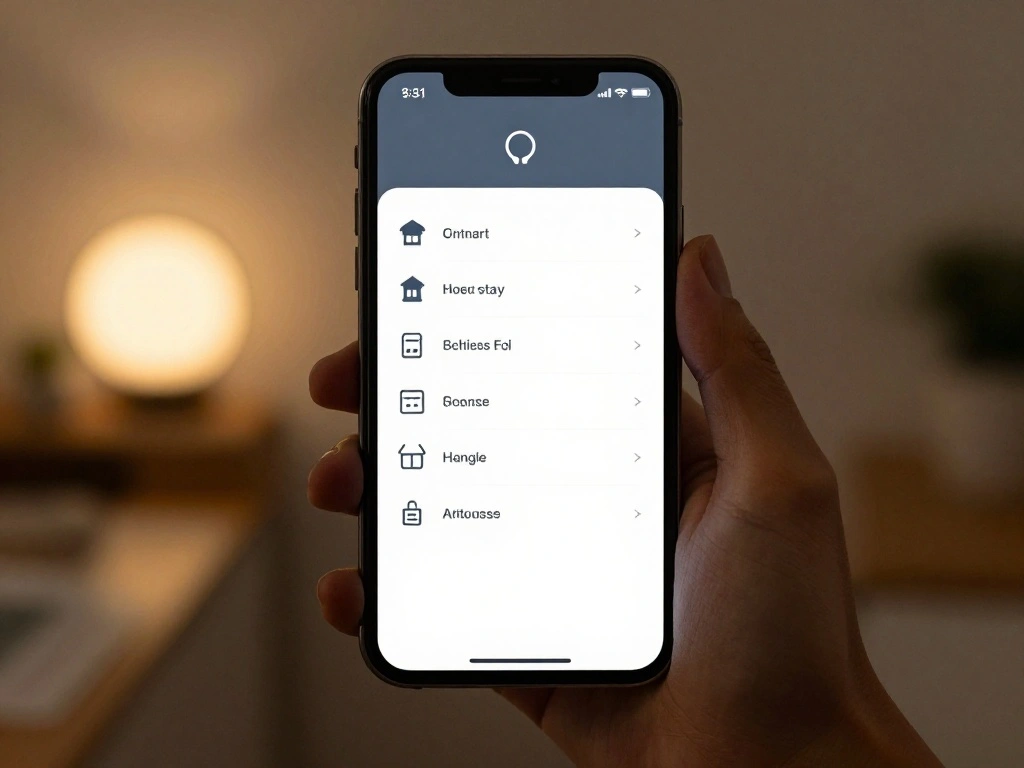
Step 3: Download the Smart App
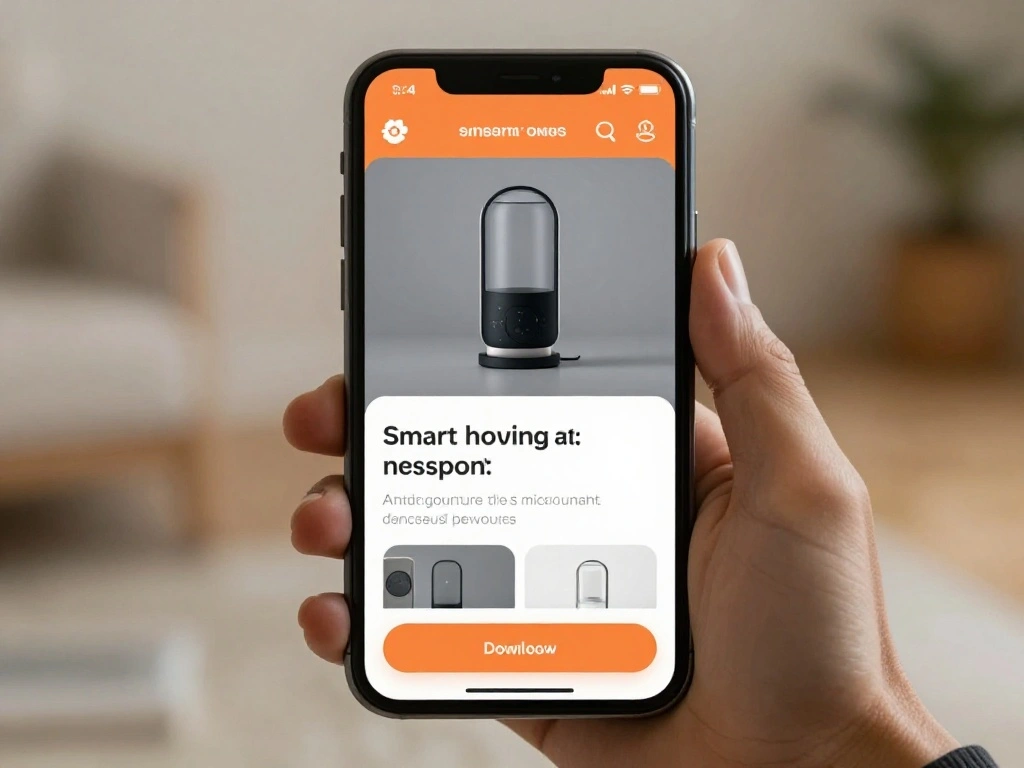
To control your smart lights, download the appropriate app:
- Open the App Store (iOS) or Google Play Store (Android).
- Search for the app corresponding to your smart lights (e.g., Philips Hue, Ring, etc.).
- Download and install the app on your smartphone.
Pro Tip: Ensure your phone’s operating system is up to date for compatibility.
Why this matters: The app is essential for configuring your lights and connecting them to your home network.
Estimated time: 5 minutes.
Recommended Products

Ultra-thin Design & Easy Installation: Lumary smart disk lights are just 1.29" thick, perfect for limited-height spaces. The Lumary flush mount ceiling light can be installed easily into any 3.5/4 inch J-box or 5/6 inch recessed can for entrances, hallways, garages, and other areas in your home

App-Guided Install: The Kasa or Tapo app guides you through step-by-step setup. Requires neutral wiring and 2.4 GHz Wi-Fi. Consulting an electrician is recommended if you’re unfamiliar with electrical wiring

Smart WiFi APP Control: Connect this outdoor motion sensor light to 2.4GHz WiFi and manage settings easily through the Onforu app. Adjust color temperature, brightness, motion sensor range, off-delay time, standby brightness, and sensor linkage for a smarter outdoor lighting experience.
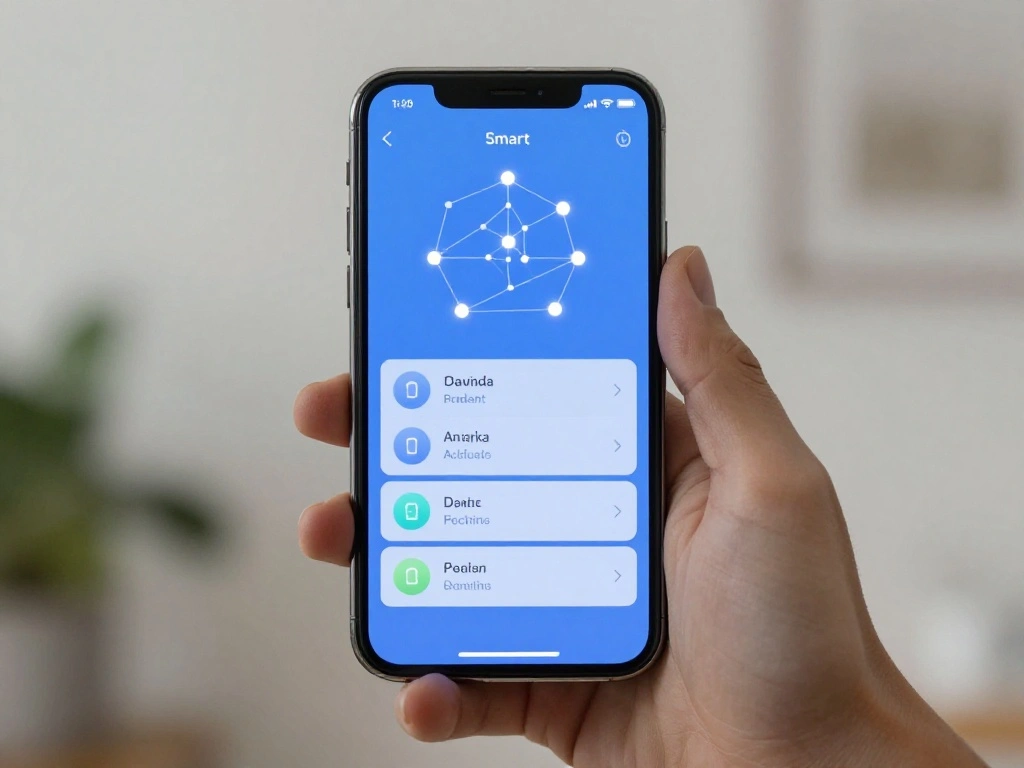
Step 4: Set Up Your Smart Lights in the App
Once downloaded, set up your smart lights in the app:
- Open the app and create an account or log in.
- Follow the on-screen instructions to add your smart lights to the app.
- Ensure your lights are powered on during this process.
Warning: Make sure your phone is connected to the same Wi-Fi network you want the lights to use.
Why this matters: This step is crucial for the app to recognize and control your smart lights.
Estimated time: 5 minutes.
Recommended Products

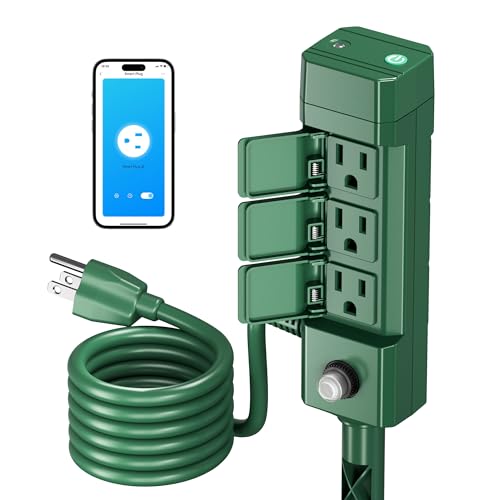
【Remote & Voice Control】Compatible with Amazon Alexa and Google Assistant, easy to turn on/off connected devices with a smartphone anywhere or via simple voice commands. Make sure to connect your smartphone to 2.4 GHz Wi-Fi network when setting up the WiFi outdoor power strip timer; a great addition to your smart home

Independent Outlet Controls: HBN outdoor smart plugs with 3 individually controlled sockets feature space-saving for users, which can work independently of one another.

Ideal for Outdoor Use: IP44 weatherproof housing and sockets cover which help prevent rain from getting in. Outdoor smart plug is made for Garden, Backyard, Christmas tree, Kitchen, Landscape lighting, Bathroom, Porch, Balcony, Garage, Basement, Patio or Electric grill, Sprinkler, Washing machine, Lamps and other outdoor or indoor-use electric appliances, etc. Do not use it for pump
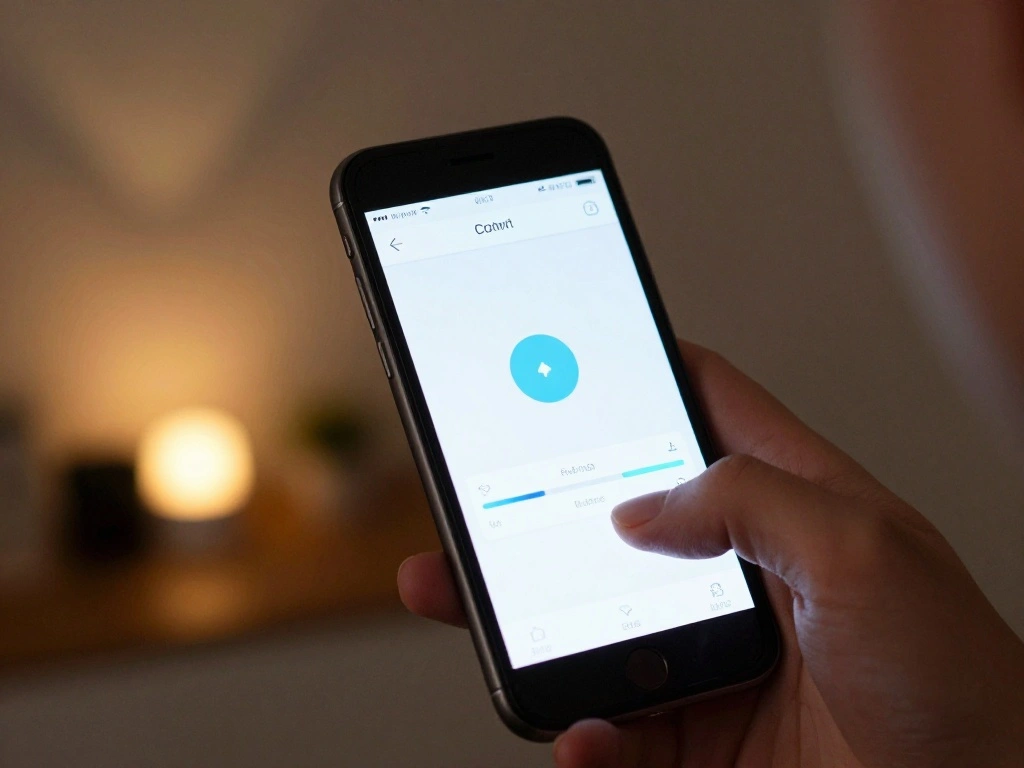
Step 5: Connect Smart Lights to Wi-Fi
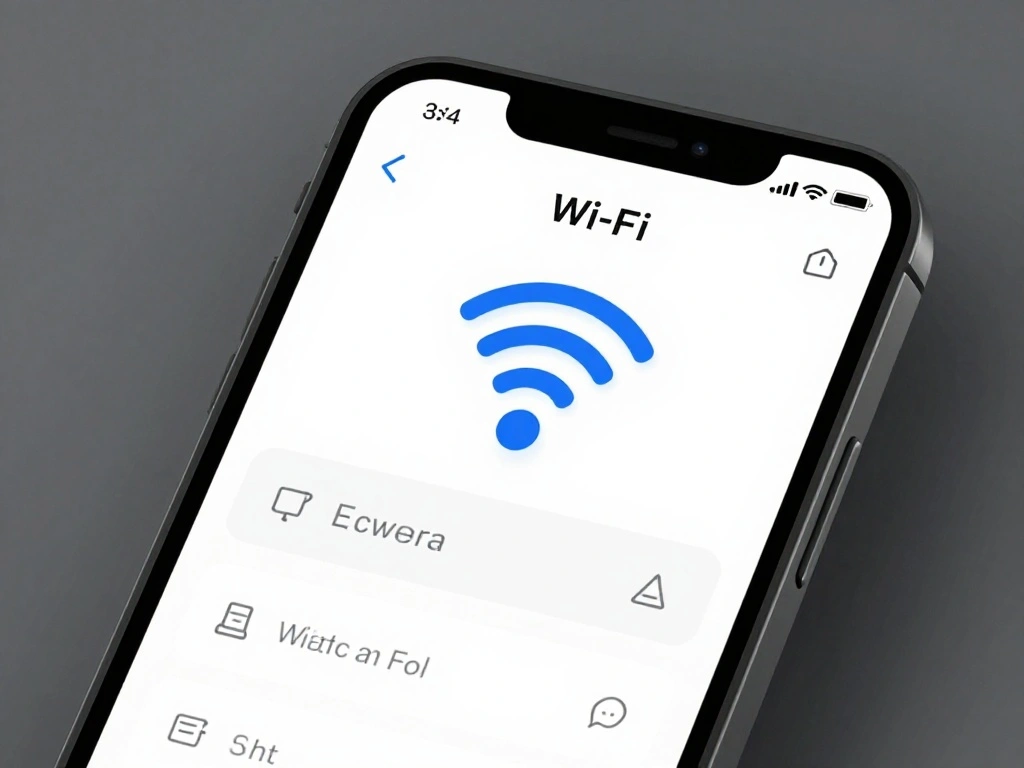
Next, connect your smart lights to your home Wi-Fi network:
- In the app, select your Wi-Fi network.
- Enter your Wi-Fi password when prompted.
- Wait for the app to confirm a successful connection.
Pro Tip: Ensure your Wi-Fi router is within range of the lights for a stable connection.
Why this matters: A reliable Wi-Fi connection is essential for the lights to function properly with your voice assistant.
Estimated time: 5 minutes.
Step 6: Choose Your Voice Assistant
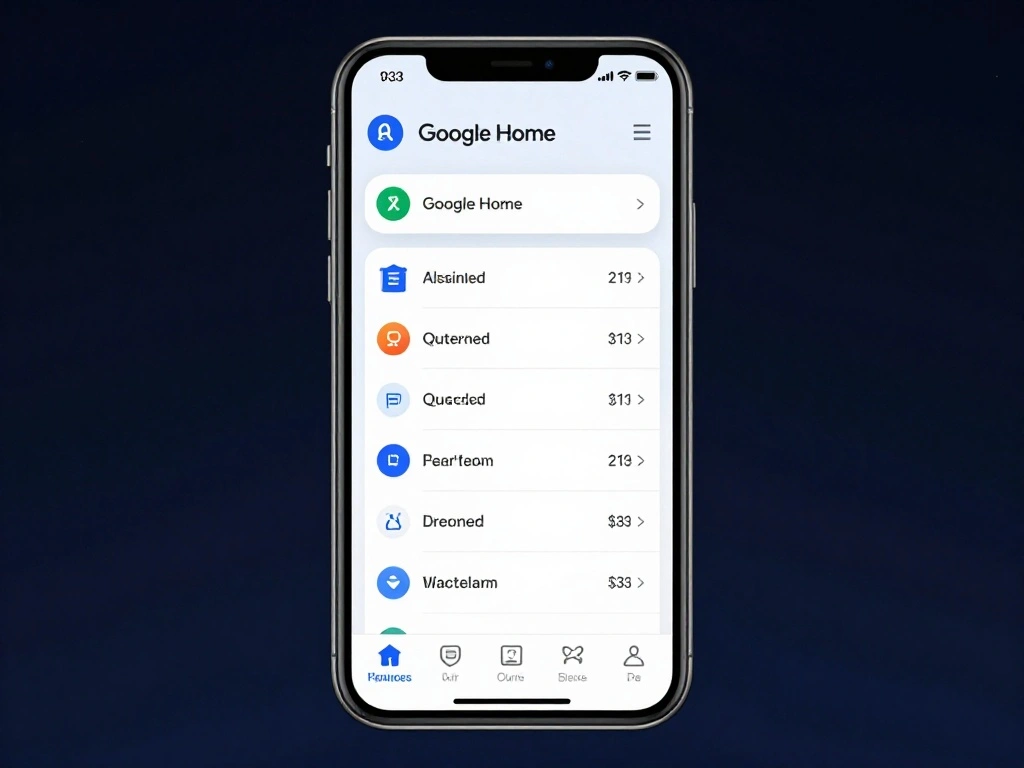
Decide whether you want to connect your smart lights to Amazon Alexa or Google Home:
- Open the Alexa app or Google Home app on your phone.
- Navigate to the settings or devices section.
- Select ‘Add Device’ and choose your smart light brand.
Pro Tip: Ensure the voice assistant app is updated to the latest version for optimal performance.
Why this matters: Choosing the right app is essential for integrating your smart lights with your voice assistant.
Estimated time: 5 minutes.
Step 7: Link the Smart Light App to Your Voice Assistant
Link the smart light app to your chosen voice assistant:
- In the voice assistant app, follow the prompts to link the smart light app.
- Log into your smart light account when prompted.
- Allow necessary permissions for device control.
Warning: Do not skip any permissions, as this could prevent successful integration.
Why this matters: Linking accounts is crucial for voice control functionality.
Estimated time: 5 minutes.
Recommended Products

【Complet Compatibility with Matter】Control from anywhere with your favorite smart home platform including Apple HomeKit, Amazon Alexa, Google Assistant, Samsung...
Step 8: Test Voice Commands

After linking, test your setup with voice commands:
- Say, “Alexa, discover devices” or “Hey Google, sync devices.”
- Wait for the assistant to recognize your smart lights.
- Try commands like “Turn on the porch lights” to ensure they respond correctly.
Pro Tip: If the lights don’t respond, try restarting the app or the lights.
Why this matters: Testing ensures that your lights are properly connected and functioning as expected.
Estimated time: 5 minutes.
Step 9: Customize Settings in the App
Now that your lights are connected, customize settings to your preference:
- Open the smart light app.
- Adjust brightness, colors, and schedules as desired.
- Save your settings.
Pro Tip: Set up schedules for your lights to turn on and off automatically.
Why this matters: Customizing settings enhances your smart lighting experience and improves convenience.
Estimated time: 5 minutes.
Step 10: Enjoy Your Smart Outdoor Lights!
Congratulations on successfully connecting your smart outdoor lights! Now, enjoy the convenience of voice-activated lighting:
- Experiment with different commands to see what works best.
- Share tips with family and friends for their setups.
- Consider adding more smart devices for a fully integrated home experience.
Why this matters: Enjoying your smart lights improves your home’s ambiance and security.
Estimated time: Ongoing!
Pro Tips
- Use Routines: Set up routines in your voice assistant for multiple actions with one command.
- Check Compatibility: Always verify if your smart lights are compatible with the voice assistant you choose.
- Maintain Wi-Fi Signal: Keep your Wi-Fi router close to the lights for better connectivity.
- Regular Updates: Regularly check for updates for both the app and the lights for improved features.
- Explore Energy Saving Modes: Use energy-saving features to reduce consumption without sacrificing performance.
Common Mistakes to Avoid
Warning: 1. Not checking compatibility: Always verify your lights work with your assistant.
Warning: 2. Skipping permissions: This could lead to functionality issues.
Warning: 3. Forgetting to update apps: Updates can fix bugs and improve functionality.
Warning: 4. Poor Wi-Fi signal: Ensure your lights are within Wi-Fi range.
Warning: 5. Incorrect installation: Always follow the manufacturer’s guidelines to avoid damage.
Troubleshooting Section
Problem: Smart lights not responding to voice commands.
Solution: Ensure they are powered on and connected to Wi-Fi. Restart the app.
Problem: Lights not appearing in the app.
Solution: Verify that the app is up-to-date and that you followed the setup instructions correctly.
Problem: Connection issues.
Solution: Restart your Wi-Fi router and ensure the lights are within range.
Problem: Unable to link accounts.
Solution: Check your login credentials and permissions.
Problem: App crashes or freezes.
Solution: Close and reopen the app, or reinstall it if necessary.
Variations/Alternative Methods
1. Using a different voice assistant: If you have multiple smart devices, consider switching to a different assistant for better compatibility.
2. Using a smart home hub: If you have many smart devices, a hub can simplify management and control.
3. Alternative apps: Some smart lights work with multiple apps; explore options for better features.
FAQs
What if I don’t have Wi-Fi? You will need a Wi-Fi connection to use smart lights with voice assistants.
How long should I expect the setup to take? The setup typically takes around 30 minutes.
Is it safe to leave smart lights on all night? Yes, but consider using timers to save energy.
Can I control multiple lights at once? Yes, once linked, you can control multiple lights with a single command.
What if my lights don’t connect? Try restarting both the lights and your router, and check compatibility.
Conclusion

Congratulations! You have successfully connected your smart outdoor lights to your voice assistant. Enjoy the convenience of controlling your lights with just your voice. As a next step, consider exploring additional smart home devices to further enhance your home’s functionality.
If you found this guide helpful, feel free to share it with others looking to upgrade their outdoor lighting. Your smart home journey has just begun!
Recommended Products

Stable Dual-Band Wi-Fi: This smart outdoor plug supports 5GHz and 2.4GHz Wi-Fi, automatically switching between bands in dual-band unified mode for the fastest, most reliable connection. Smooth pairing and easy remote control make setup simple and stress-free.
【APP & Voice Control】Maximize home convenience with our Outdoor Smart Plug, requiring integration with BN-HUB APP. Designed for full compatibility with Amazon Alexa and Google Home Assistant, it enables essential voice control for your home electronics

Independent Outlet Controls:HBN outdoor smart plugs with 2 individually controlled outlets feature space-saving for users, which can work independently of one another.